
Ribbet Studio - Add text to multiple photos
Watch the video
See every step in under four minutes:
In Ribbet Studio Editor, you can add the same text to one photo or to every selected photo at once, then place it in the same spot on all of them, such as a watermark in the bottom corner.
Before you start
- Log in to your account at Ribbet.com and open Studio Editor.
- Have your photos ready on your computer. You can work on up to 100 photos in one session, and they can be different sizes.
-
Photos are edited at full resolution, so there's no loss in quality when you export.
Steps
1. Add your photos
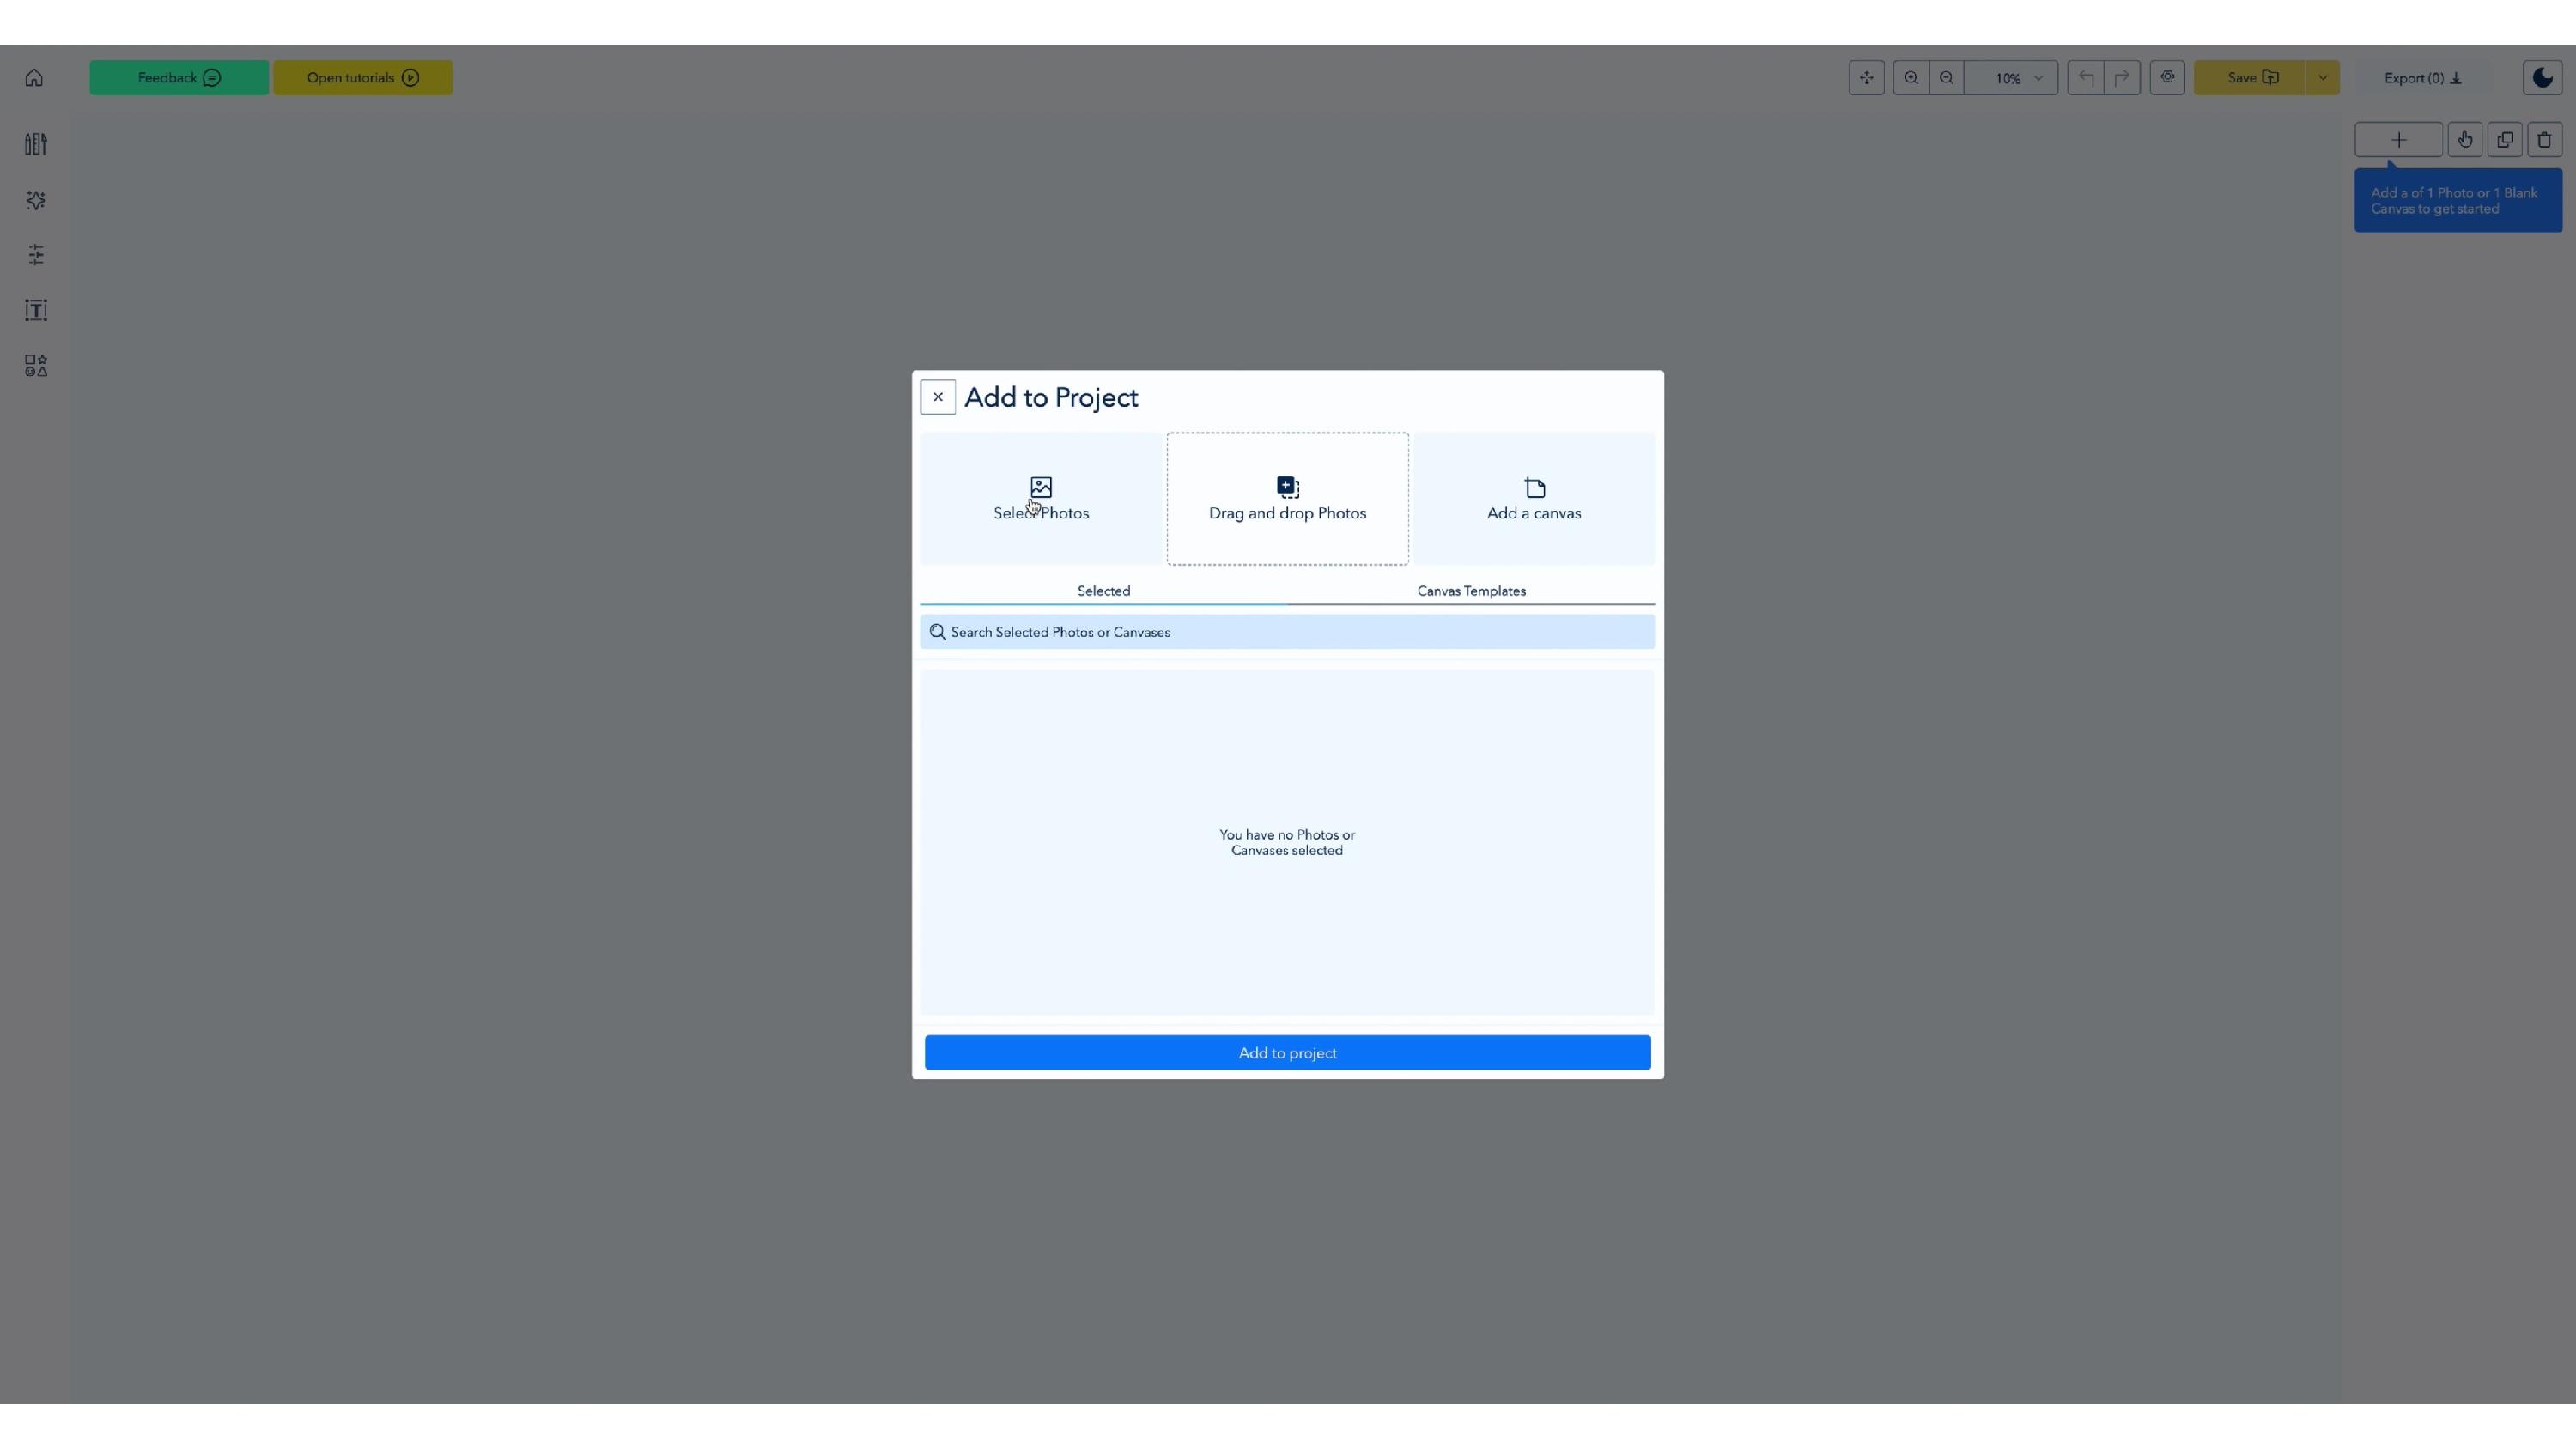
Click the + icon at the top of the project panel to open Add to Project, then choose Select Photos or drag your photos into the window.
2. Save and name your project (optional)
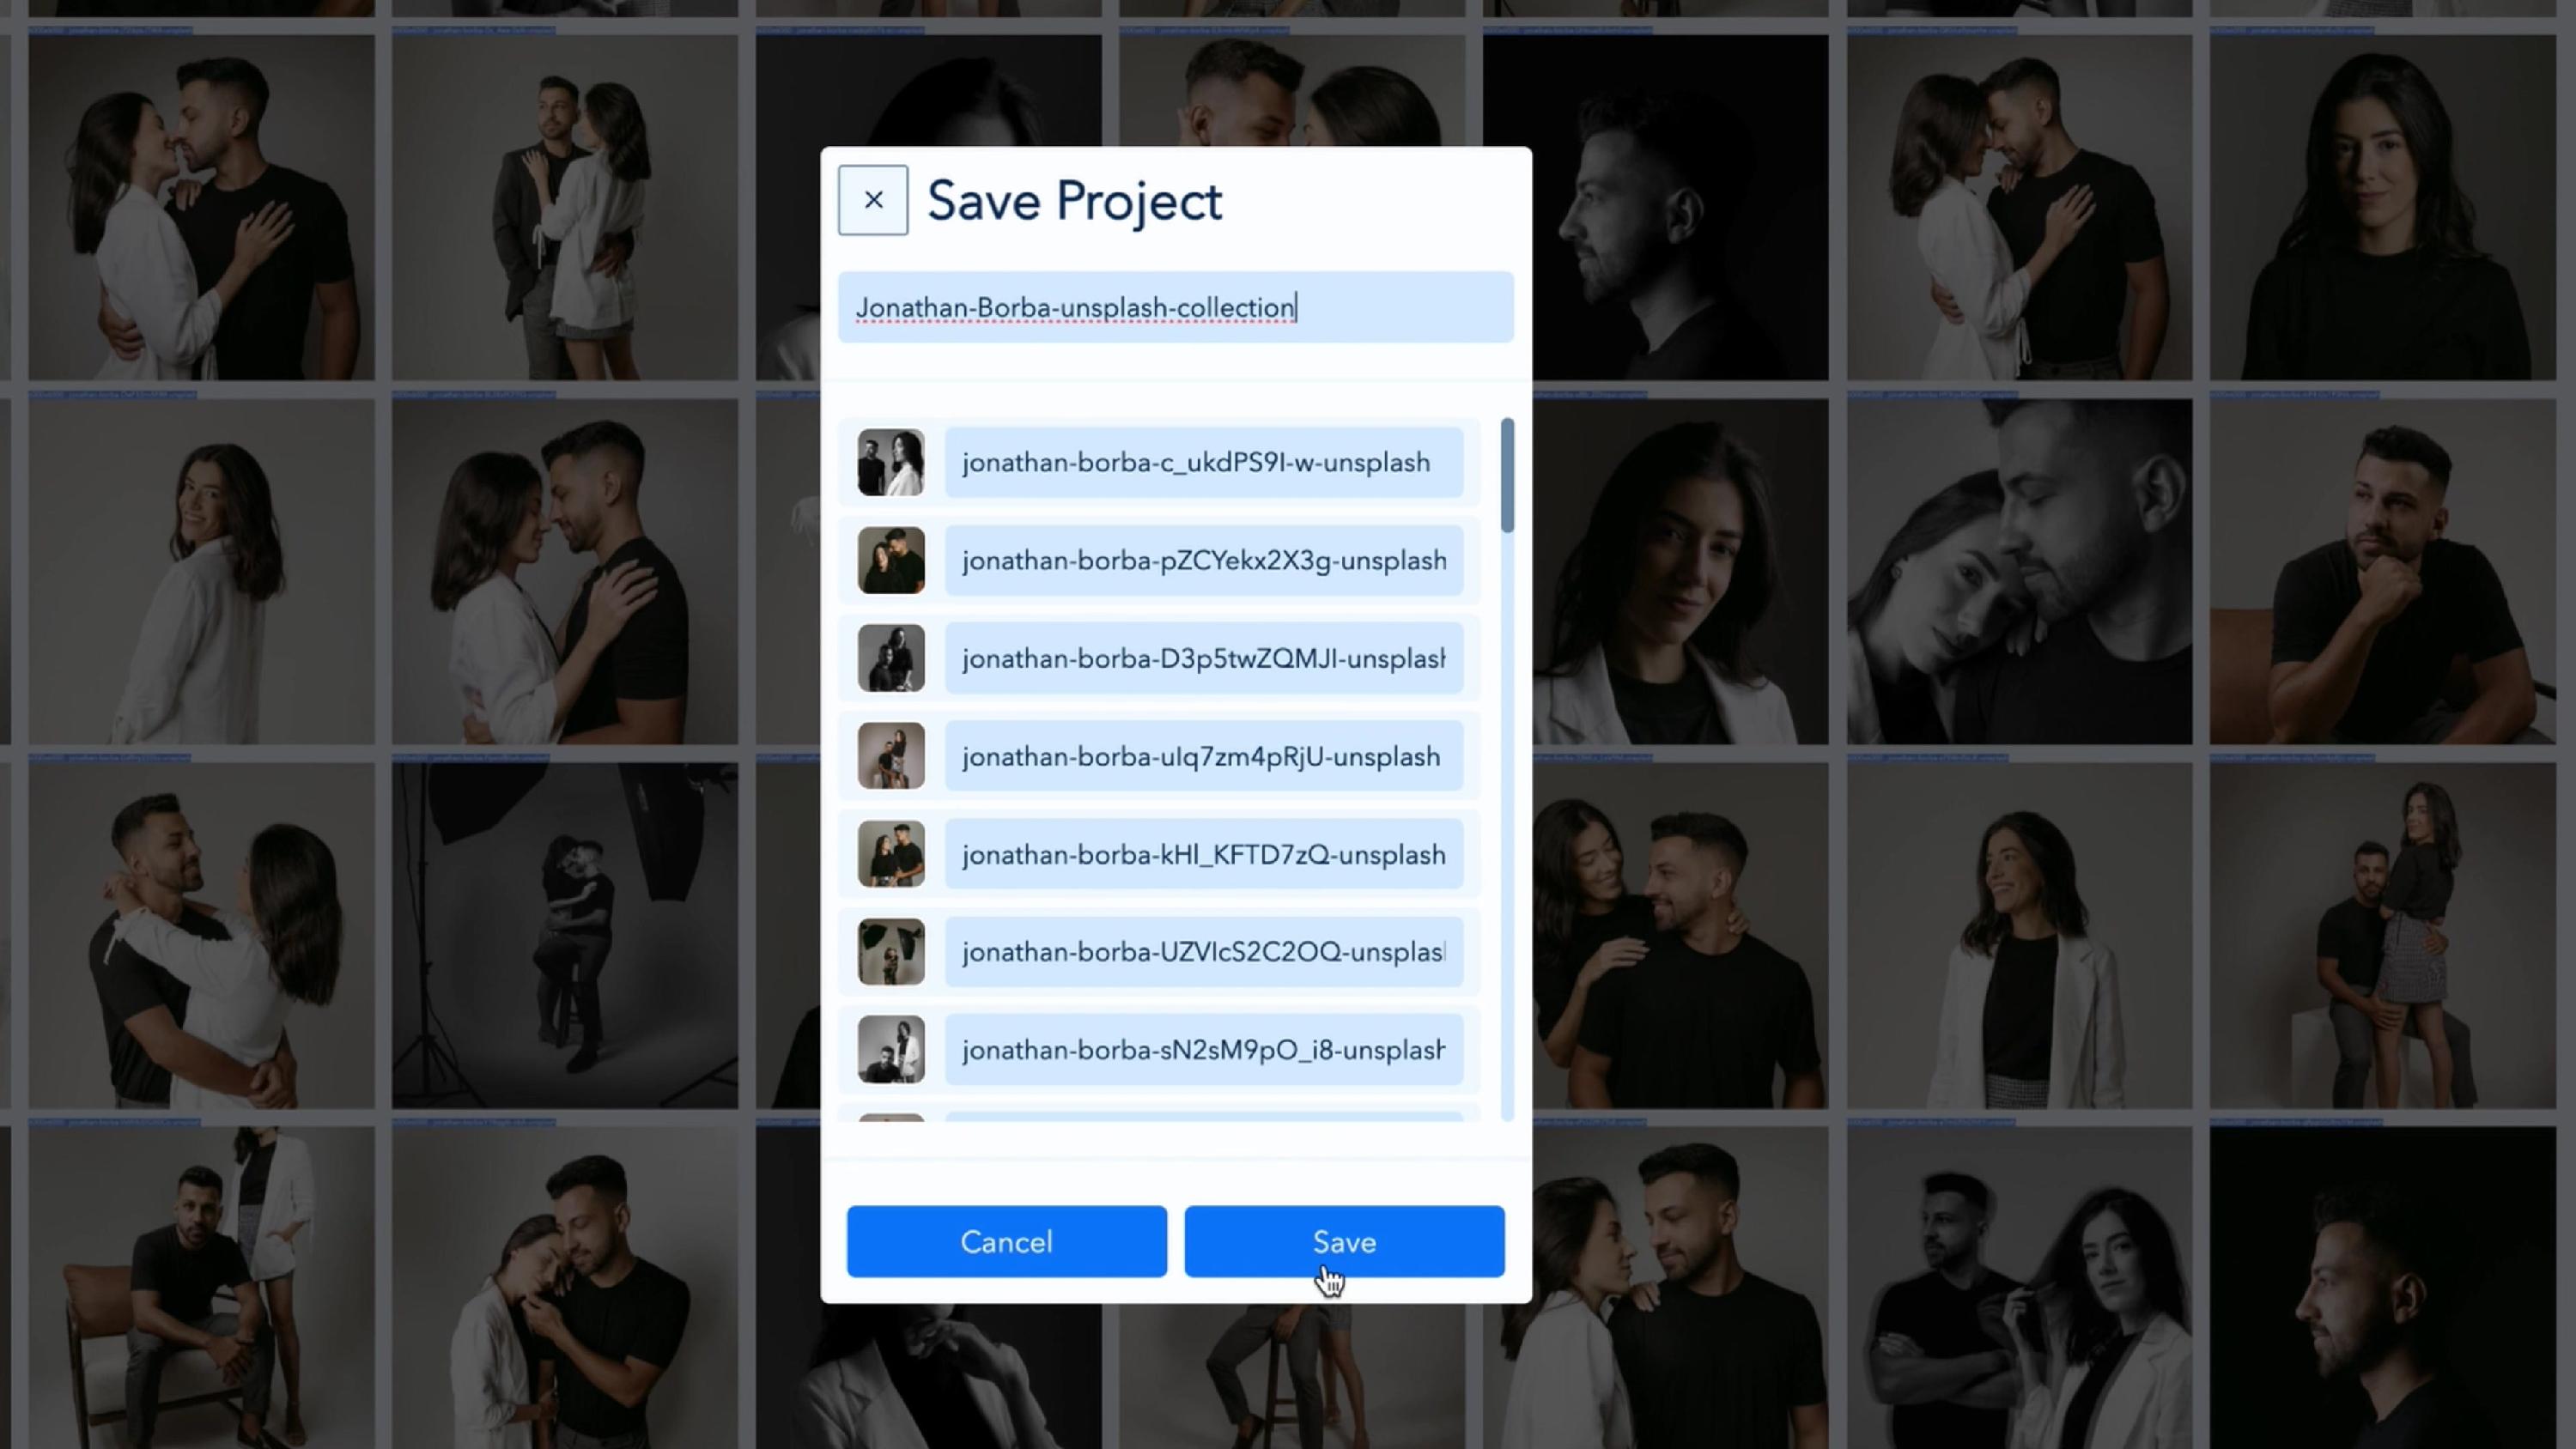
Click Save in the top bar. In the Save Project window, give the project a name and, if you like, rename individual photos, then click Save. Saving first means you can come back to the project at any time.
3. Type your text
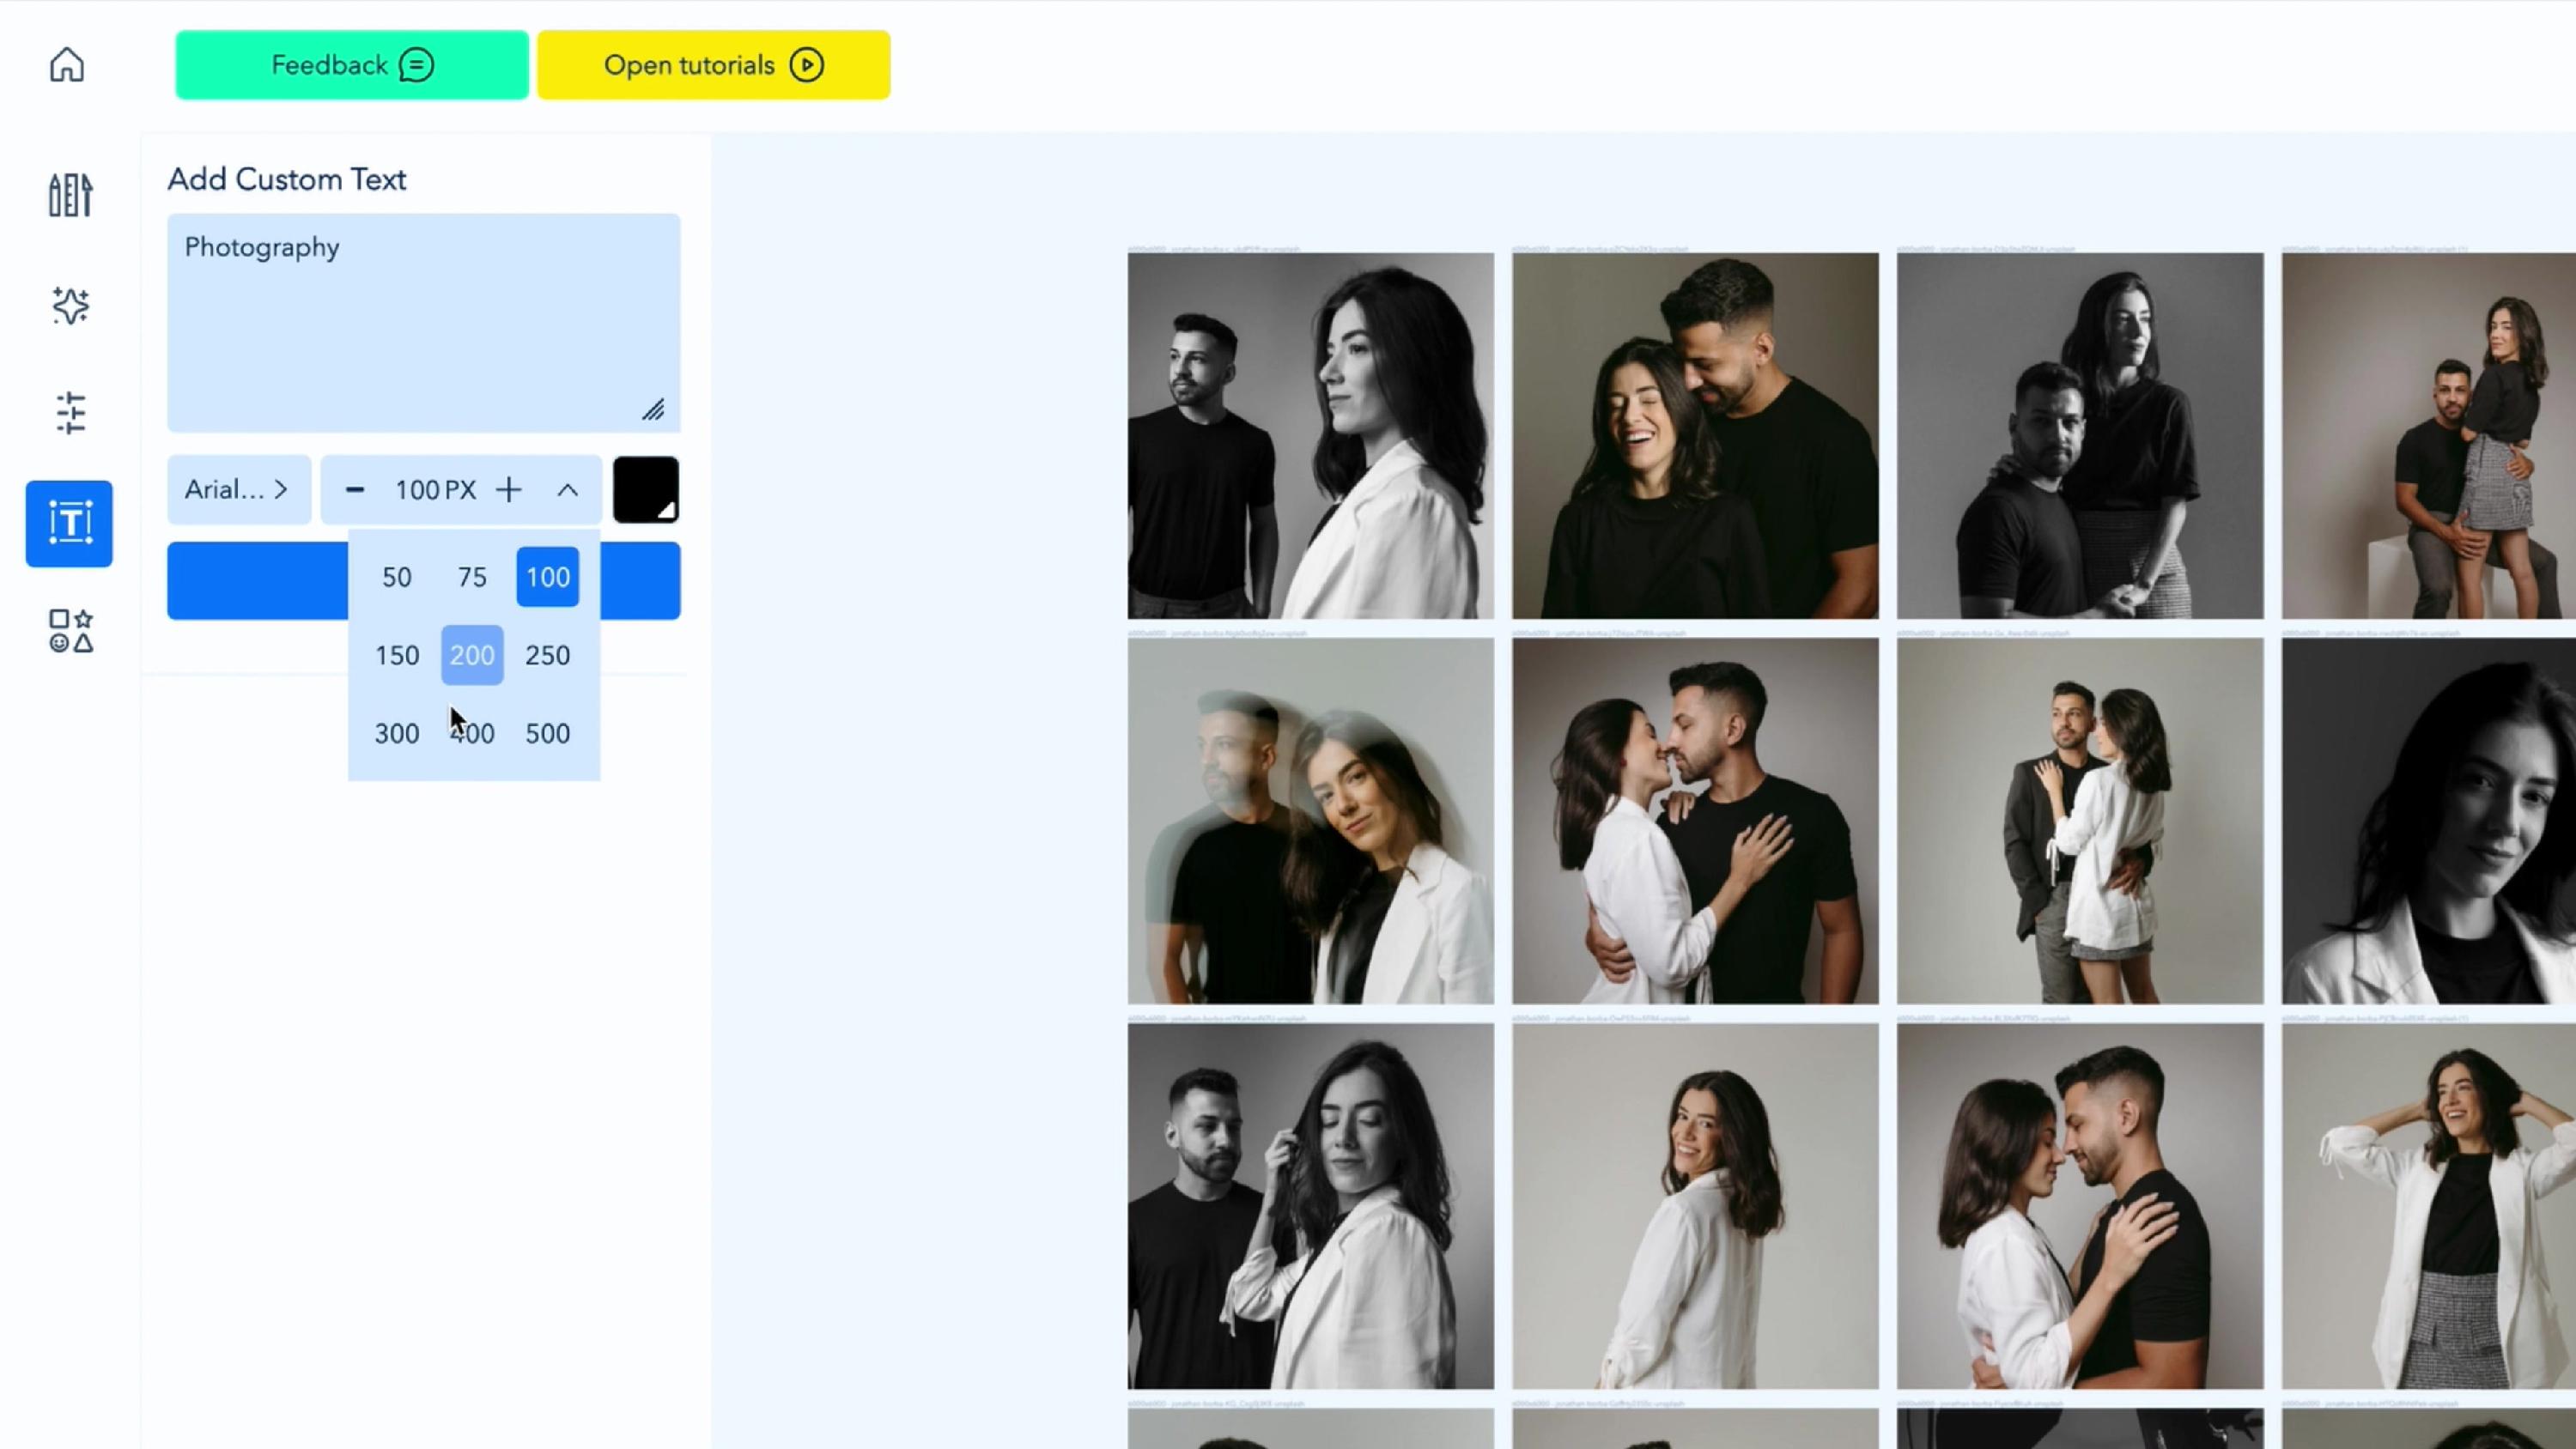
In the left menu, click the Text tool. Type your text in the Add Custom Text box, then set the font, size (px) and color.
4. Select the photos
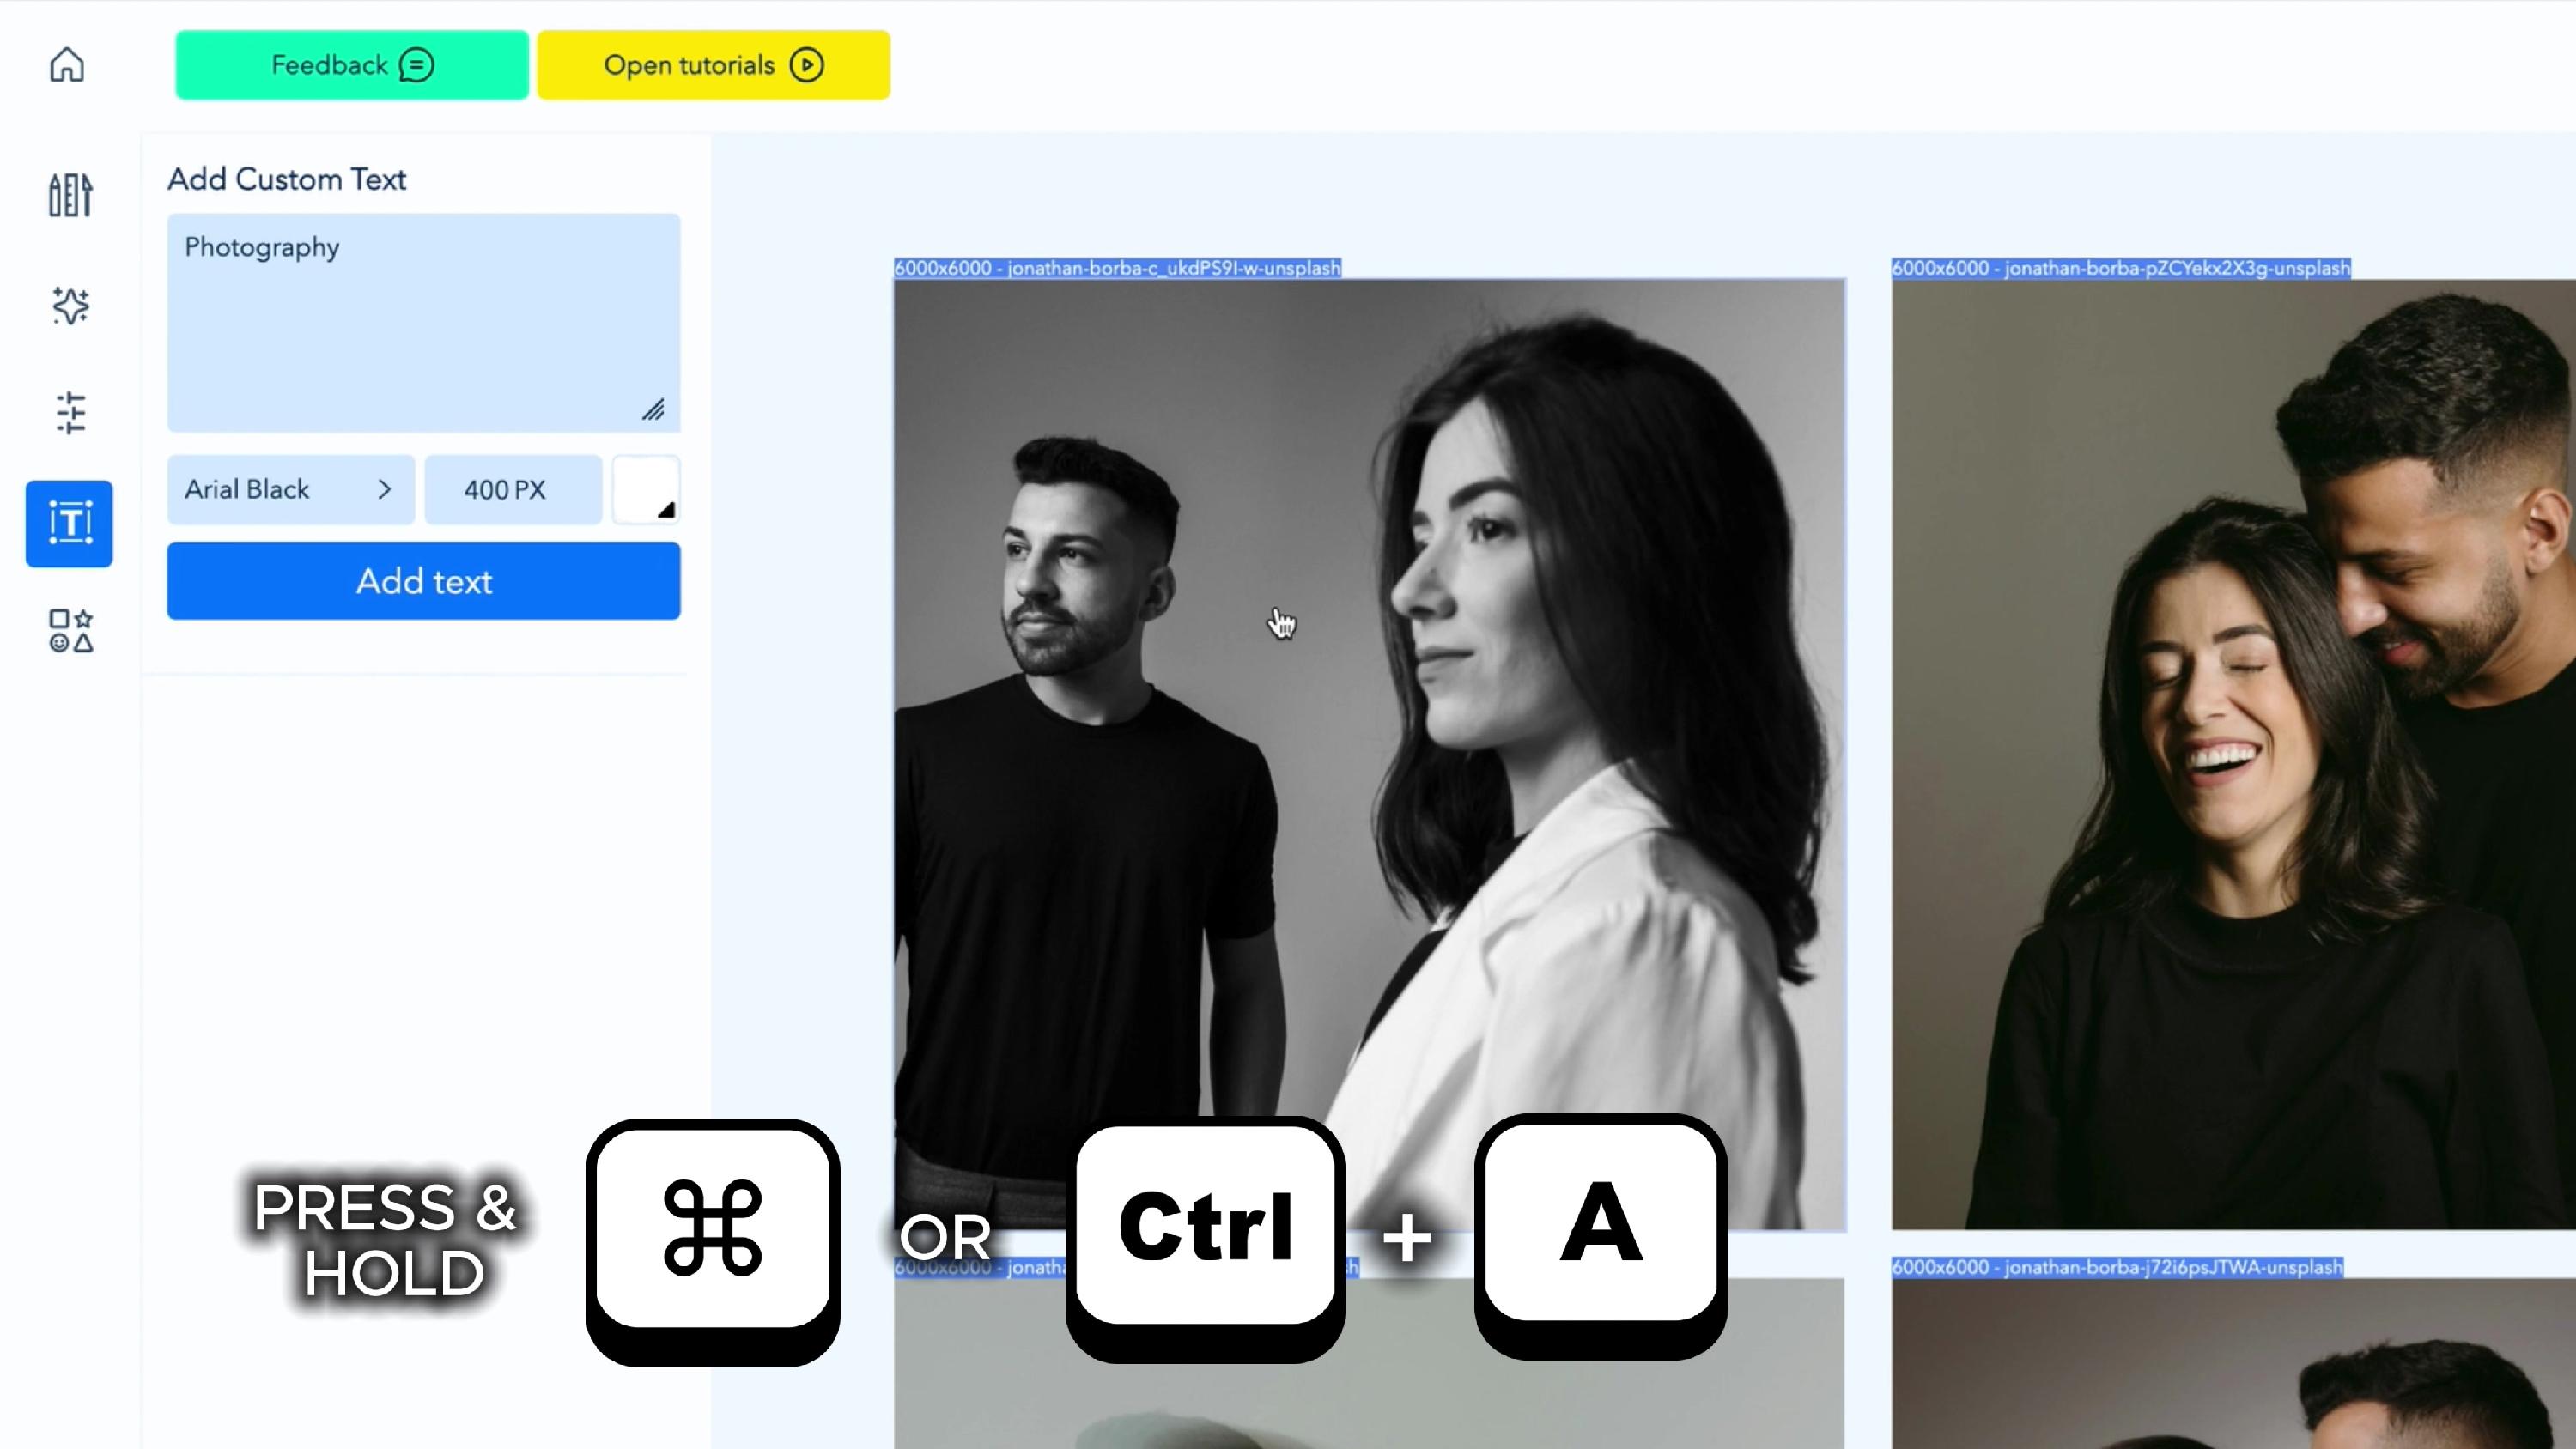
Text is added only to selected photos. Click one photo on the canvas, then press Cmd + A (Mac) or Ctrl + A (Windows) to select them all. You can also click the select all (hand) icon at the top of the project panel.
5. Click Add text
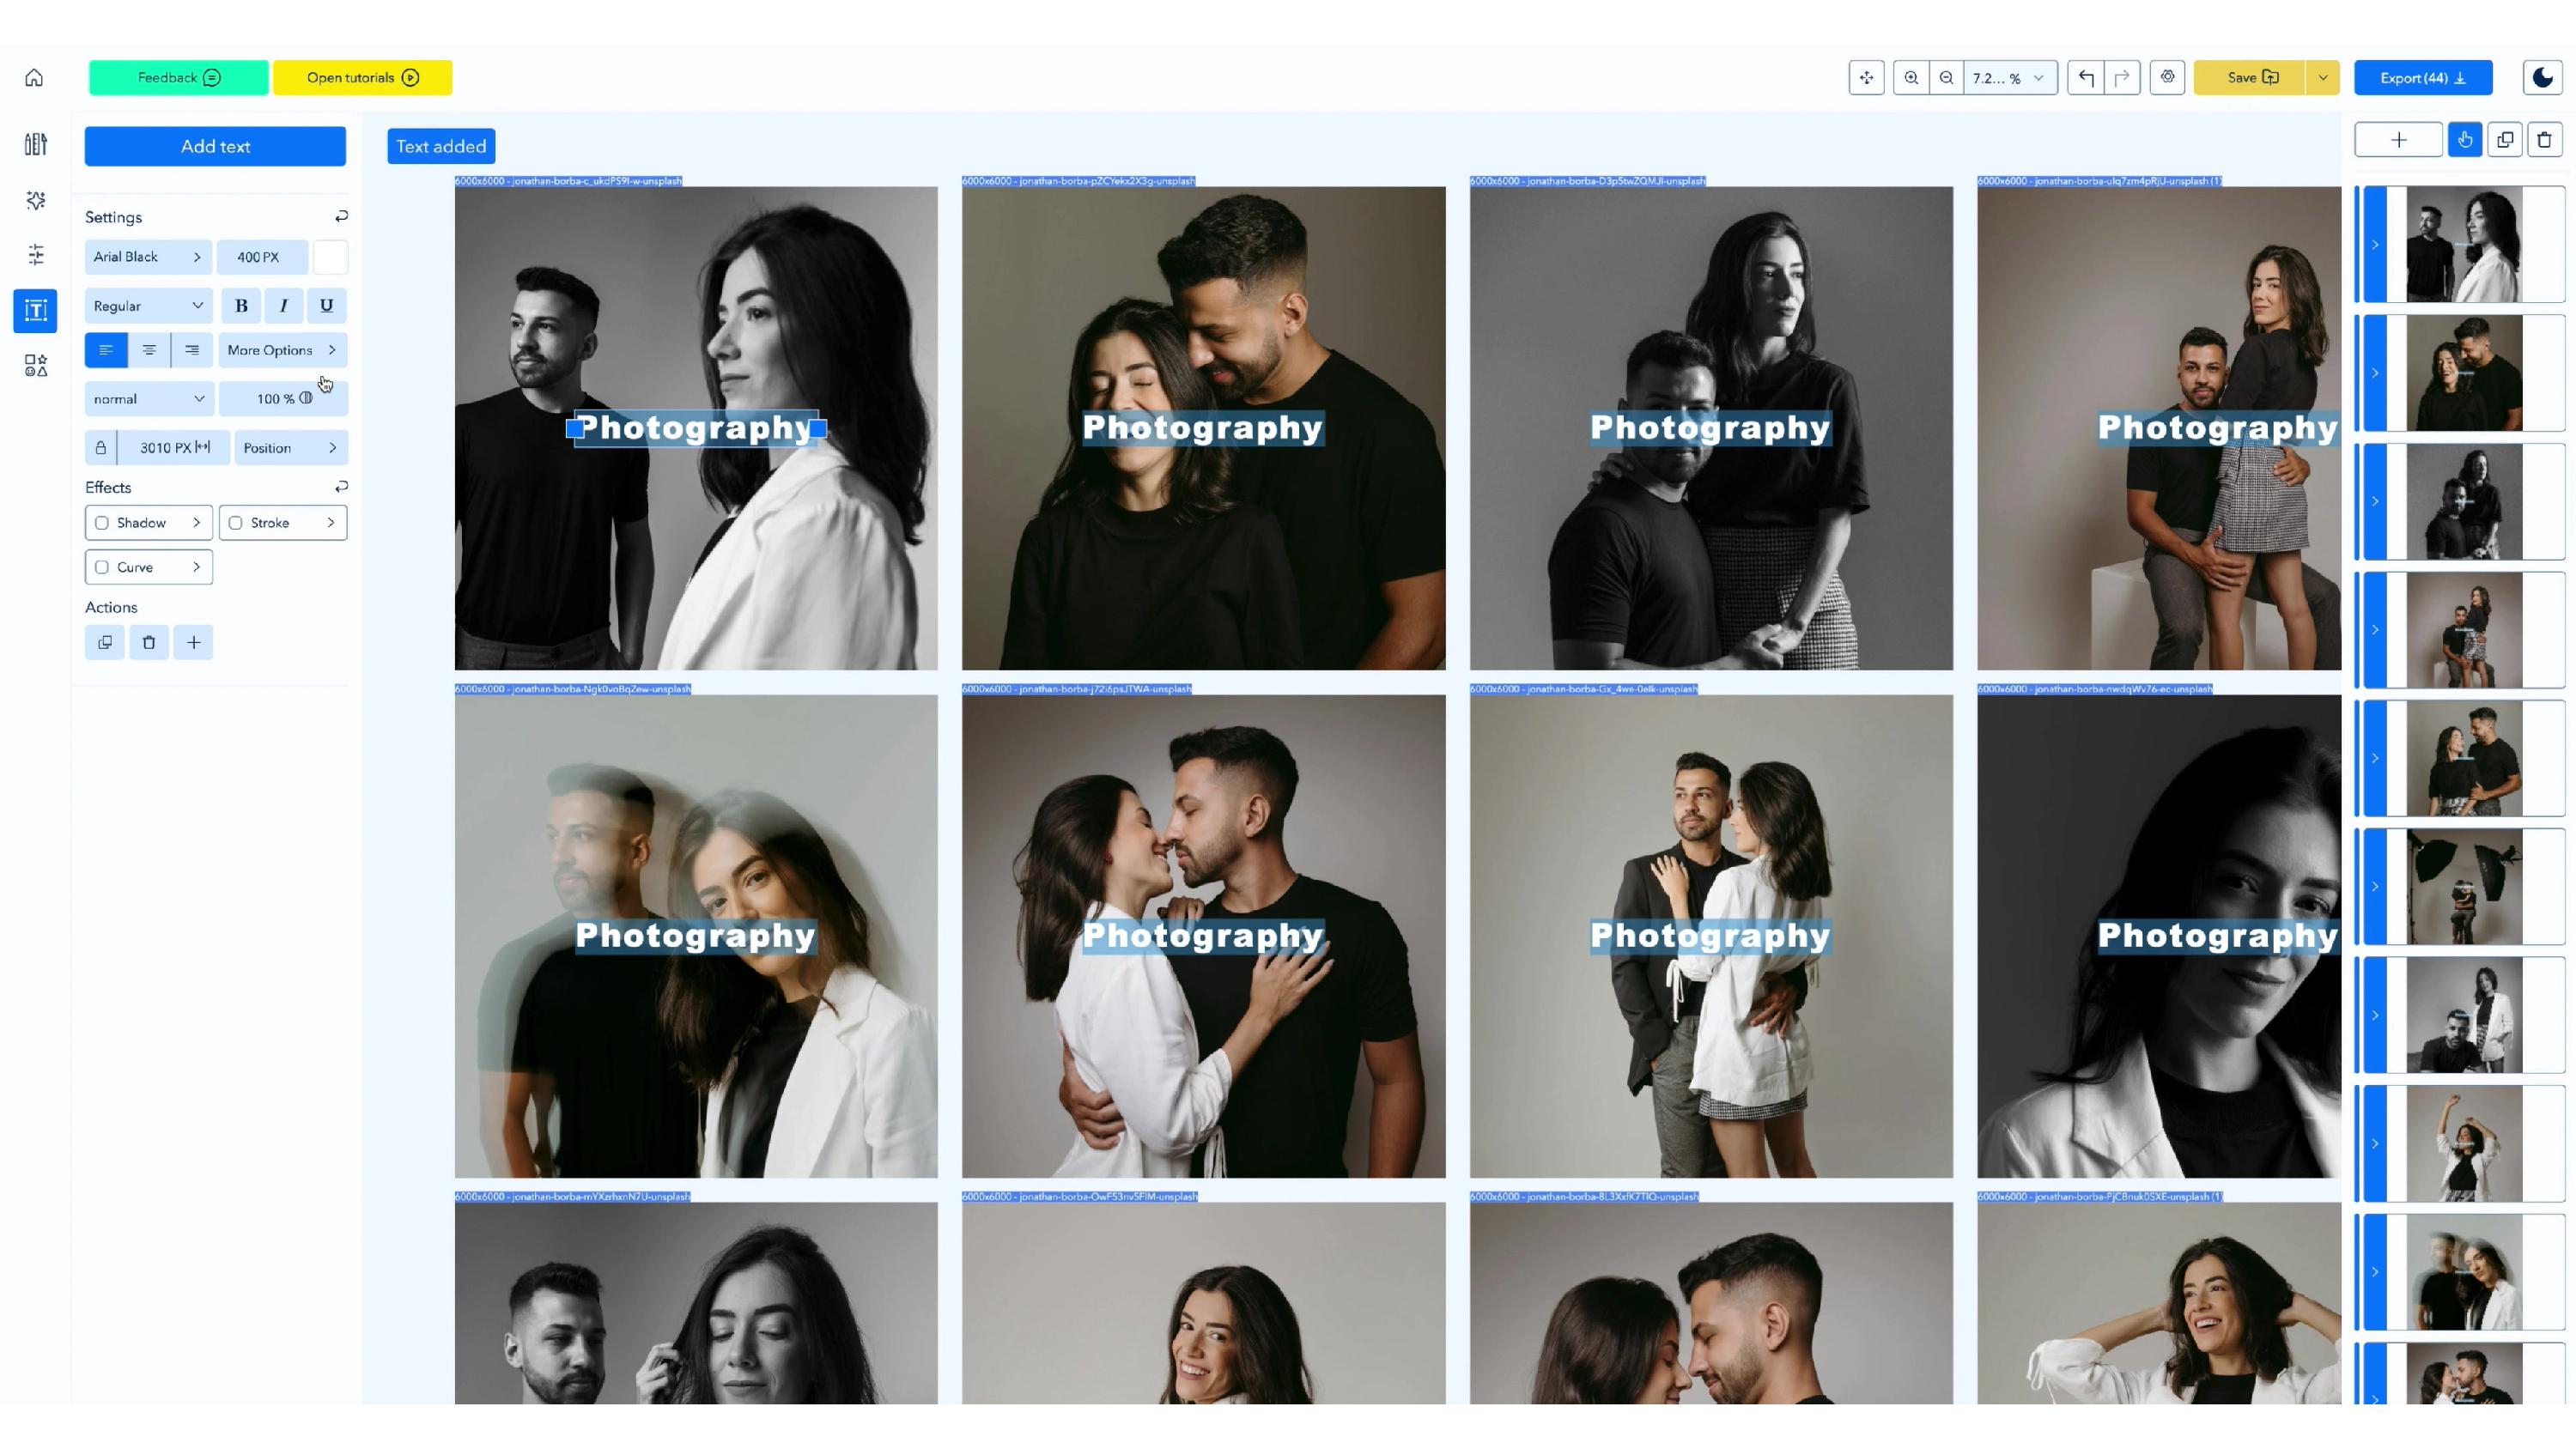
Click Add text. The text appears on every selected photo, and the text Settings open in the panel.
6. Style your text (optional)
Use Settings to change the font, weight, bold, italic, underline, alignment, opacity and width. Any change applies to all the text you have selected.
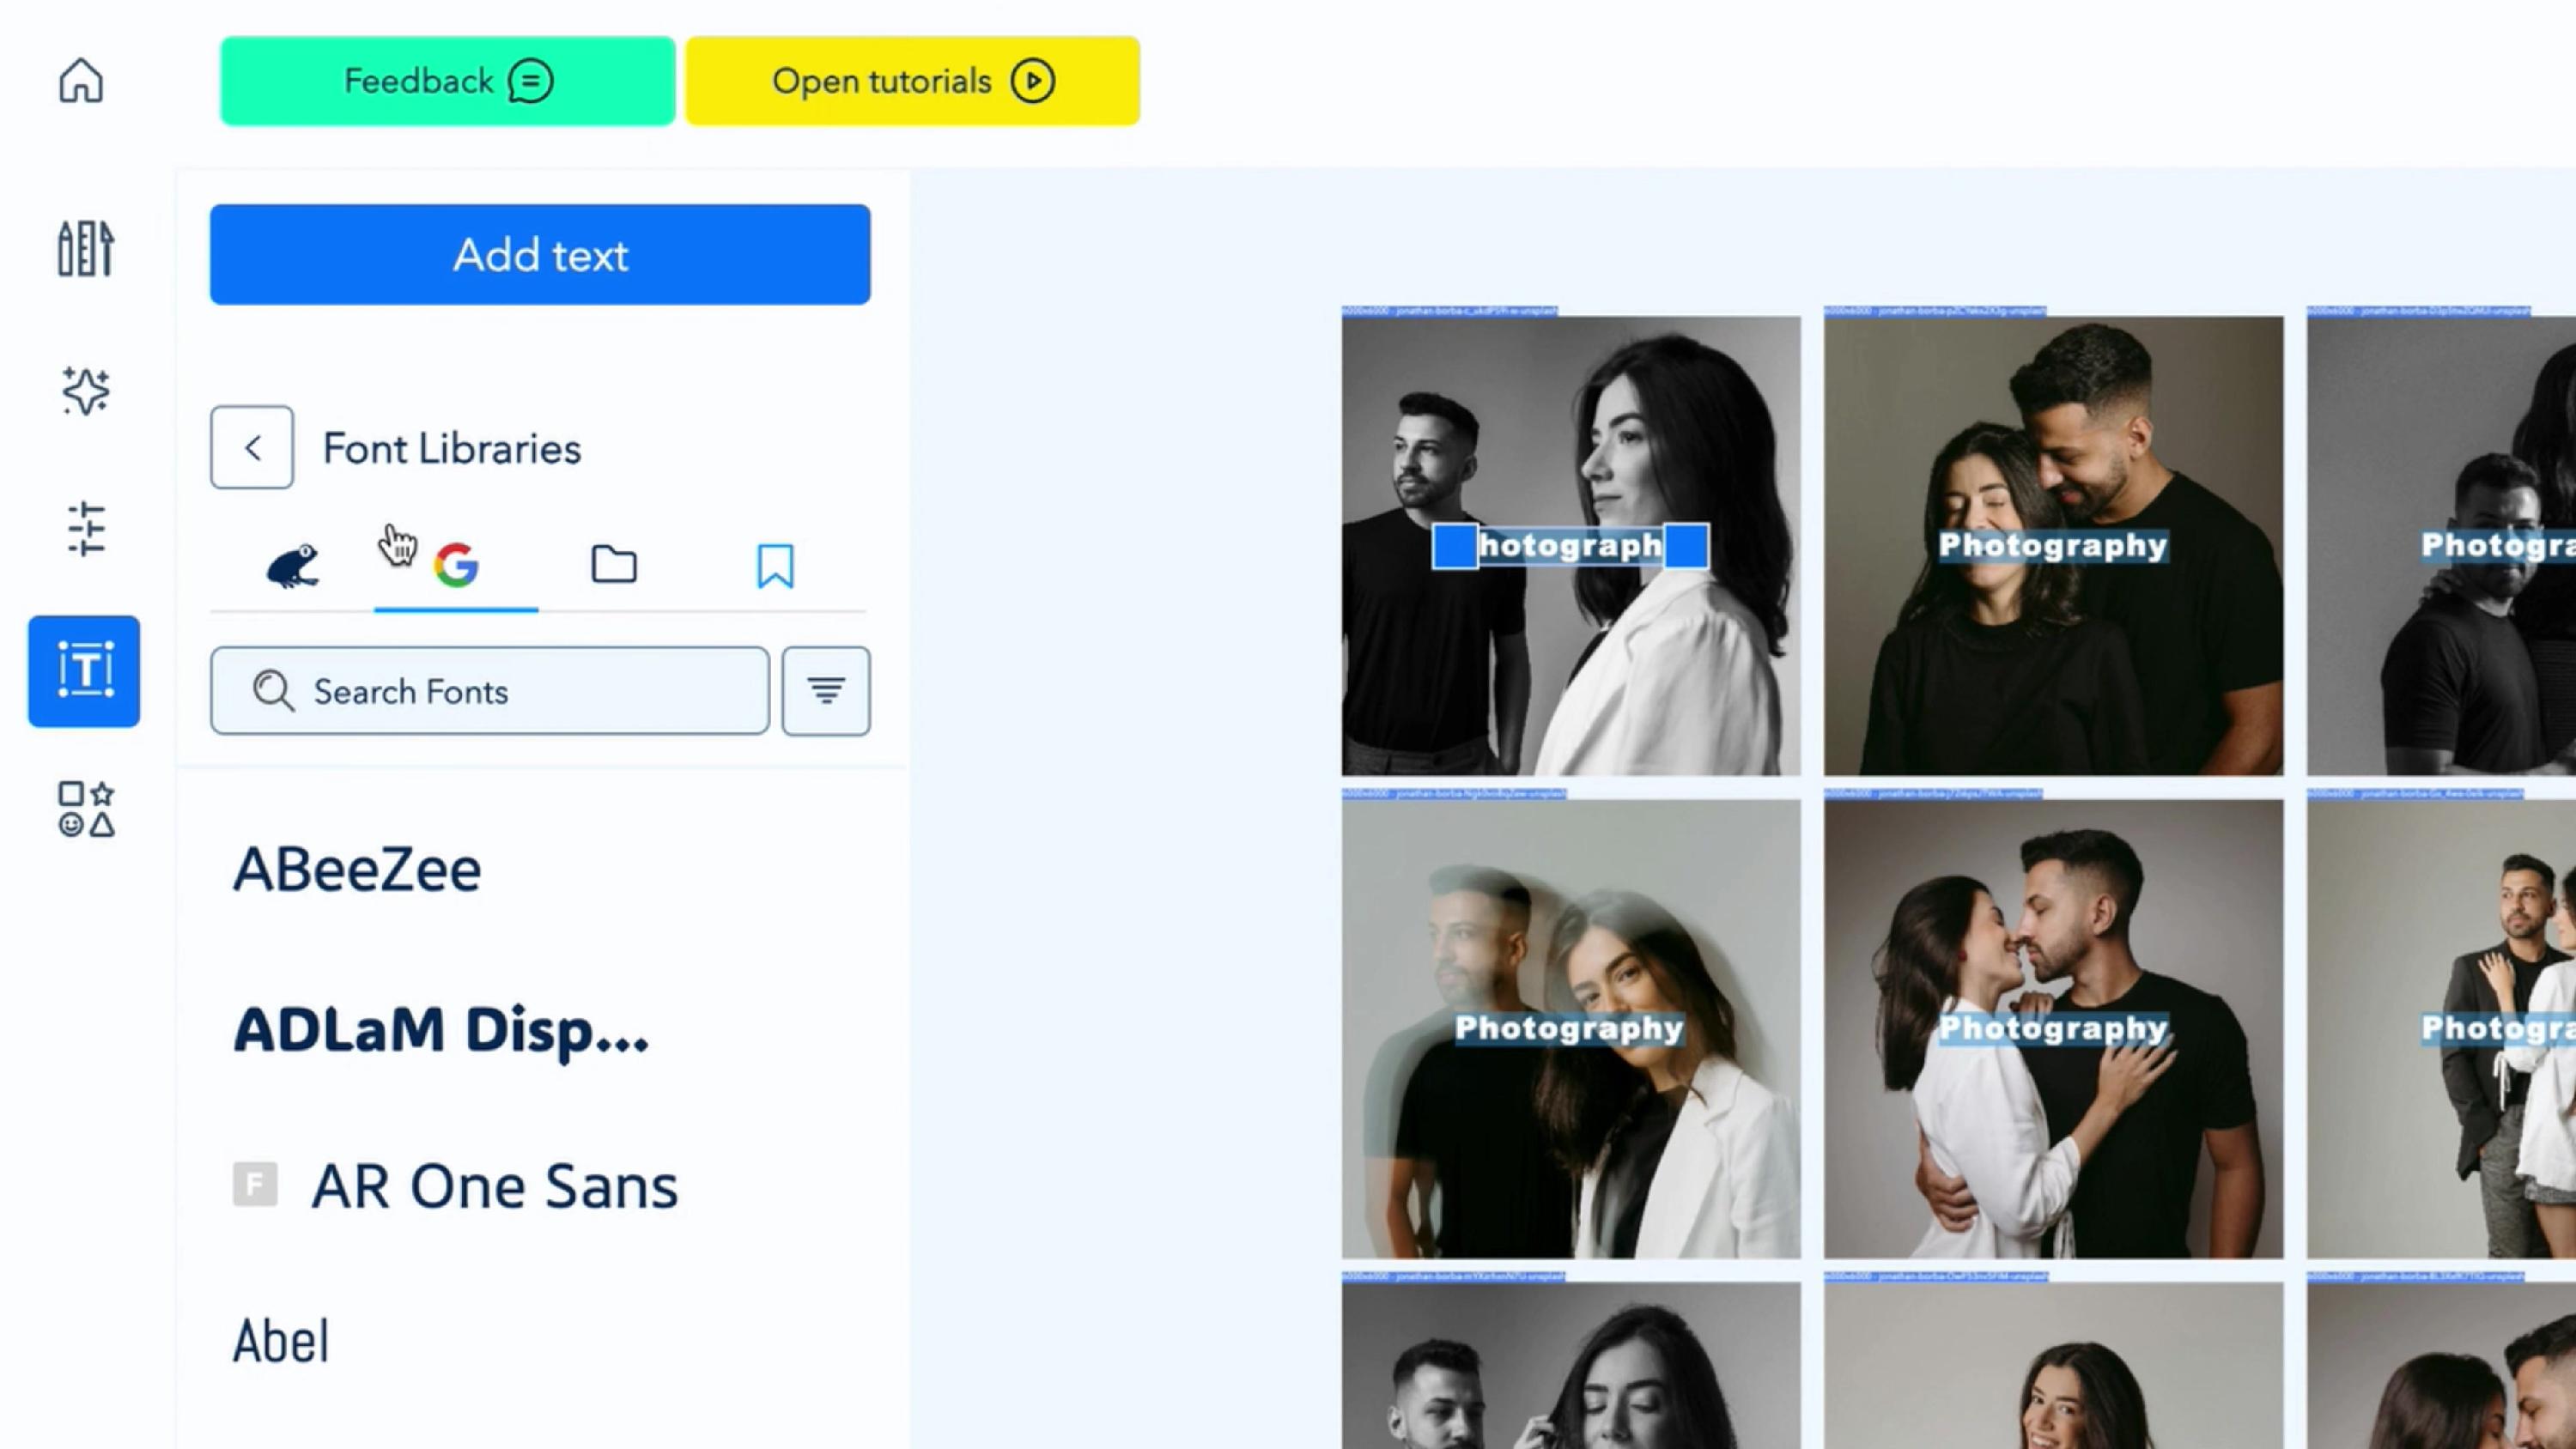
- Fonts: click the font name to open Font Libraries and browse a wide range of fonts.
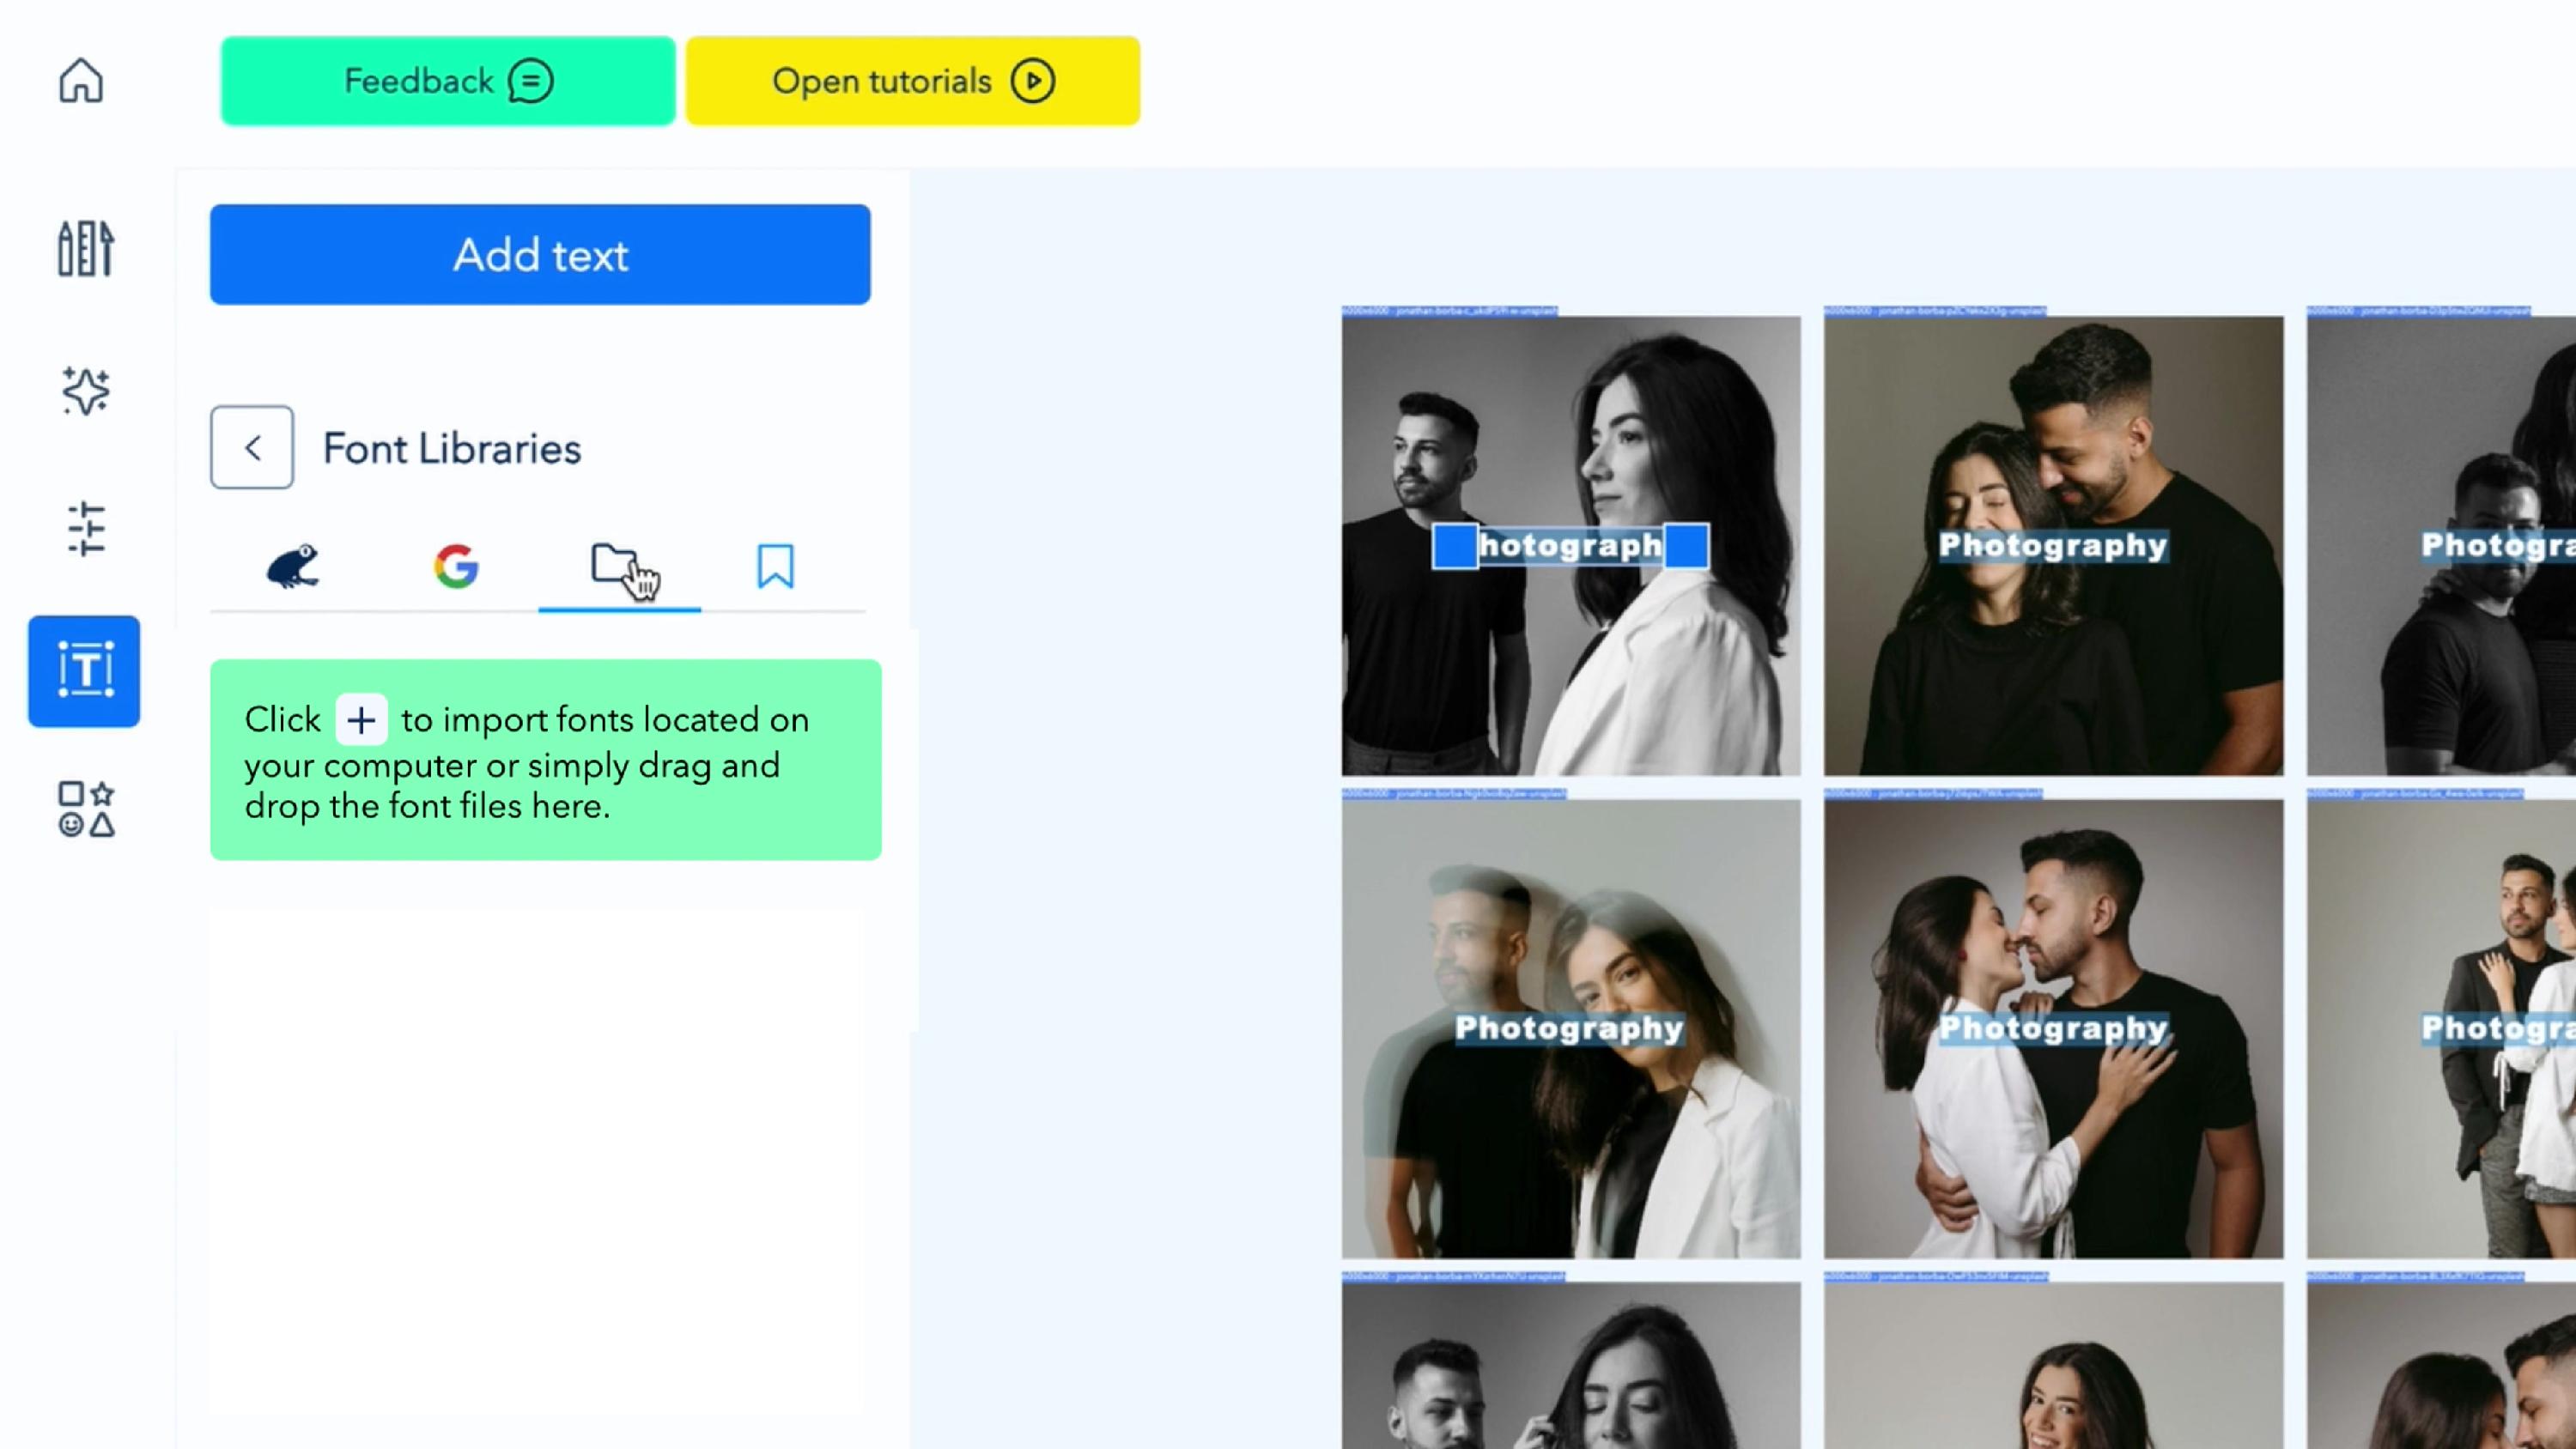
- Your own fonts: in Font Libraries, click the folder icon, then click + or drag your font files into the panel.
7. Place the text in the same spot on every photo
You can drag the text on any photo to move it by hand. To put it in exactly the same place on every photo:
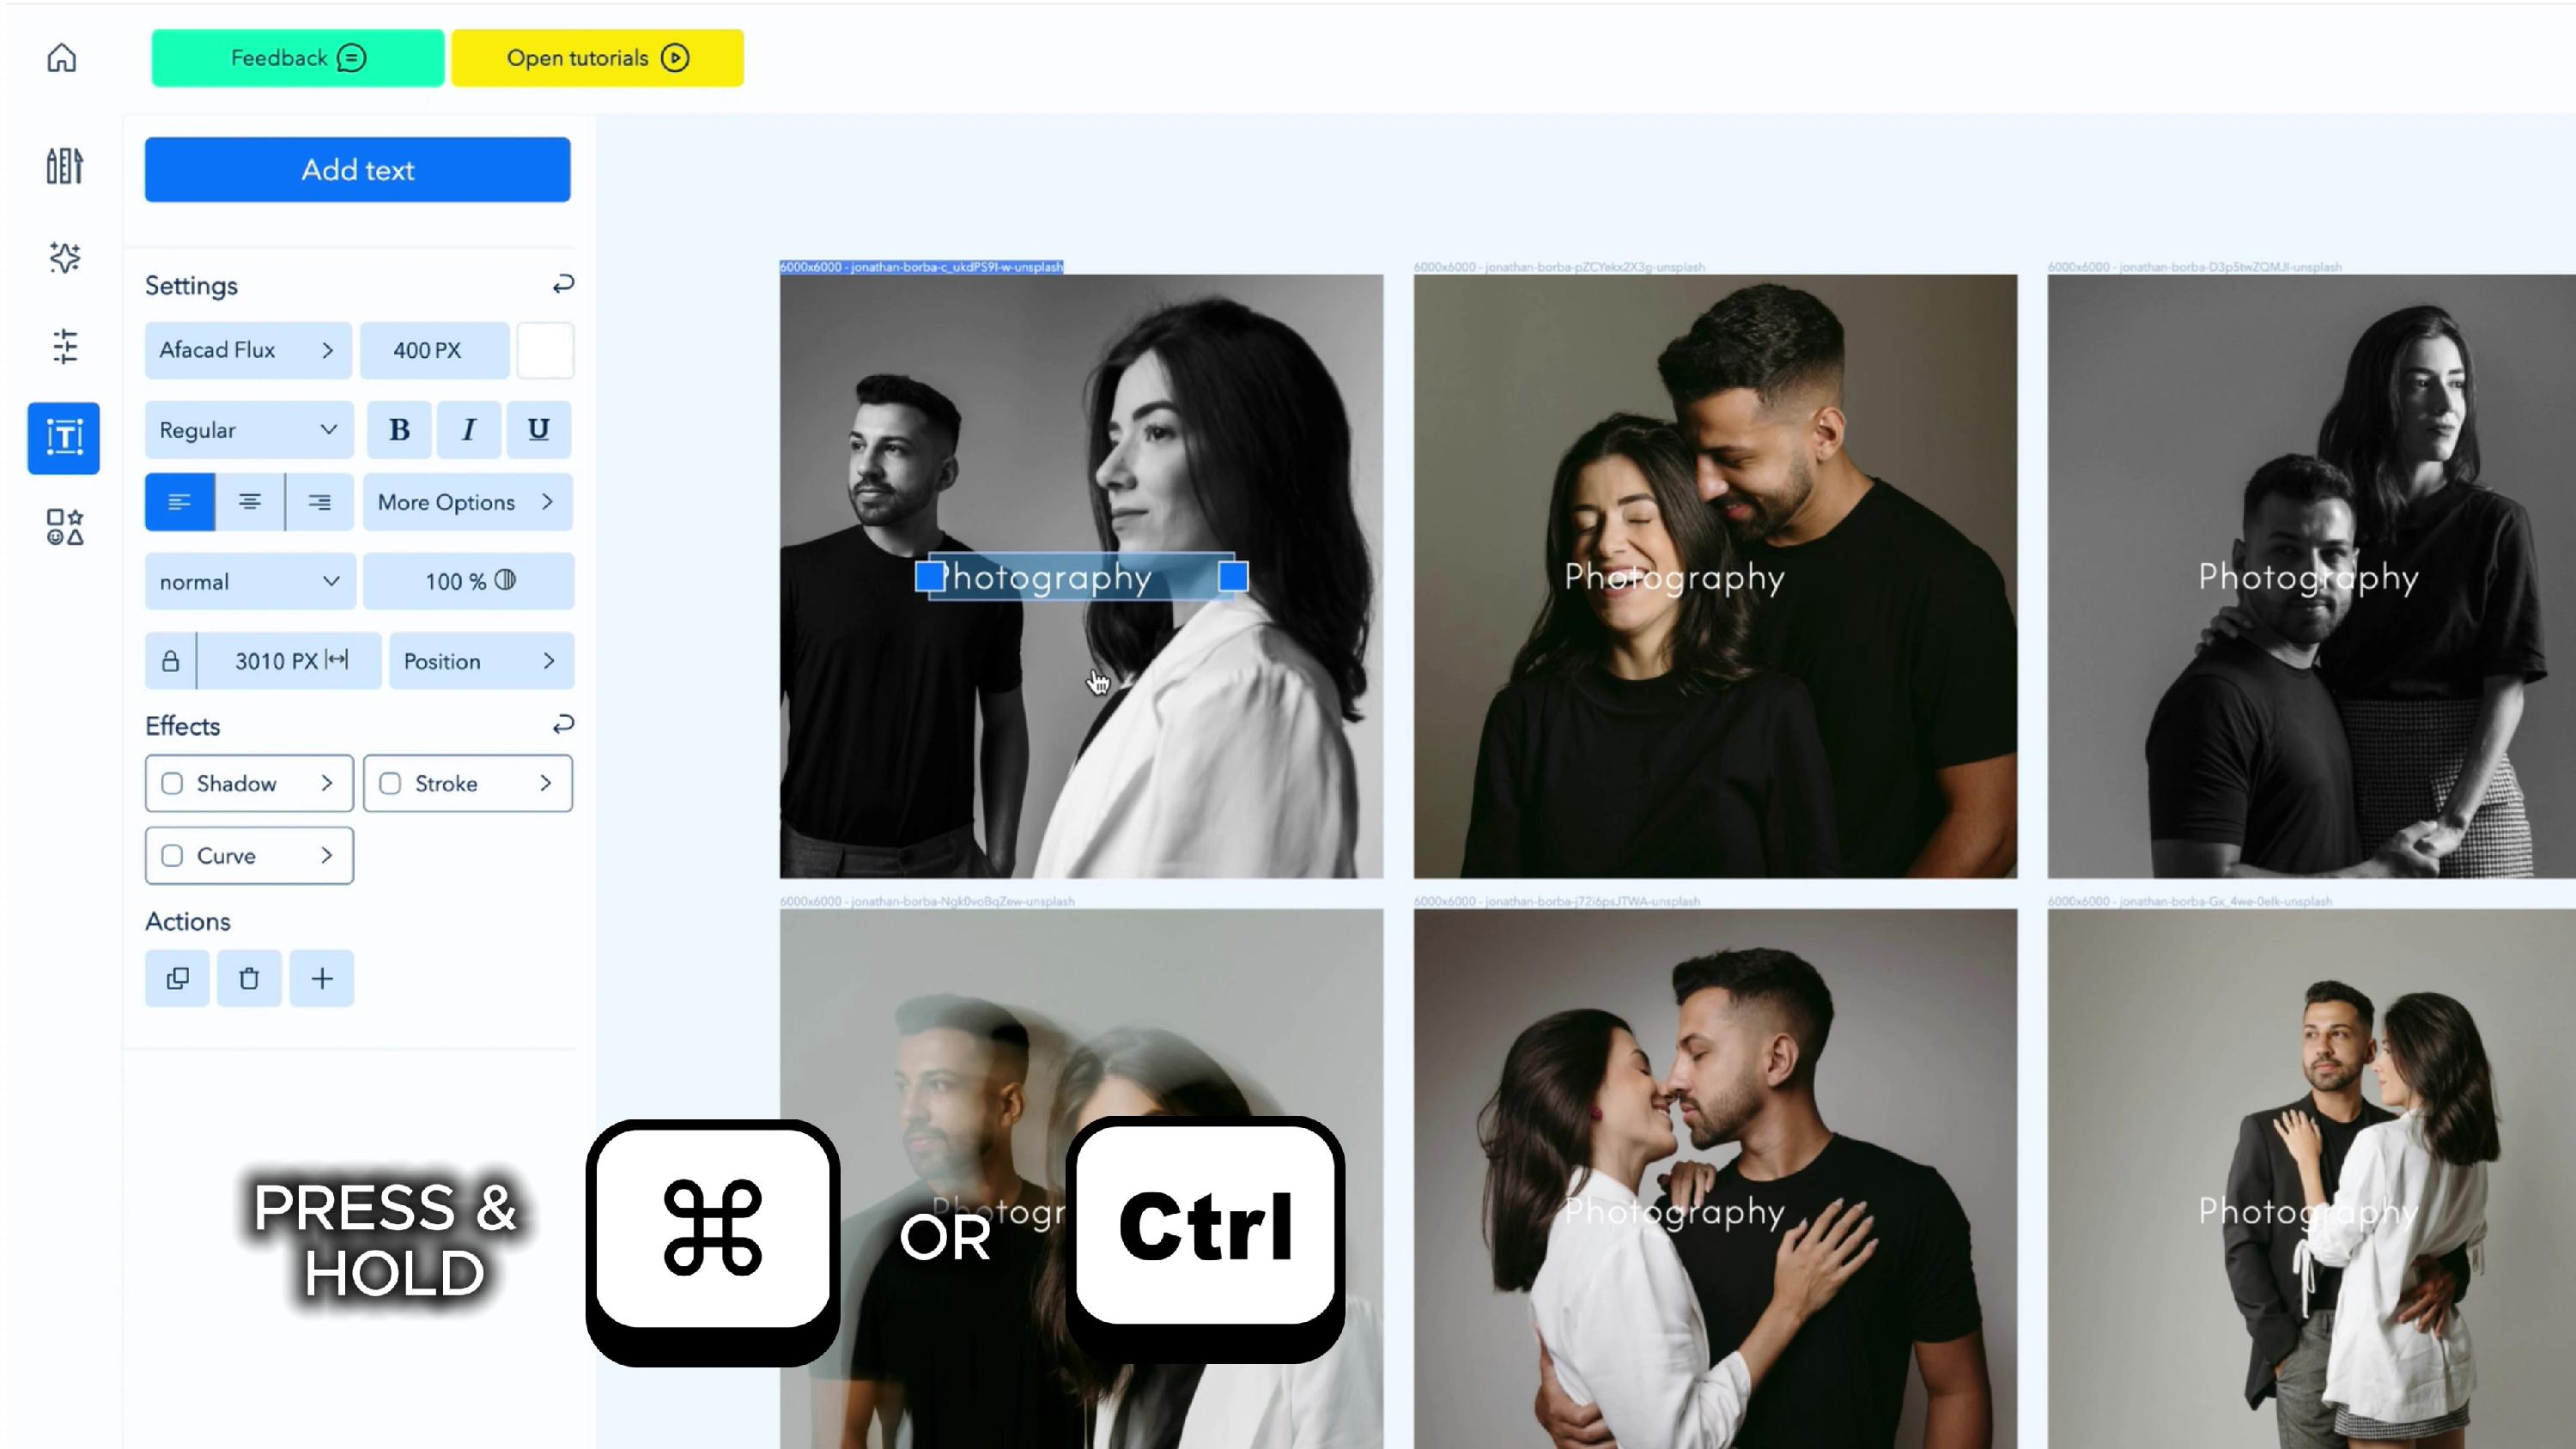
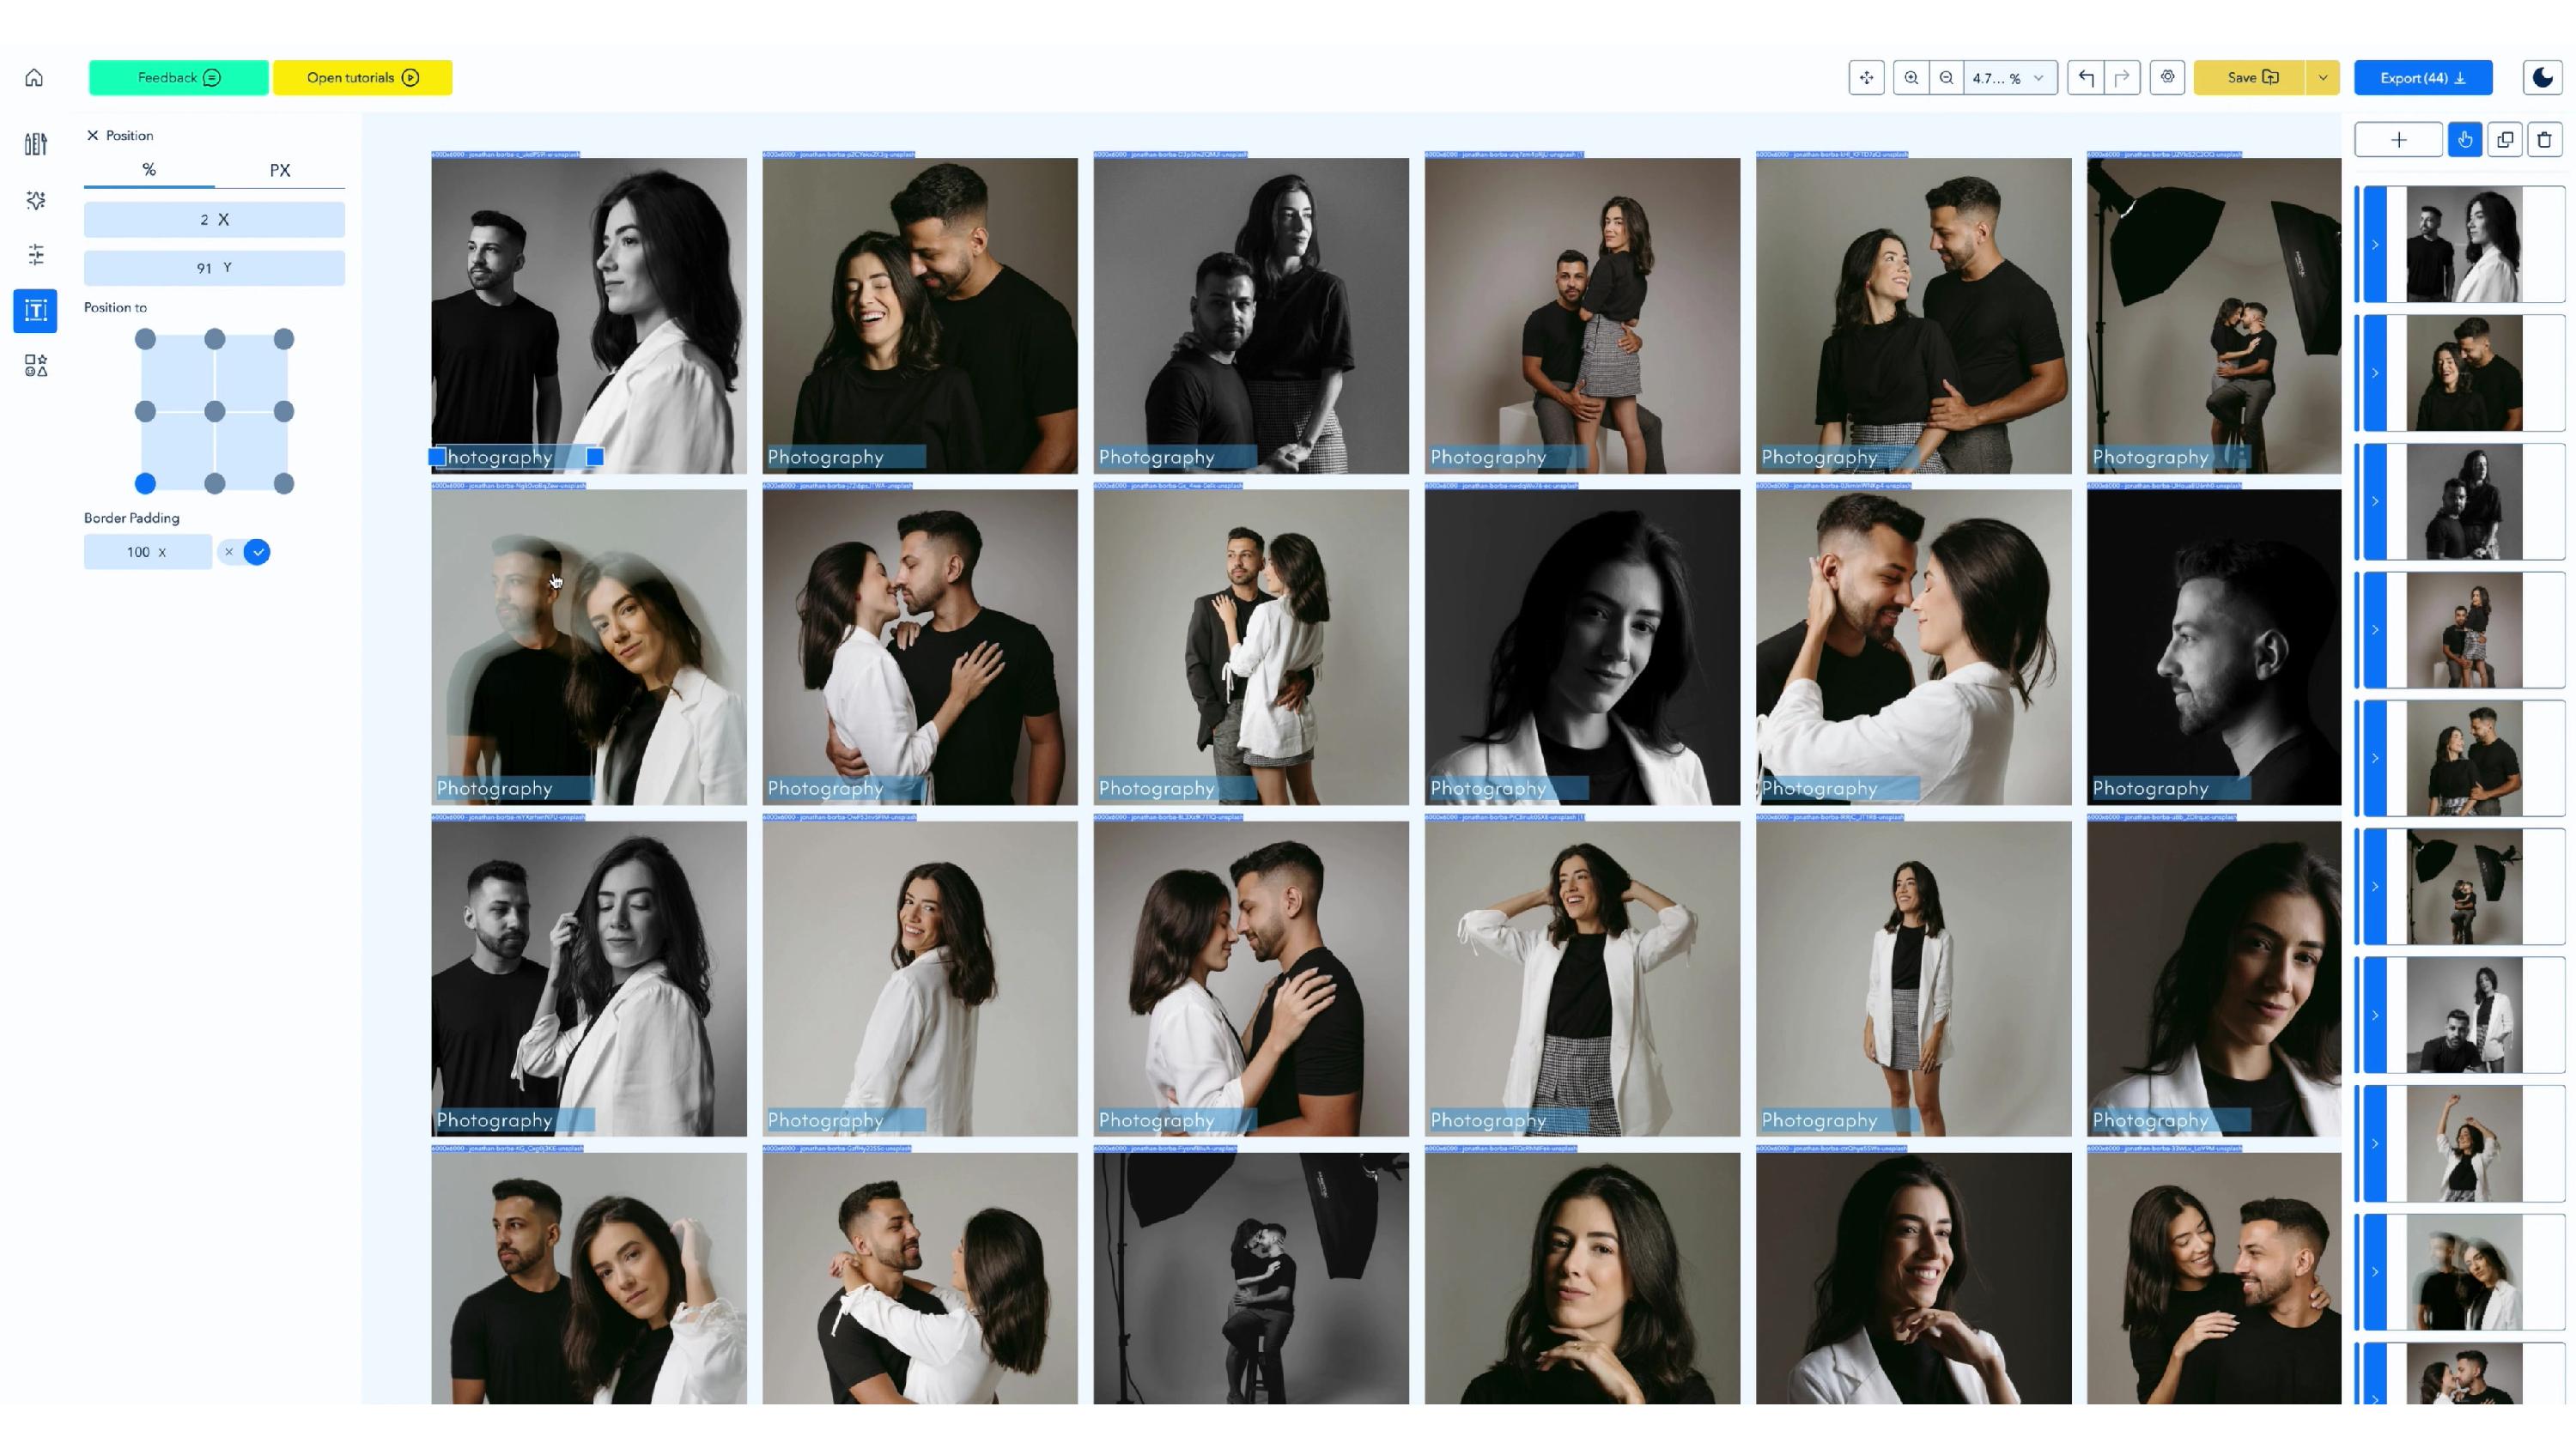
- Click the text on one photo, then press Cmd + A or Ctrl + A to select the text on all photos.
- In the text Settings, click Position.
- Under Position to, click a point on the grid, such as bottom-left.
- Turn on Border Padding and set a distance, such as 100 px, so the text doesn't touch the edge.
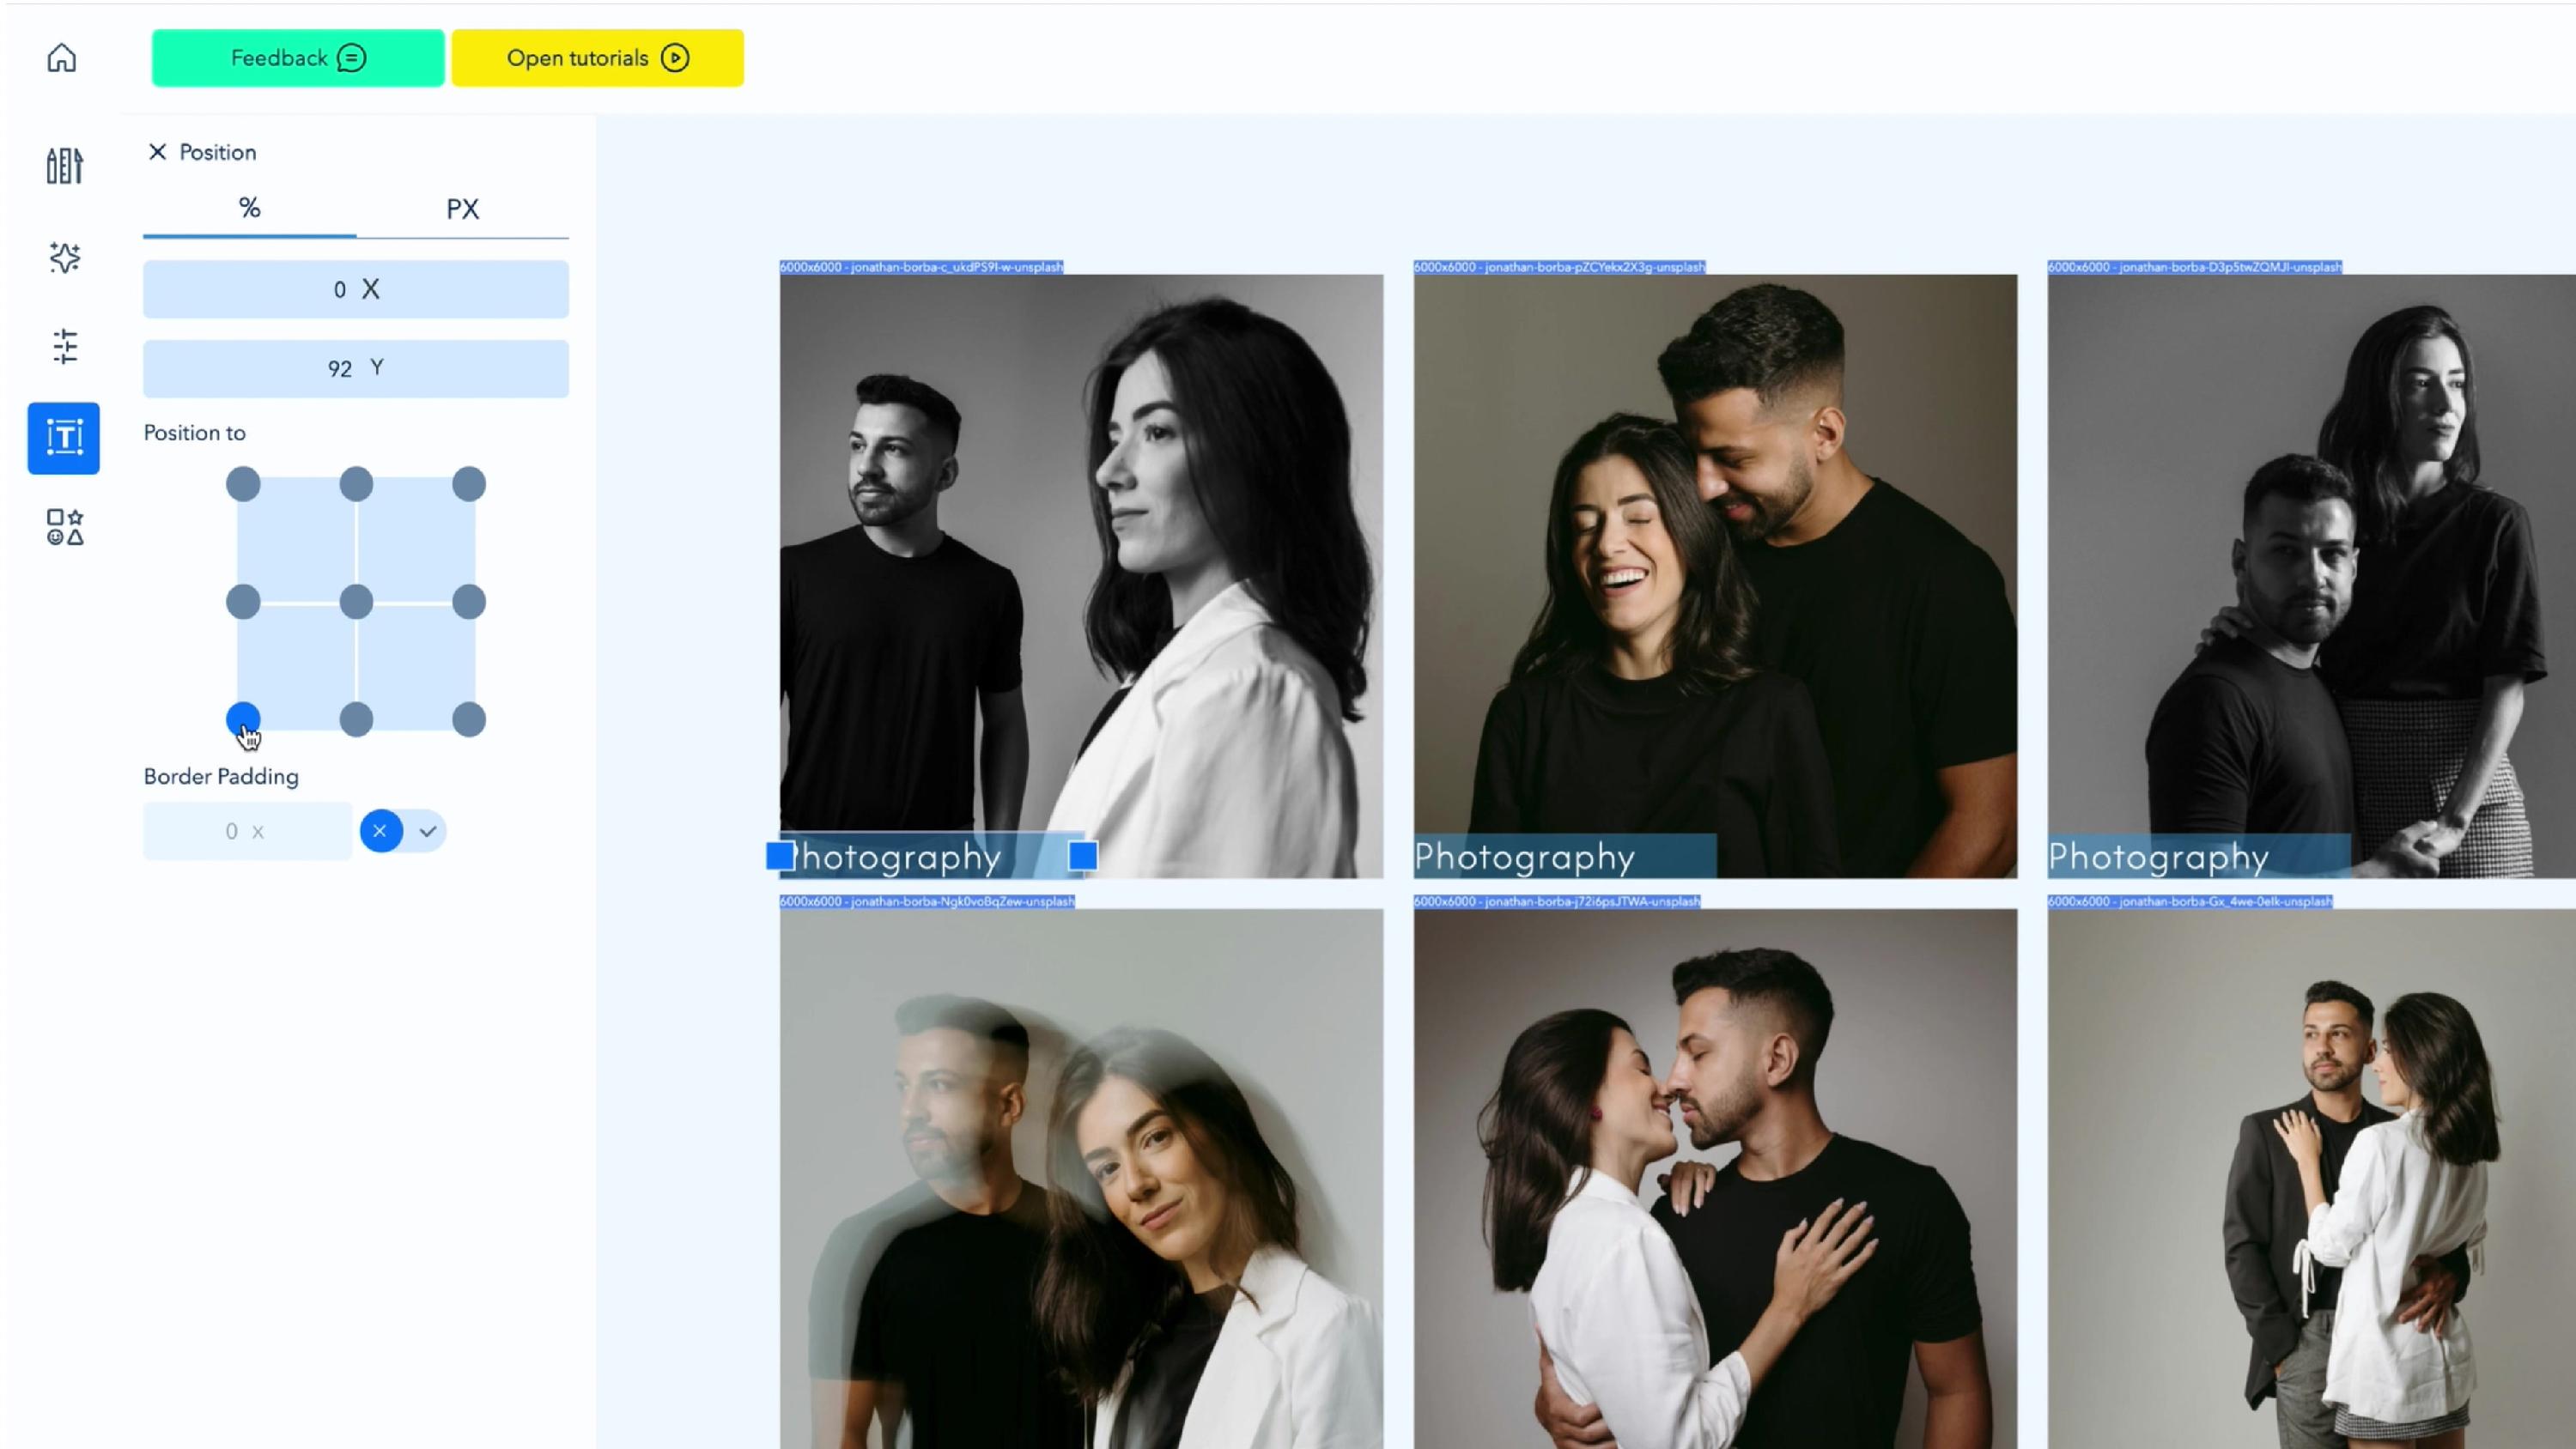
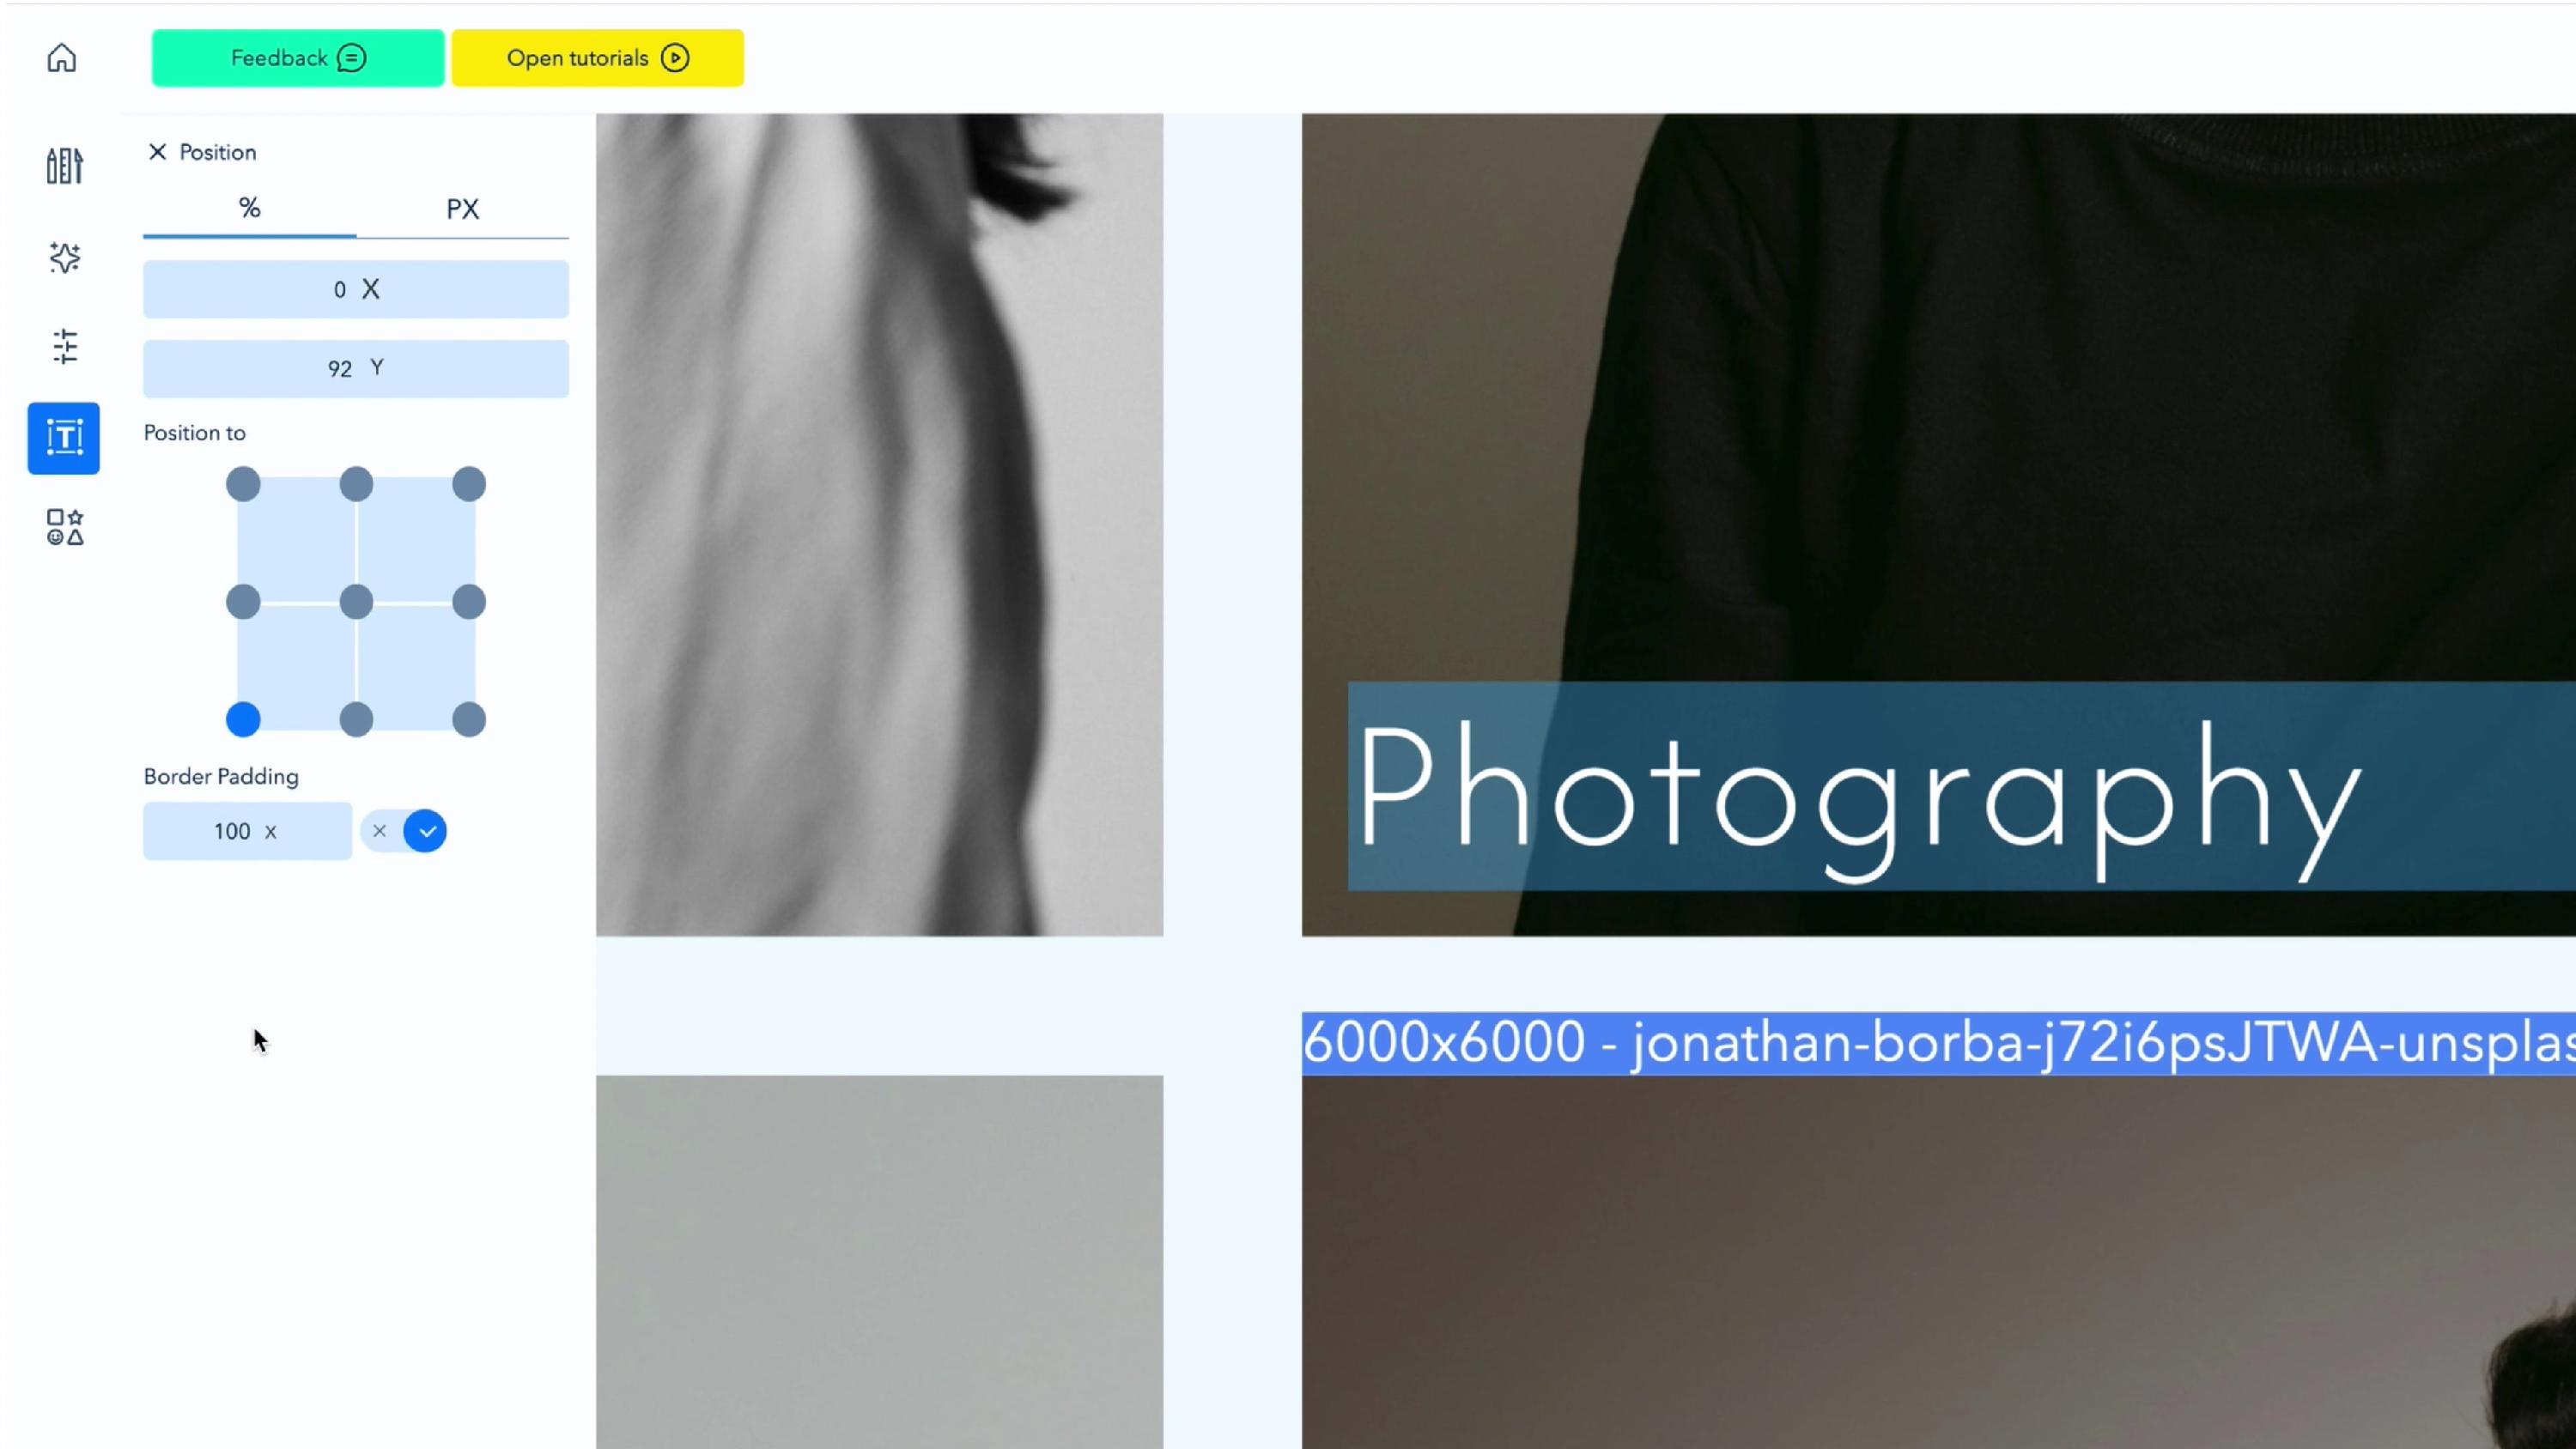
The text now sits in the same spot on every photo. This works even when your photos are different sizes.
8. Export or save your work
To download your photos, click Export in the top bar, choose the photos, format and quality, and click Export Selected. Files are saved to your Downloads folder by default. To keep working later, click Save instead.
Tips
- Use Position and Border Padding instead of dragging when the text must sit in the same place on every photo. Dragging moves only the text you grab.
- To remove text, select it and use the delete icon under Actions in the text Settings. Make sure the text you want removed is selected first.
- Changed your mind? Use the Undo and Redo buttons (the arrow icons at the top right).
-
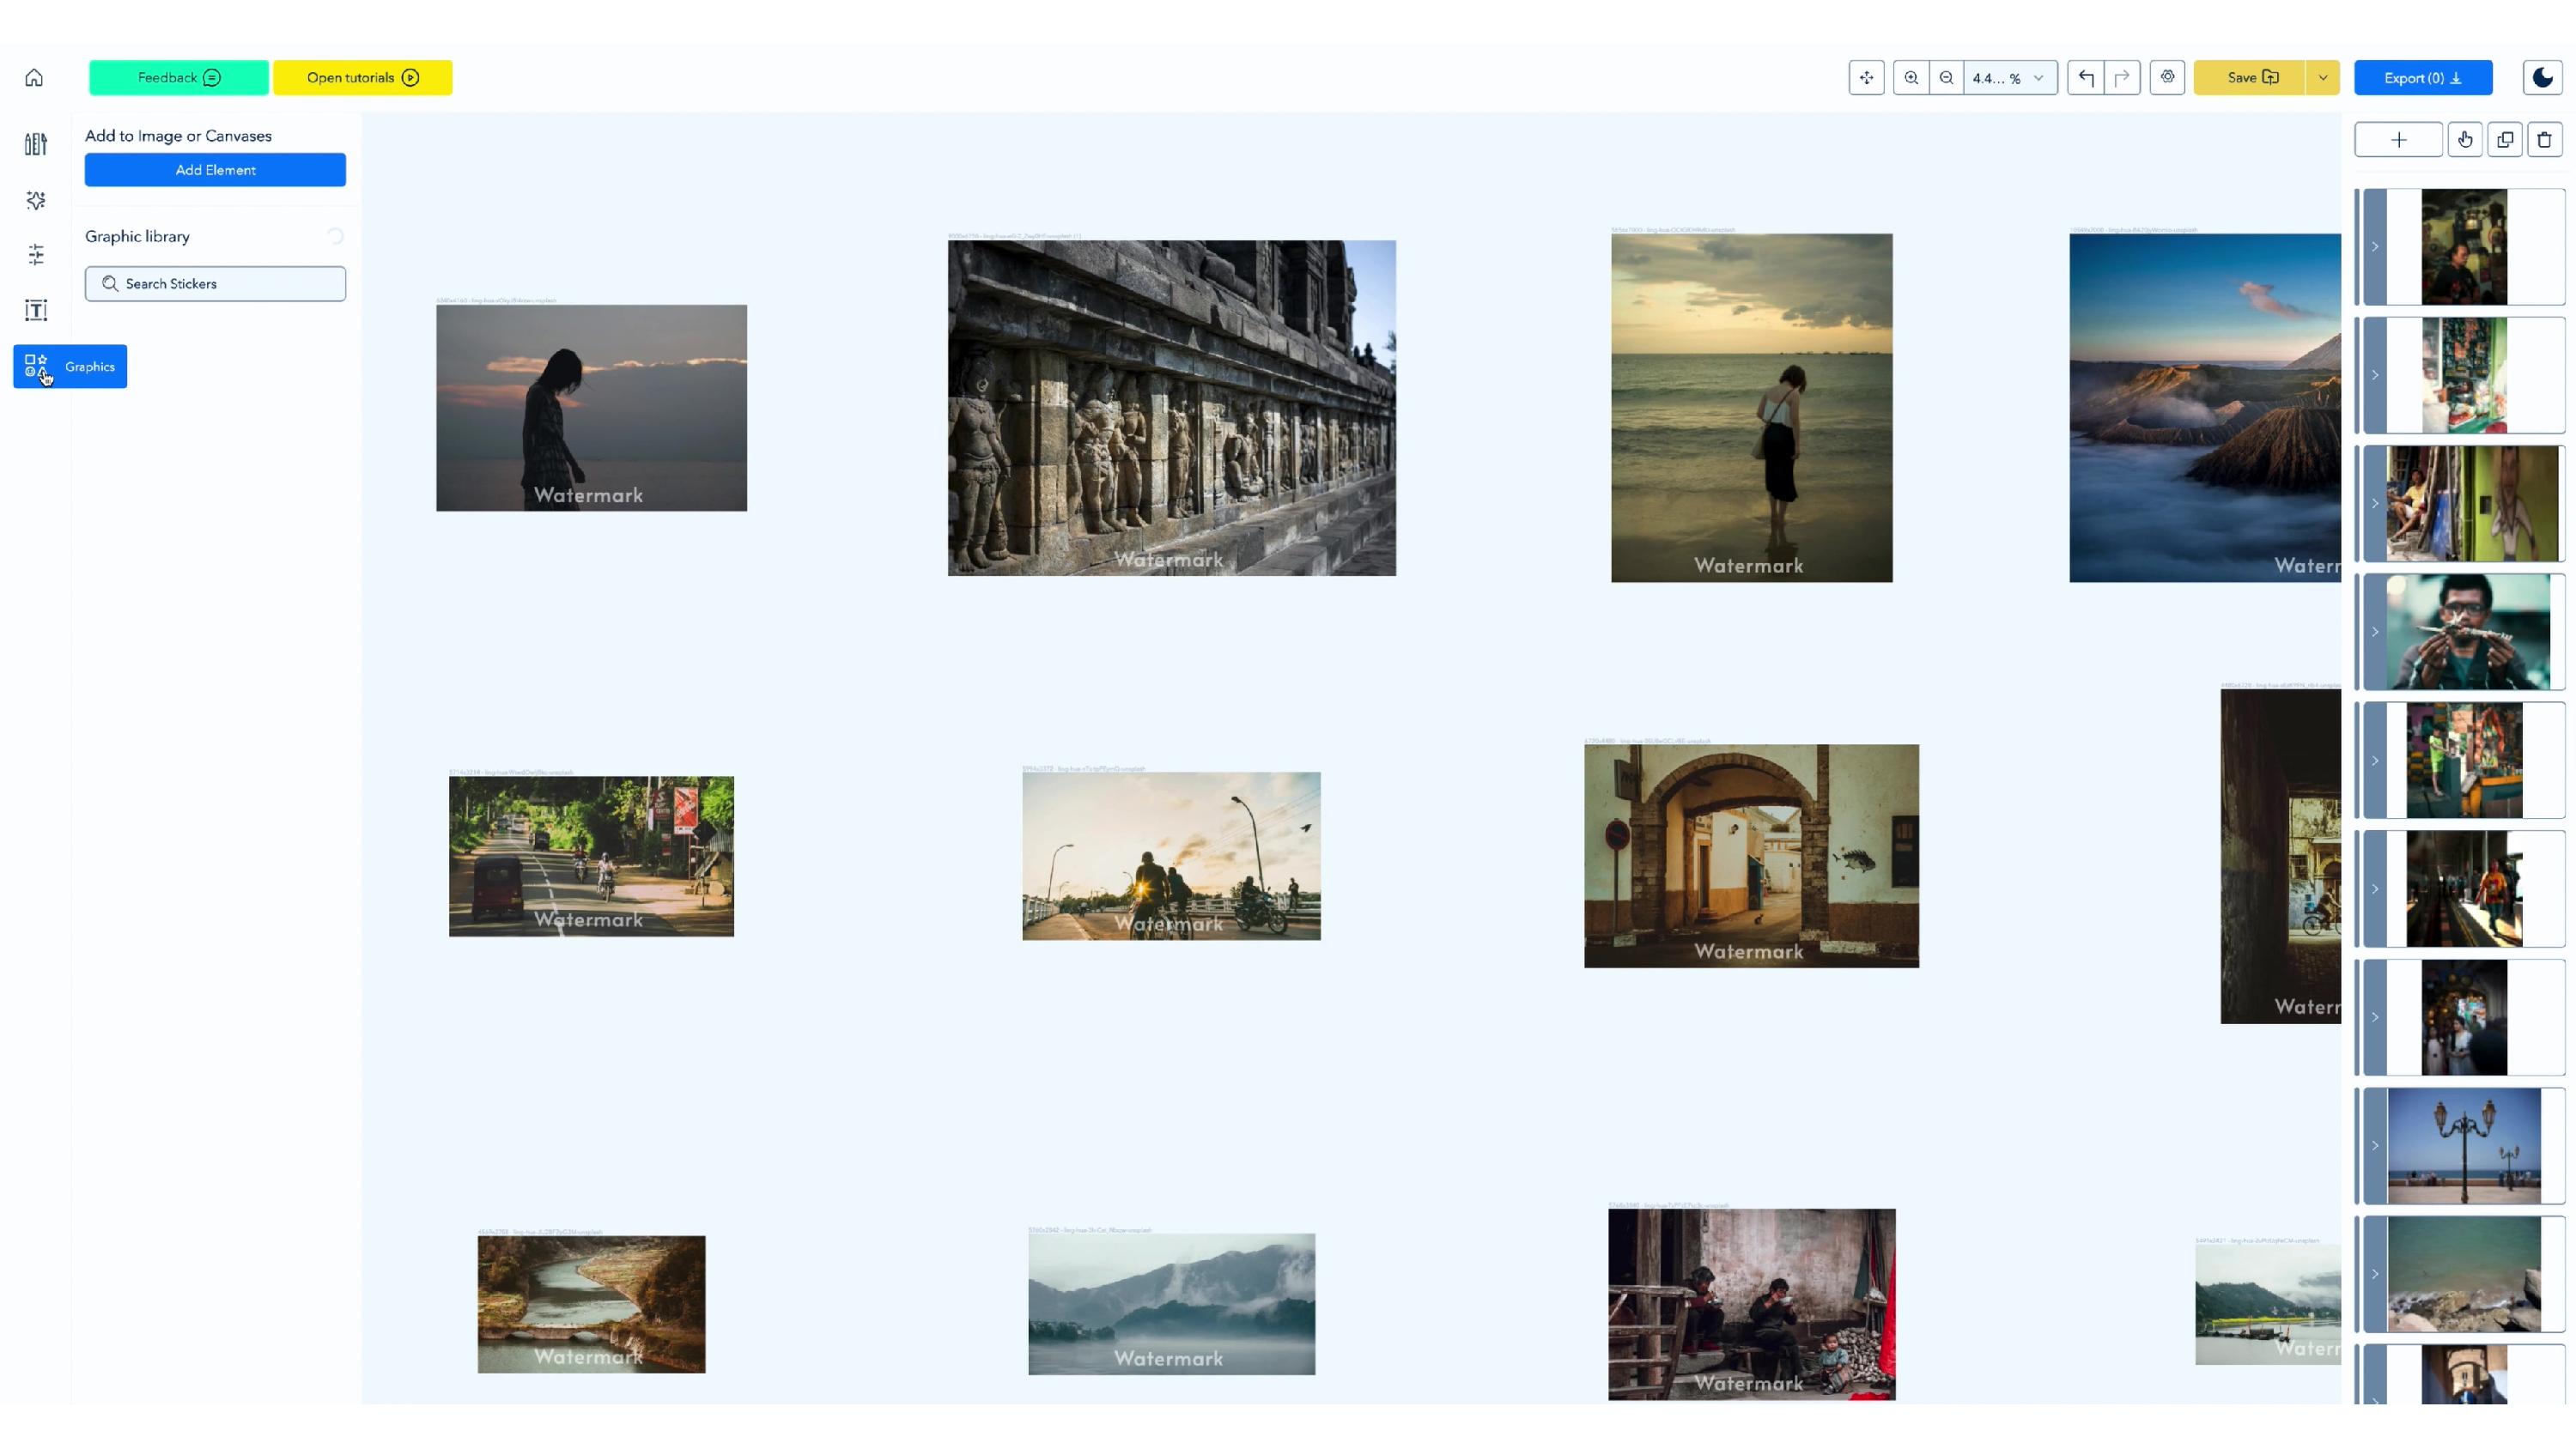
For a logo or signature instead of text, use the Graphics tool.
Troubleshooting
| Problem | Solution |
| "Select at least one Image" appears | No photos are selected. Click a photo, press Cmd + A or Ctrl + A, then click Add text again. |
| The text was added to only some photos | Only selected photos get the text. Select the rest, then add the text again. |
| A style change applied to only one photo | Select the text on every photo first (click one, then Cmd + A or Ctrl + A), then make the change. |
| The text touches the edge of the photo | In Position, turn on Border Padding and increase the distance. |
| I applied something by mistake | Click Undo (the left arrow icon at the top right). |
Related