
Ribbet Studio - Apply photo filters to multiple photos
Watch the video
See every step in under three minutes:
In Ribbet Studio Editor, you can apply a photo filter to one photo or to every selected photo at once, adjust its settings, and stack several filters together.
Before you start
- Log in to your account at Ribbet.com and open Studio Editor.
- Add the photos you want to edit to your project. You can work on up to 100 photos in one session.
- Photos are edited at full resolution, so there's no loss in quality when you export.
Steps
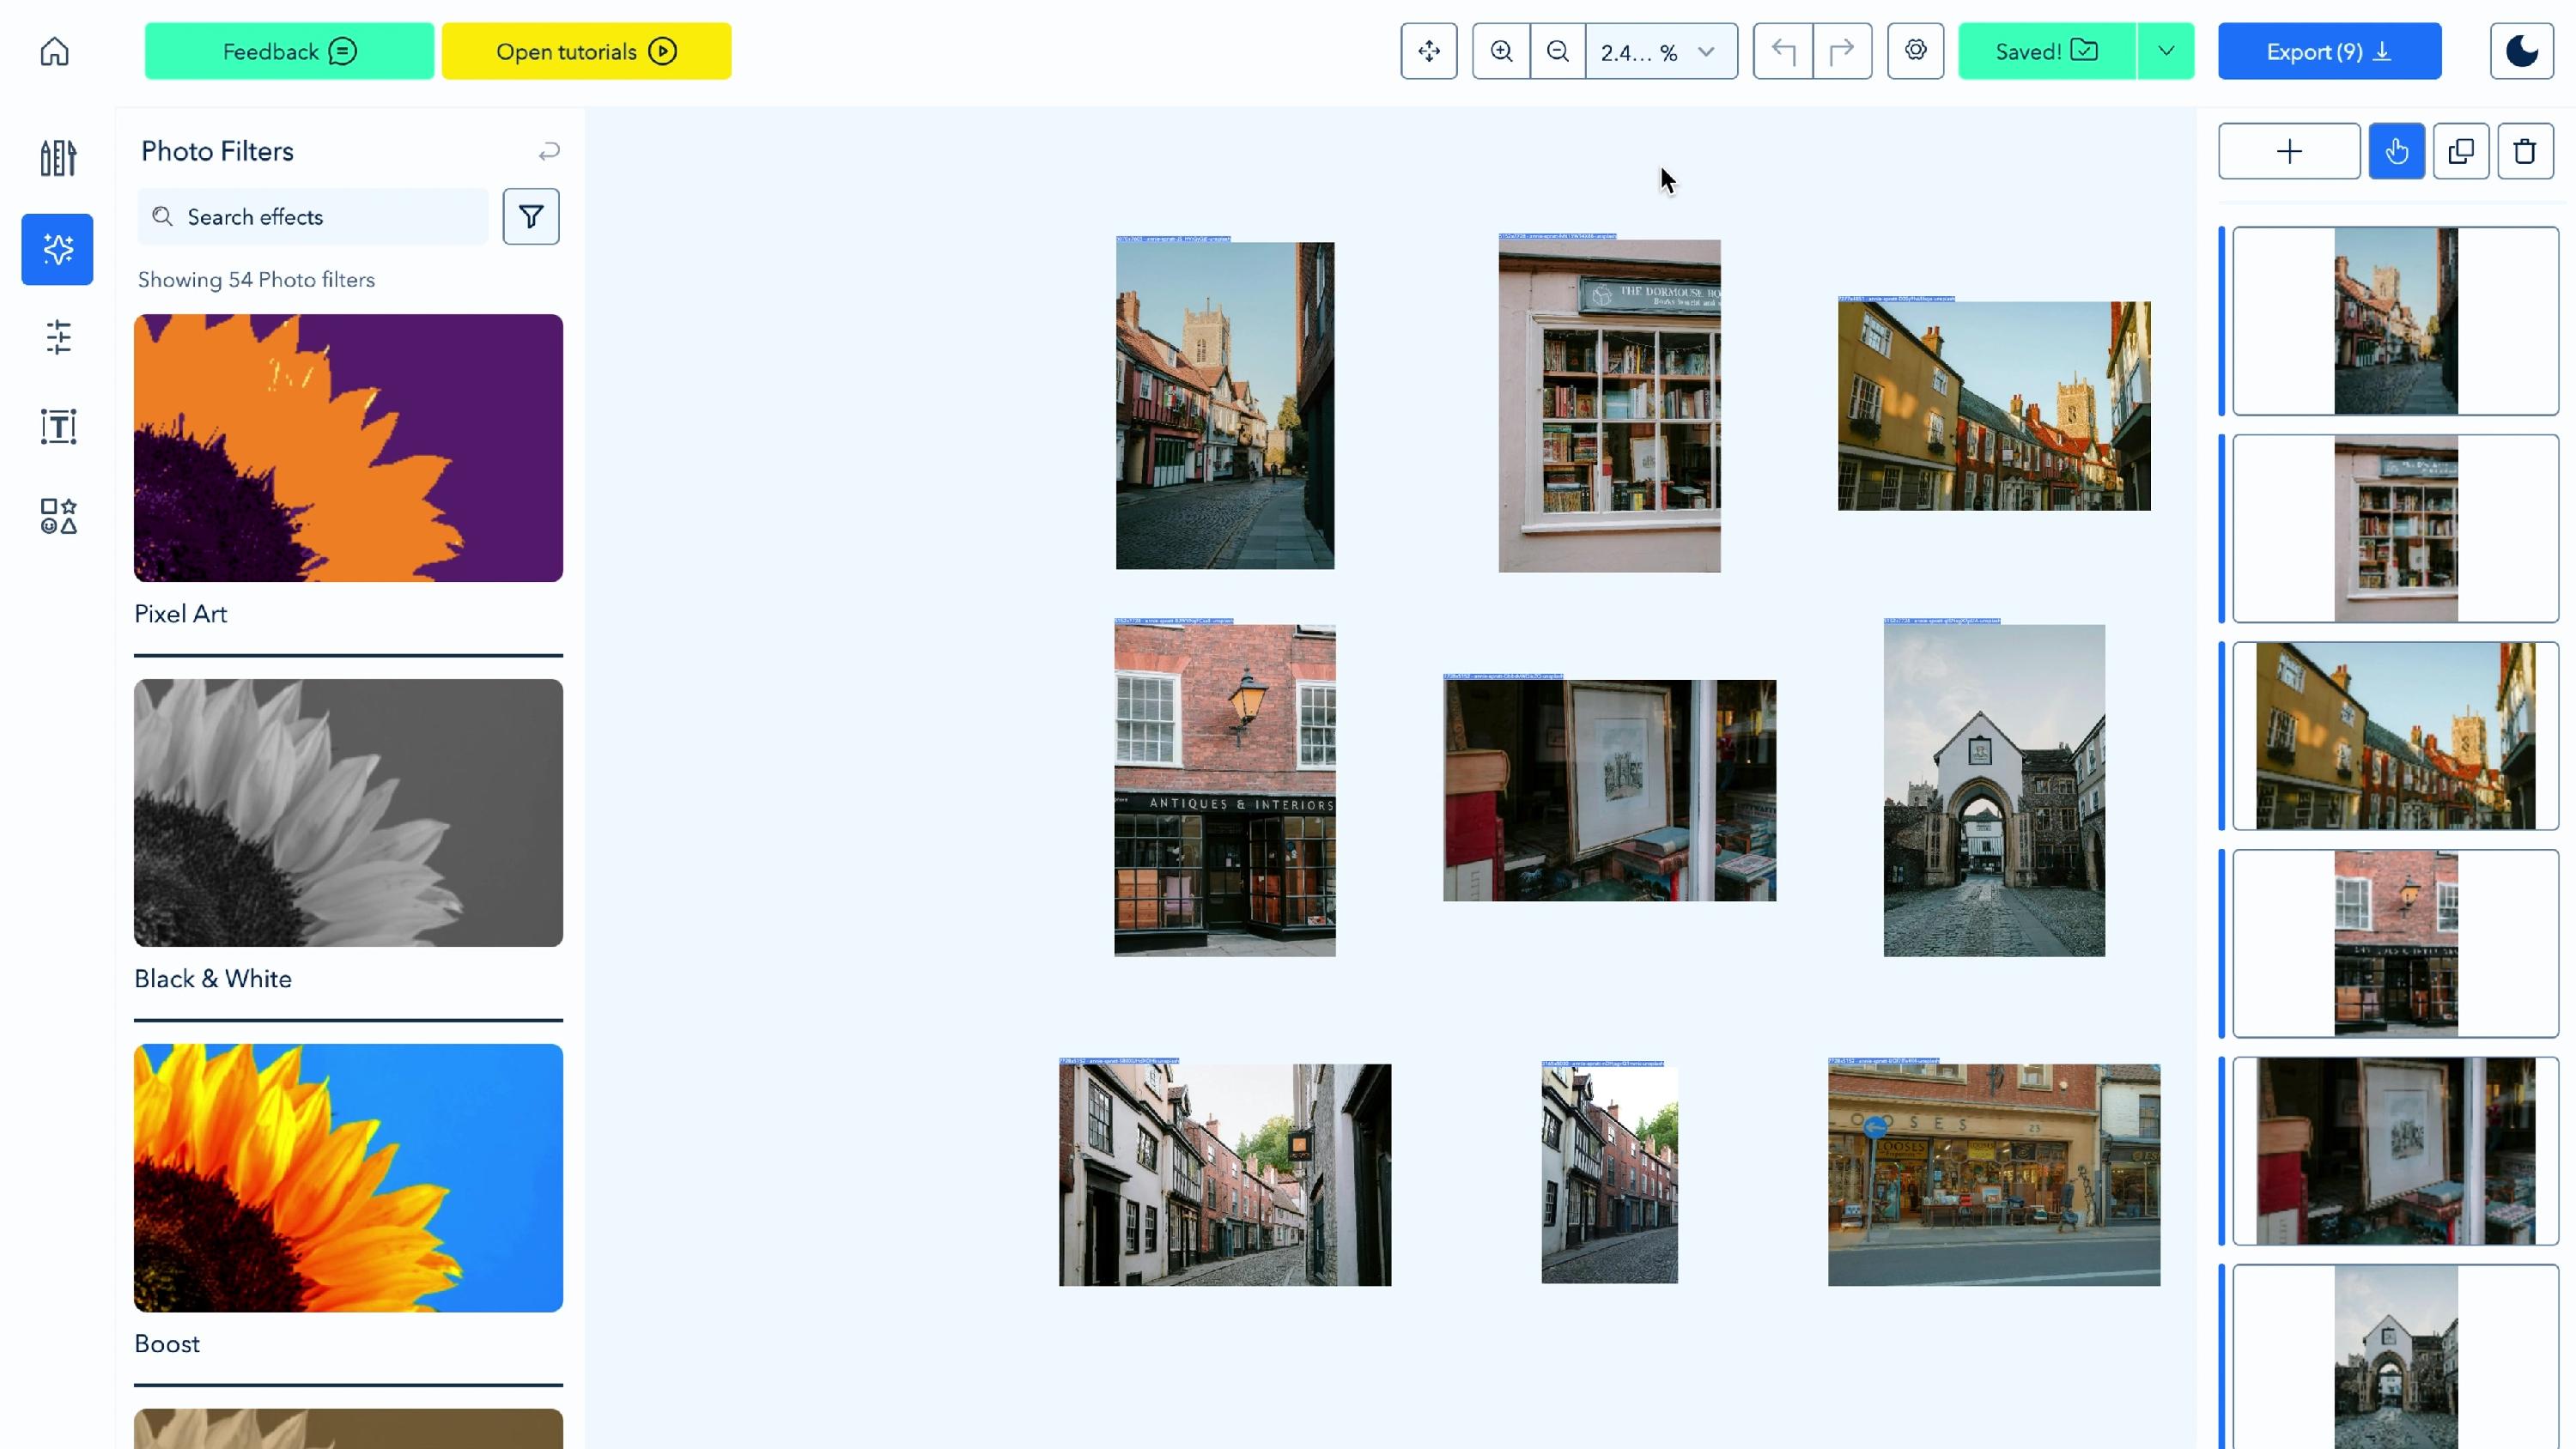
1. Open Photo Filters
In the left-side menu, click Photo Filters. The panel lists all of Ribbet's filters, grouped by the type of effect.
2. Select the photos to edit
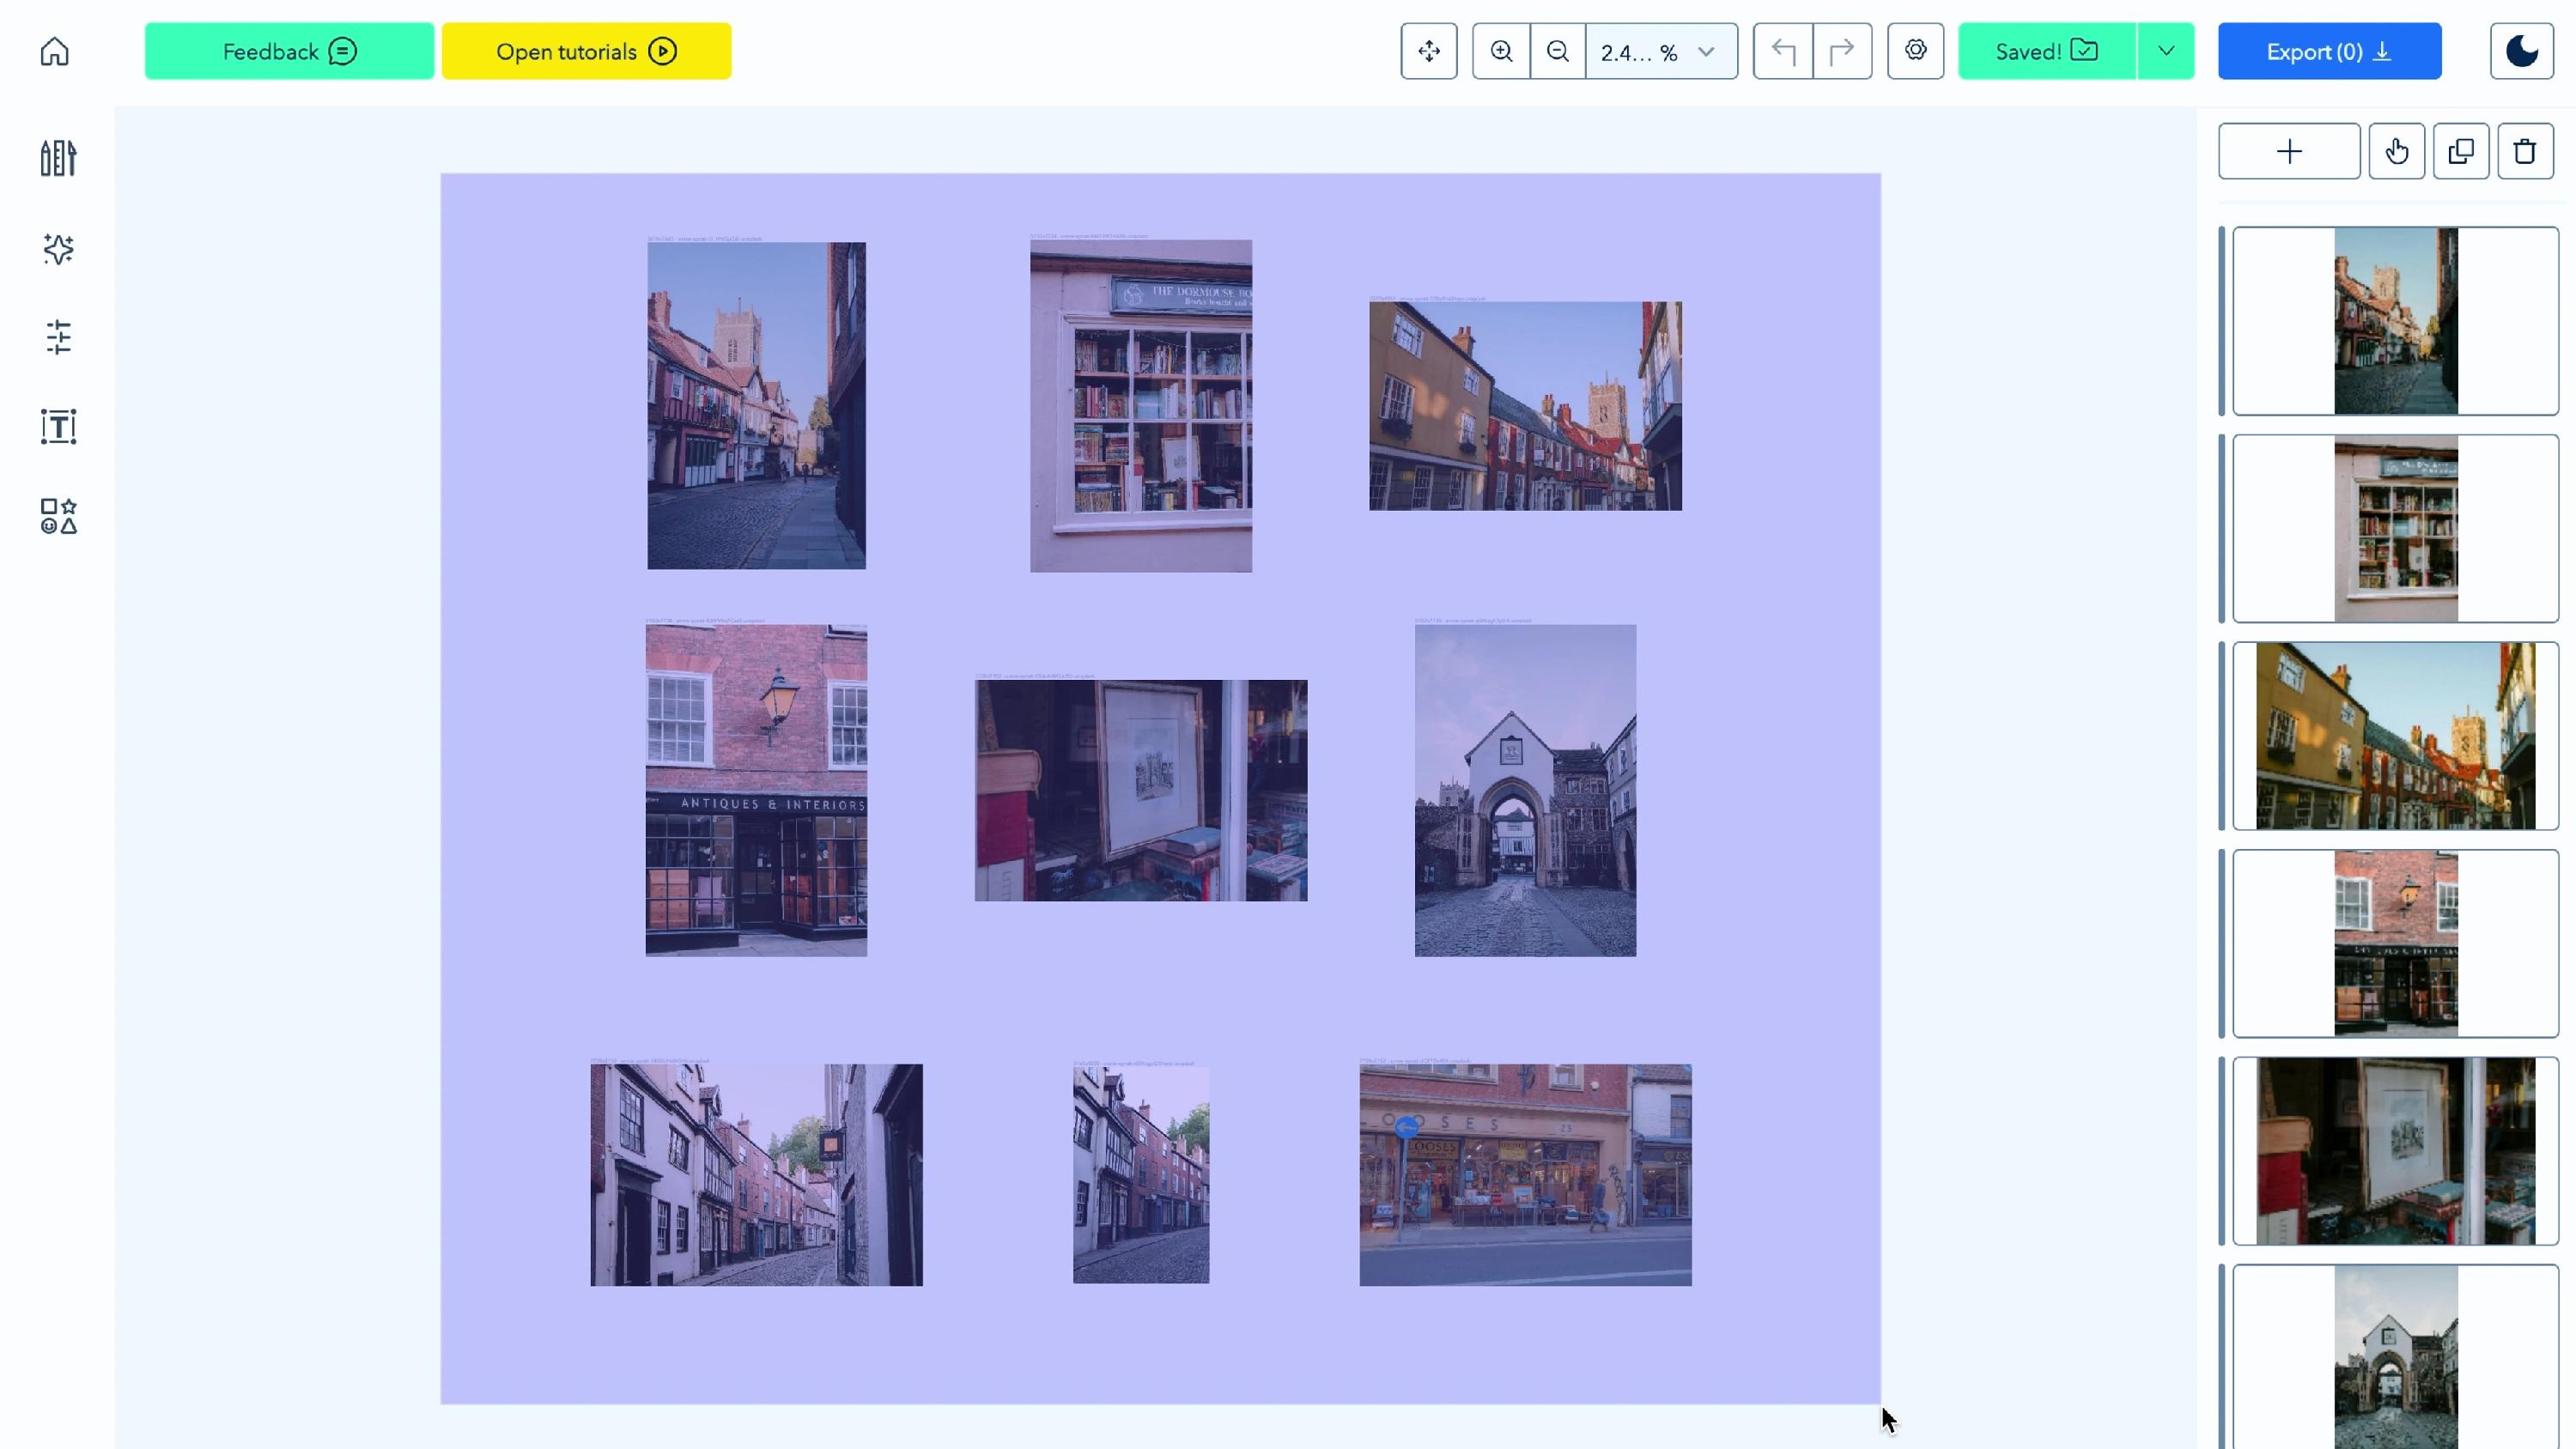
Filters are applied only to selected photos. To select one or several photos, click and drag your cursor over them on the canvas.
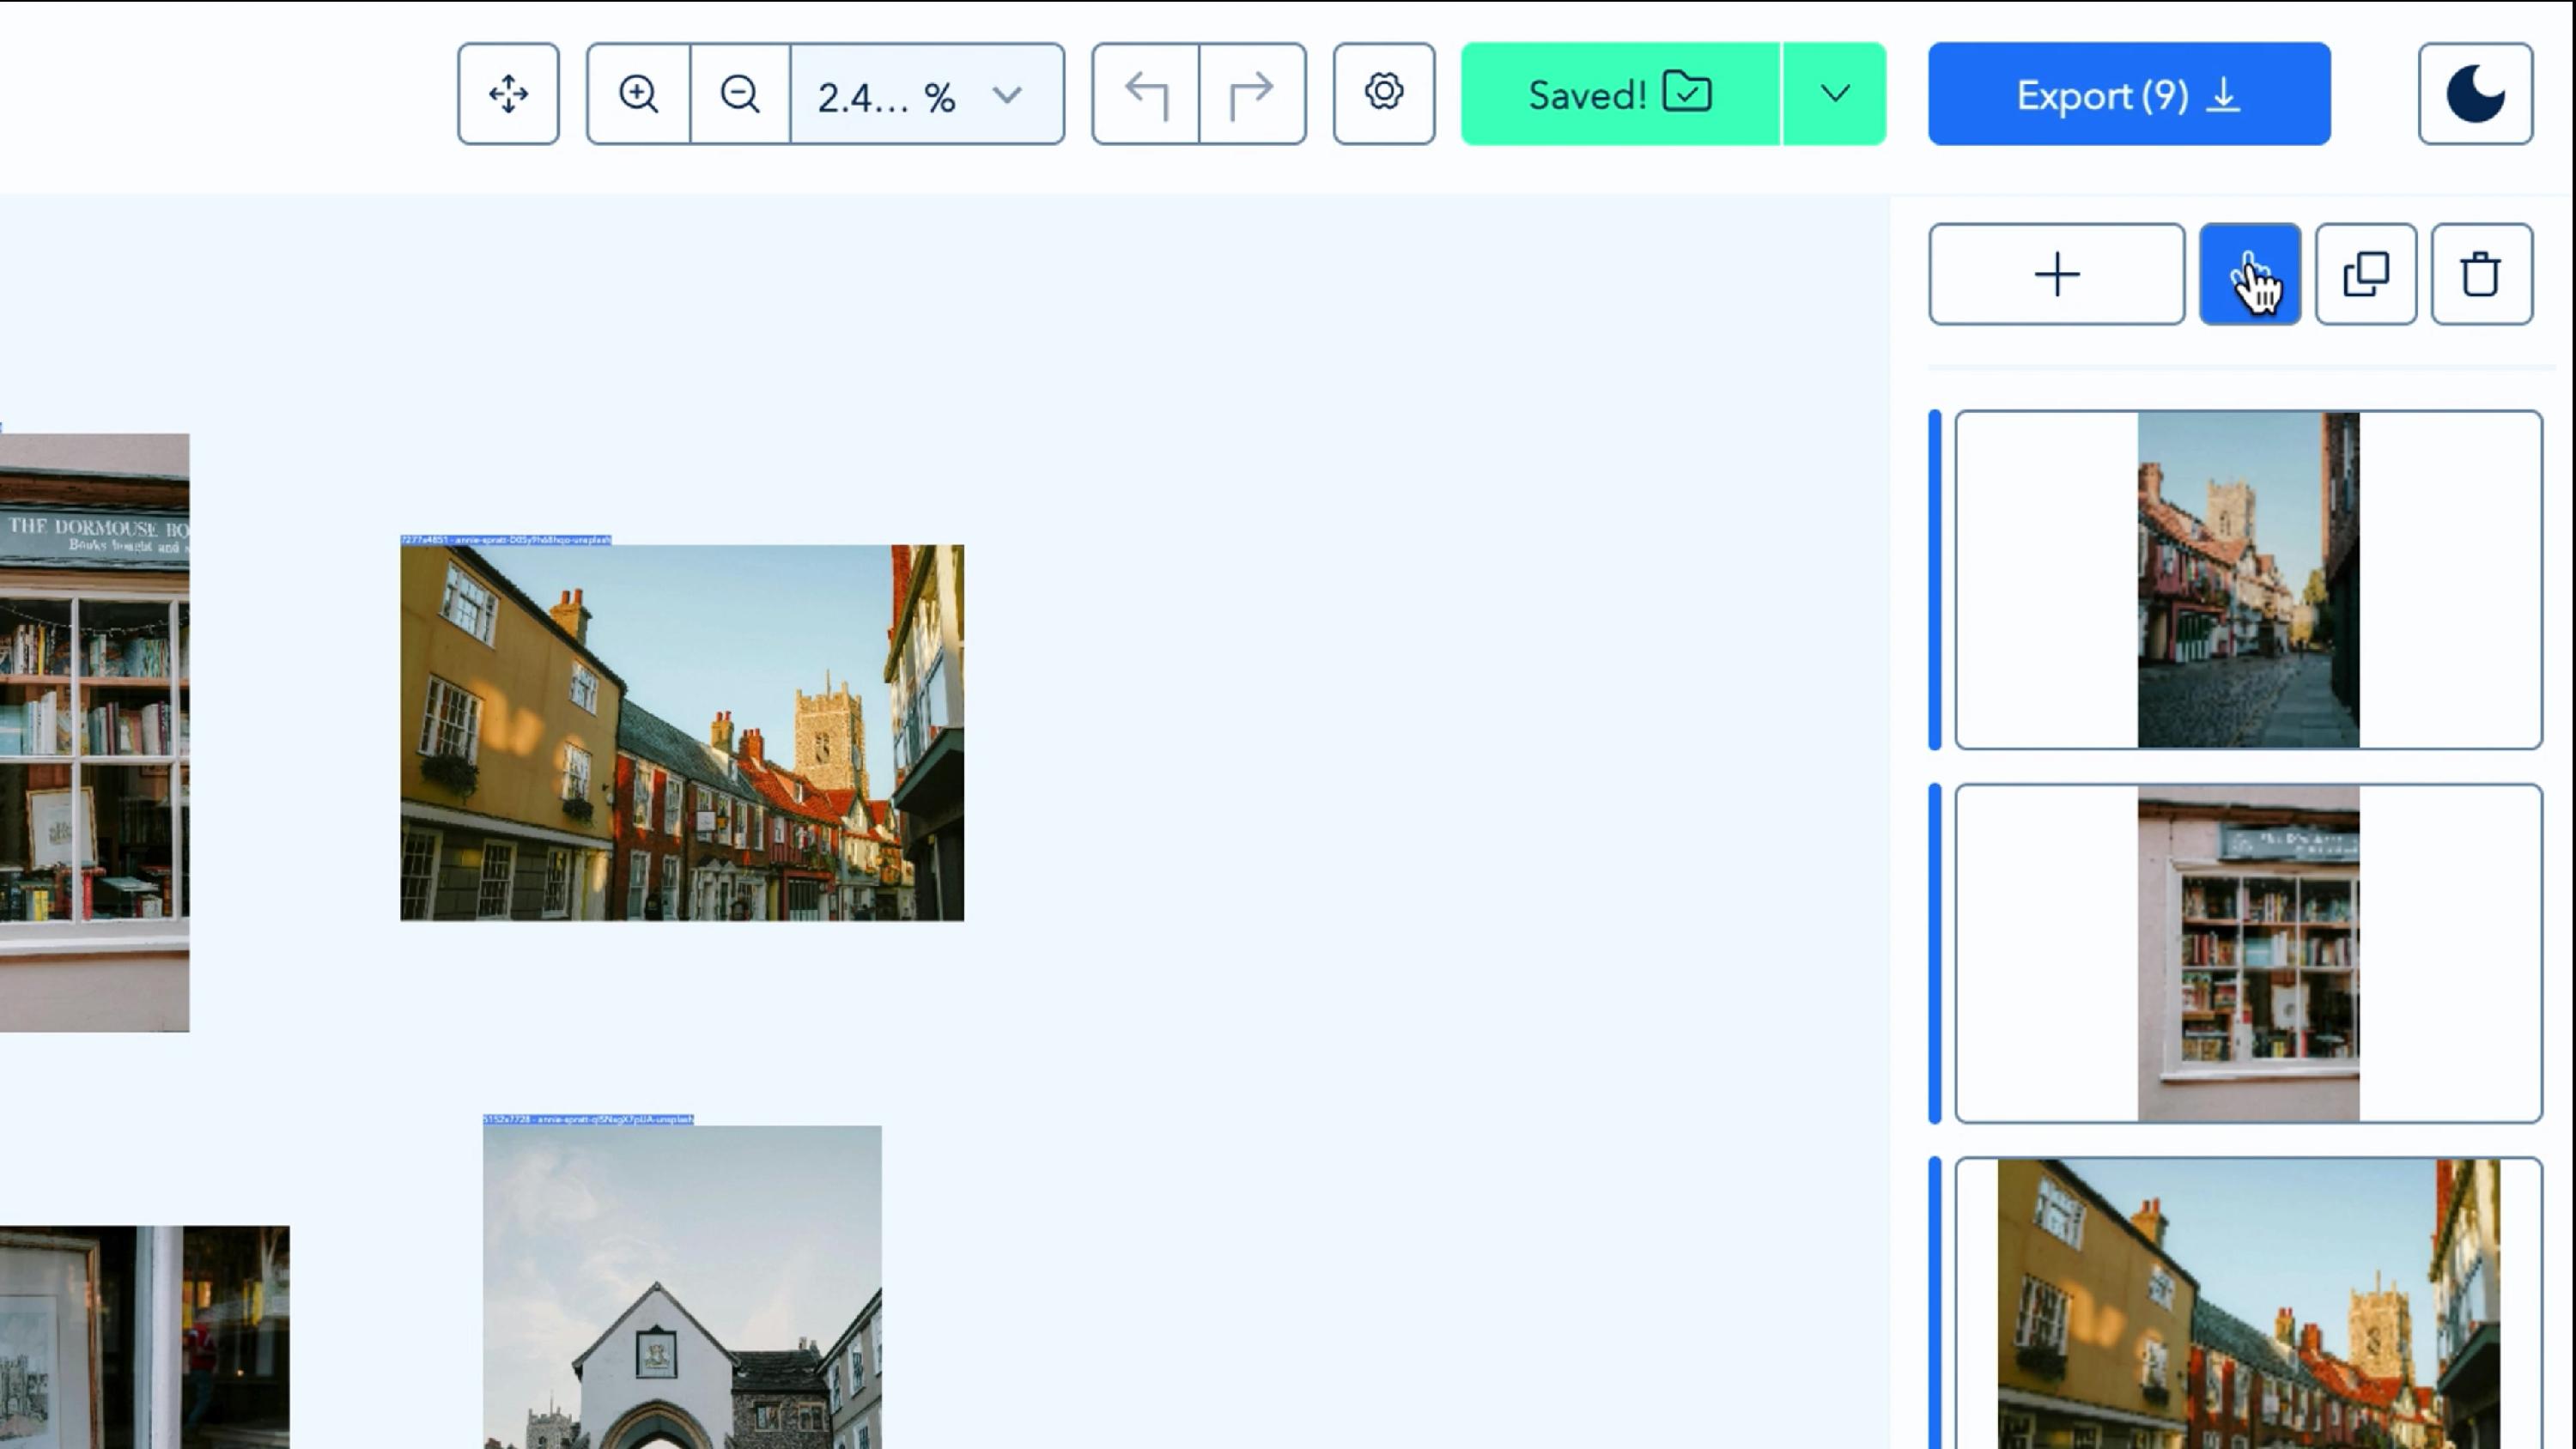
If you want to select every photo in your project, you can click the select all (hand) icon at the top of the project panel on the right.
3. Apply a filter
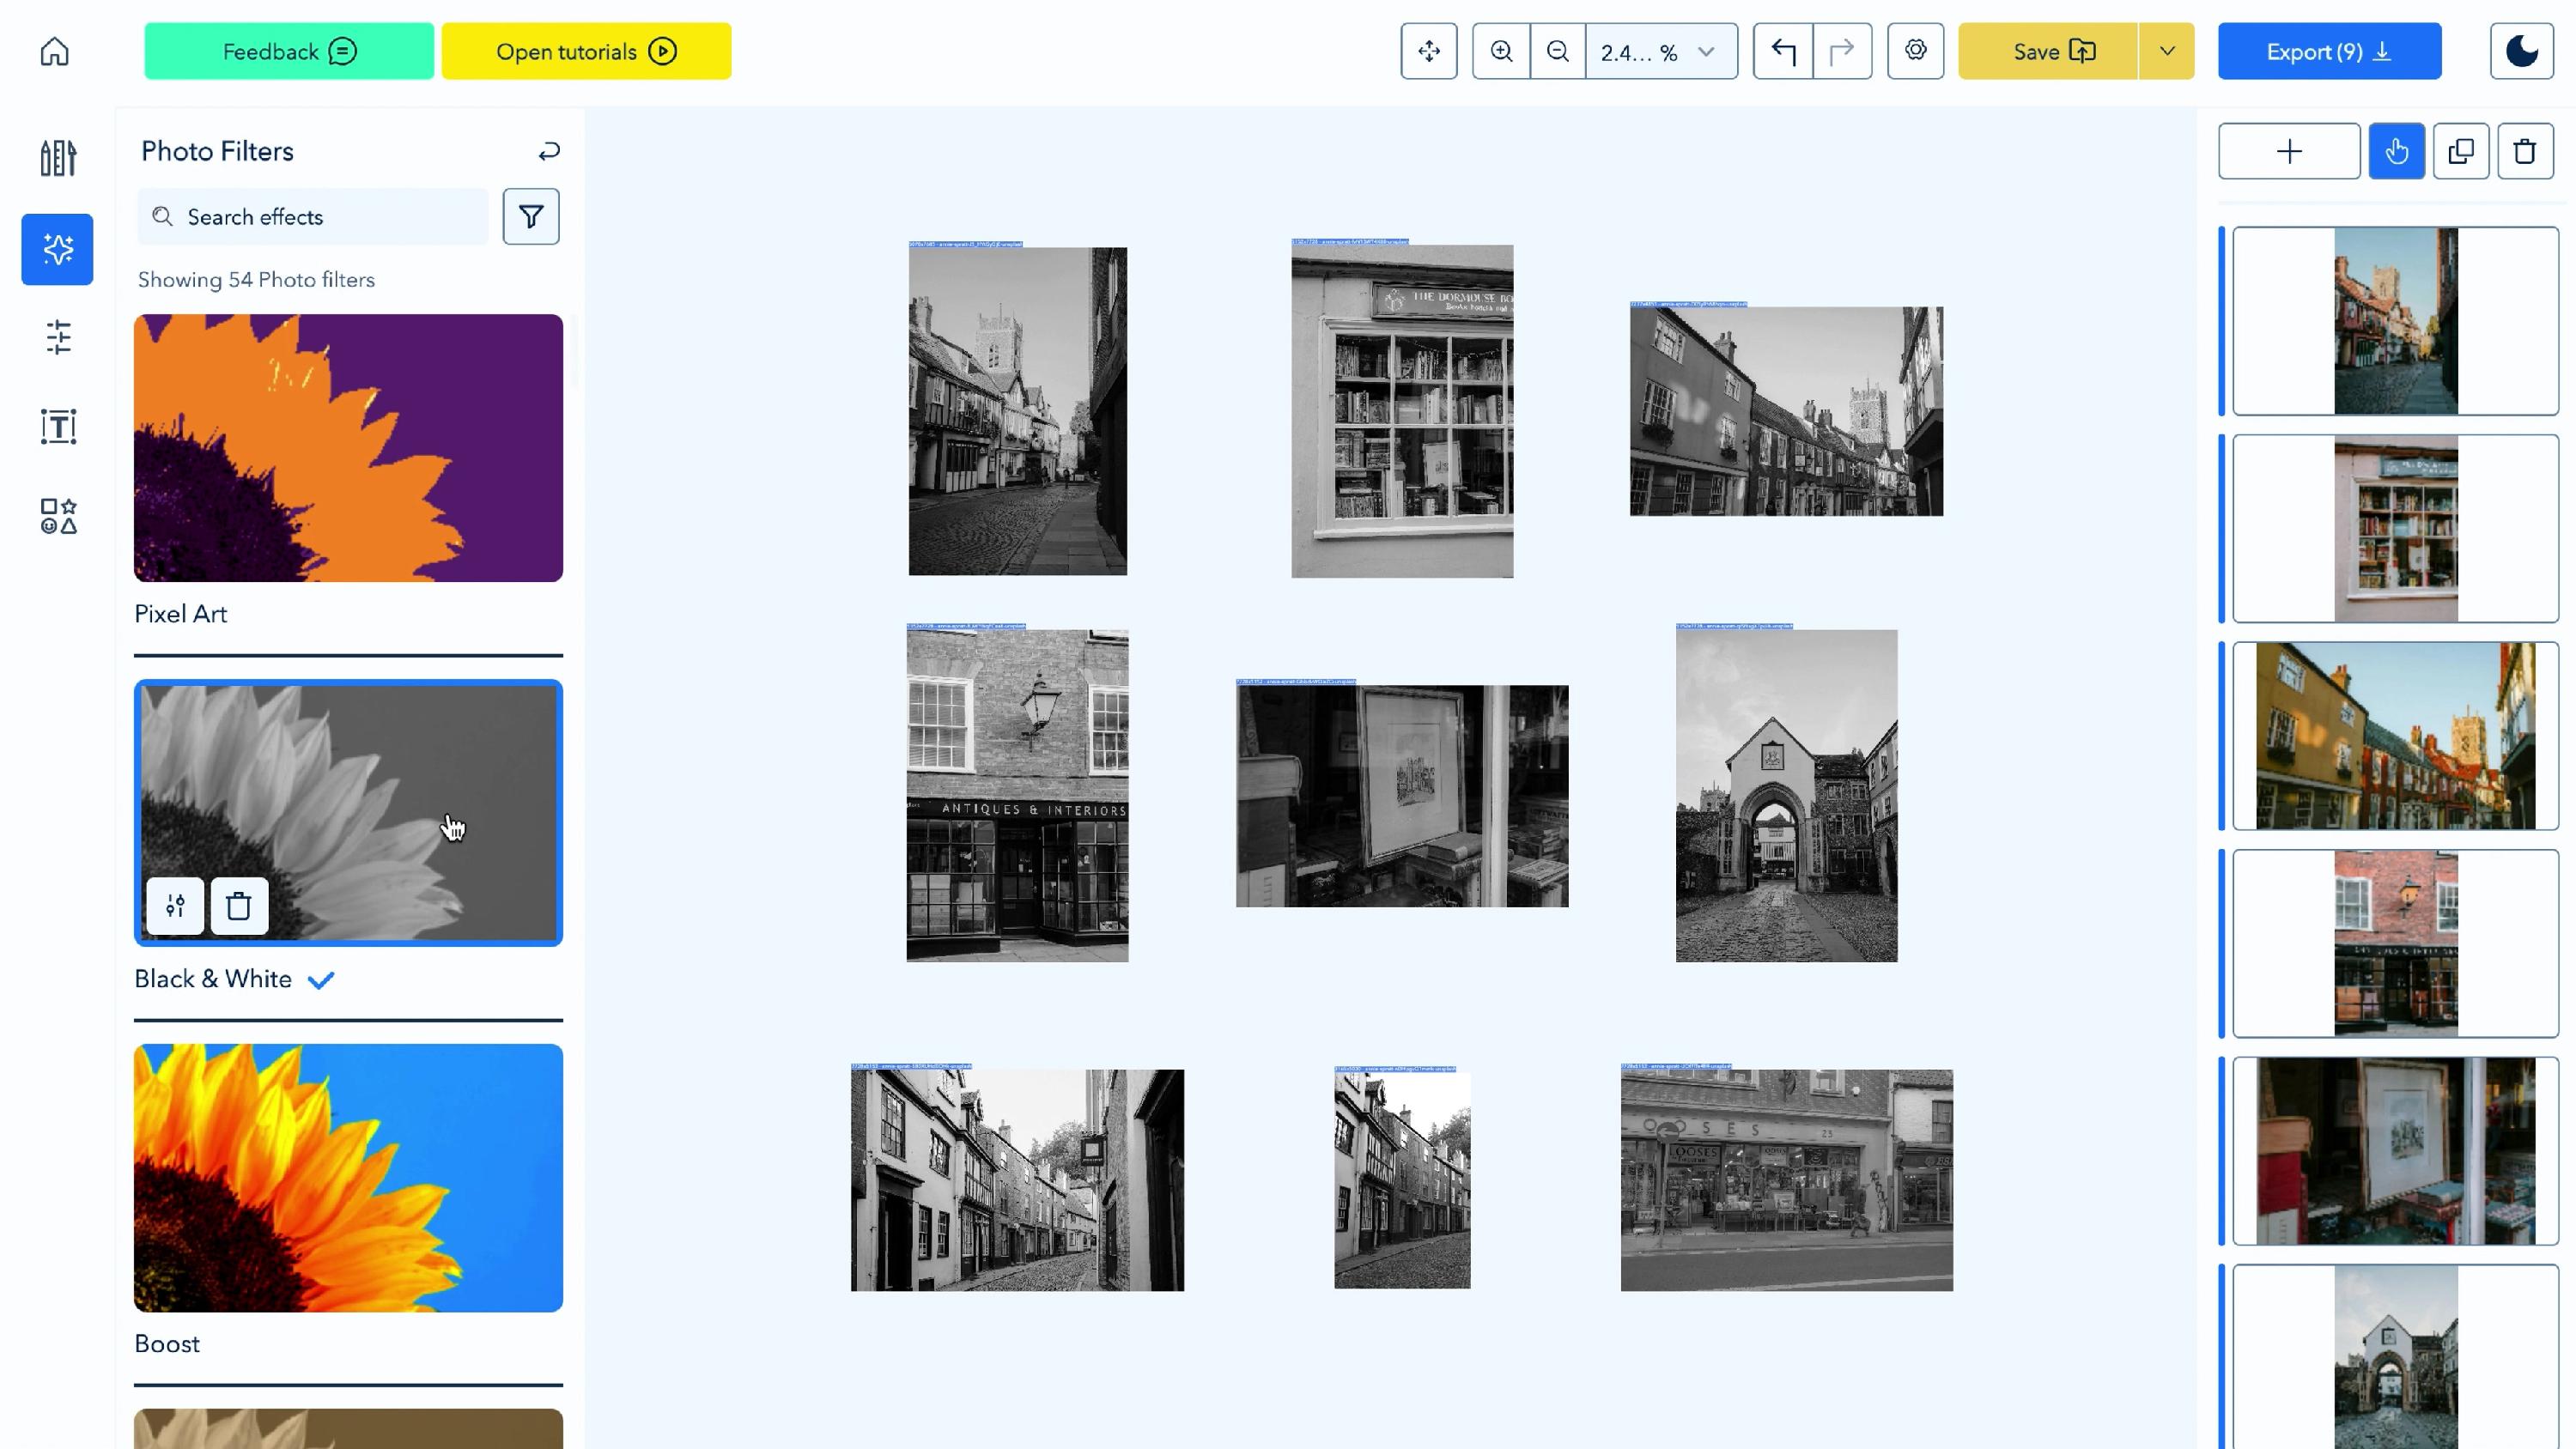
Click a filter's thumbnail to apply it to all selected photos. A check mark appears next to the filter's name once it's applied.
4. Adjust the filter settings
Once a filter is applied, two icons appear on its thumbnail: settings and delete. Click the settings icon to open Filter Settings. Each filter has its own options. For example, Black & White has a Fade slider that softens the effect.
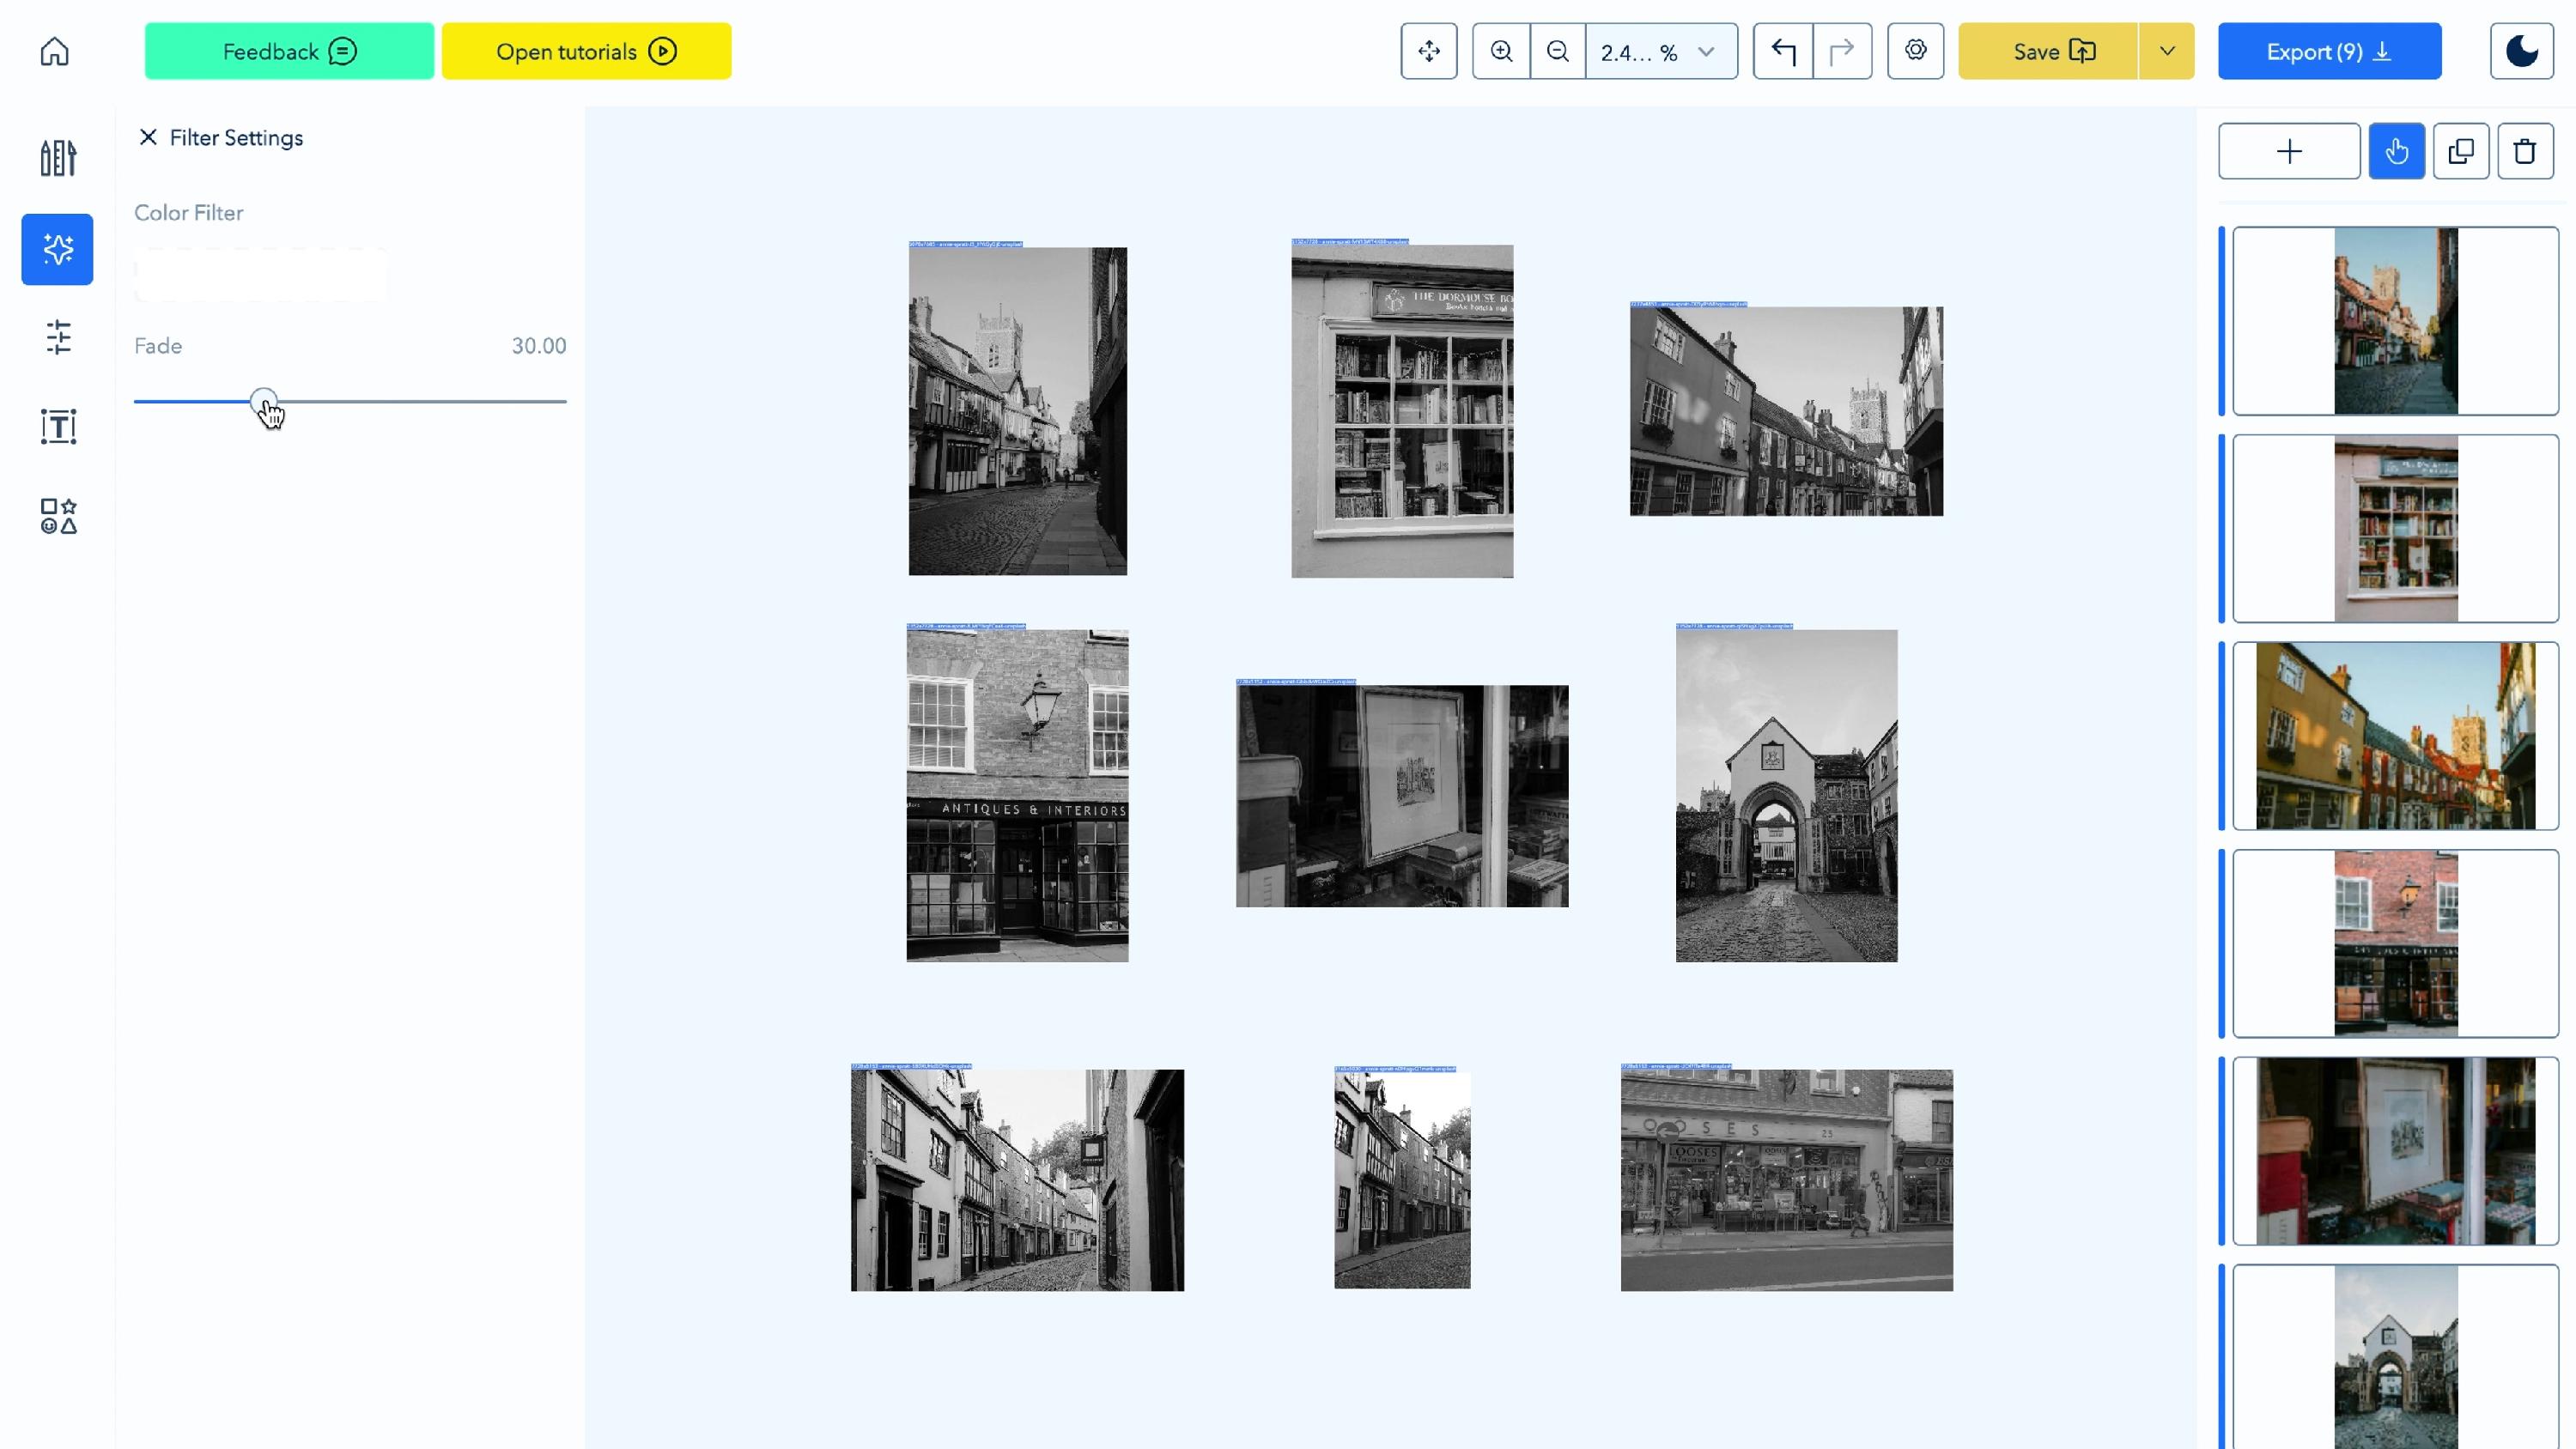
Click X at the top of the settings panel to return to the filter list.
5. (Optional) Stack more filters
To layer another filter on top, you can browse or type its name in the Search effects bar and click it. It's applied on top of the filters already there.
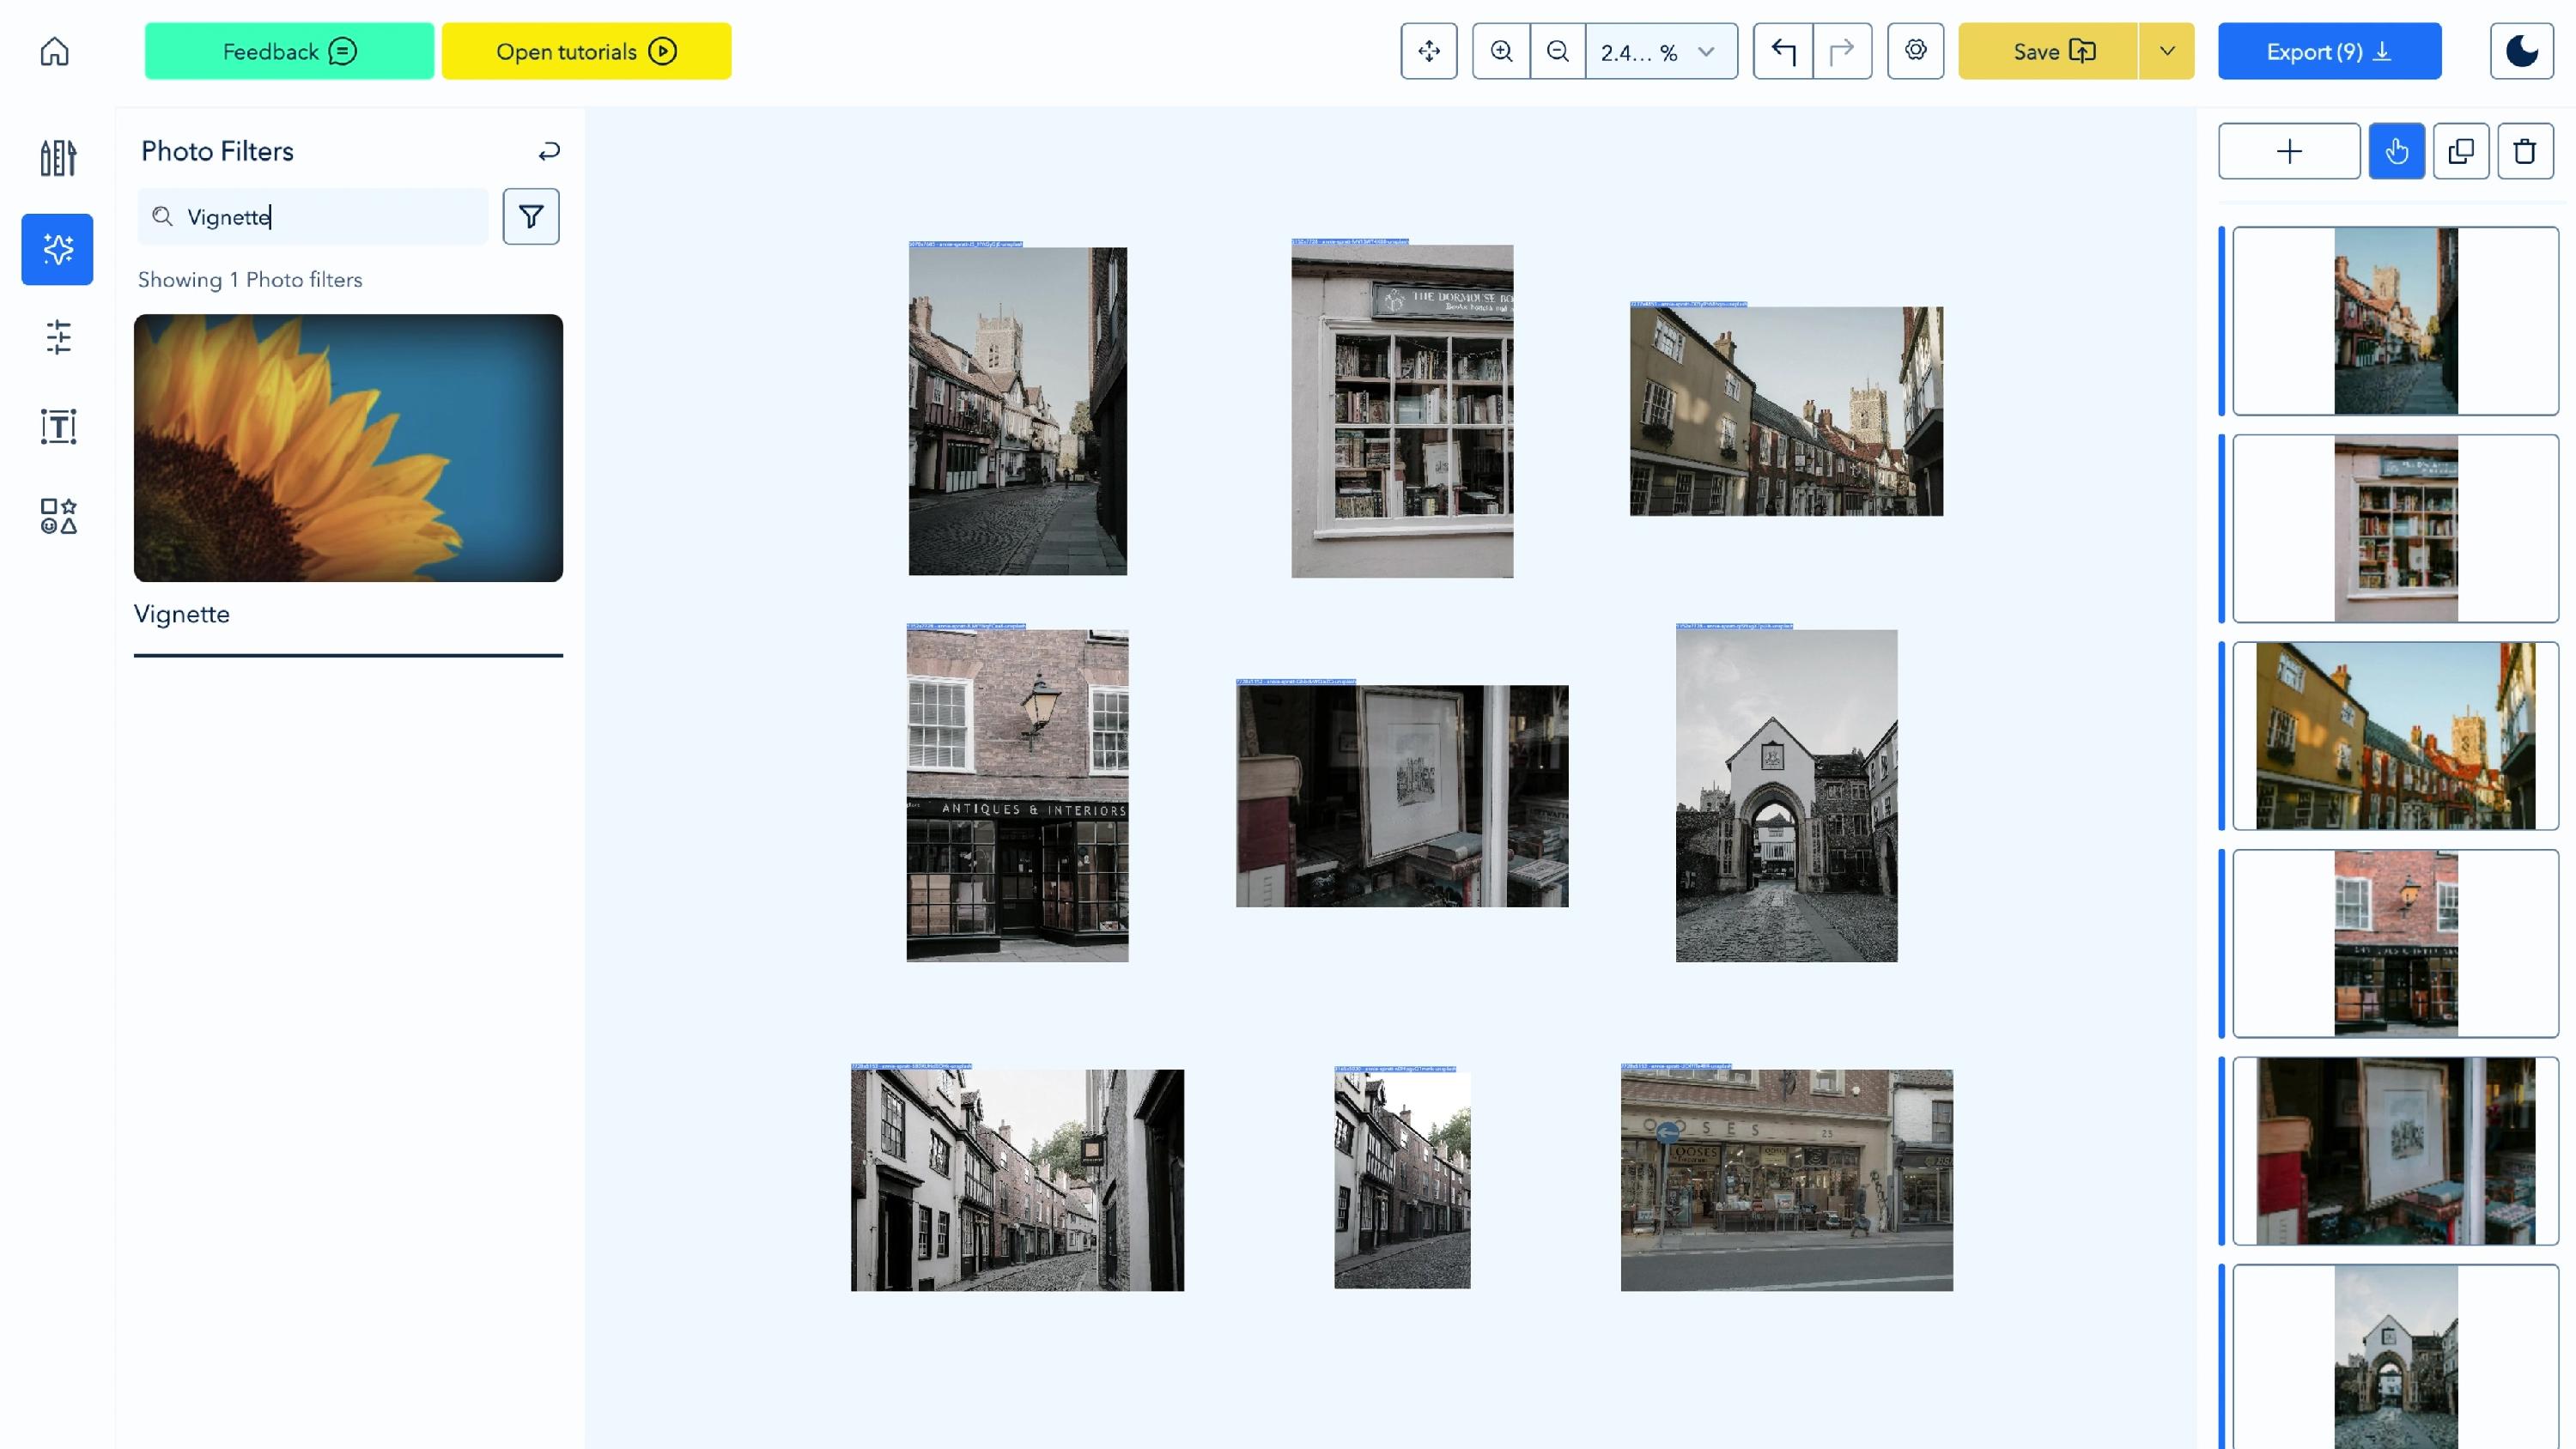
Each stacked filter keeps its own settings. Vignette, for example, has Size, Strength, Vignette Color and Fade.
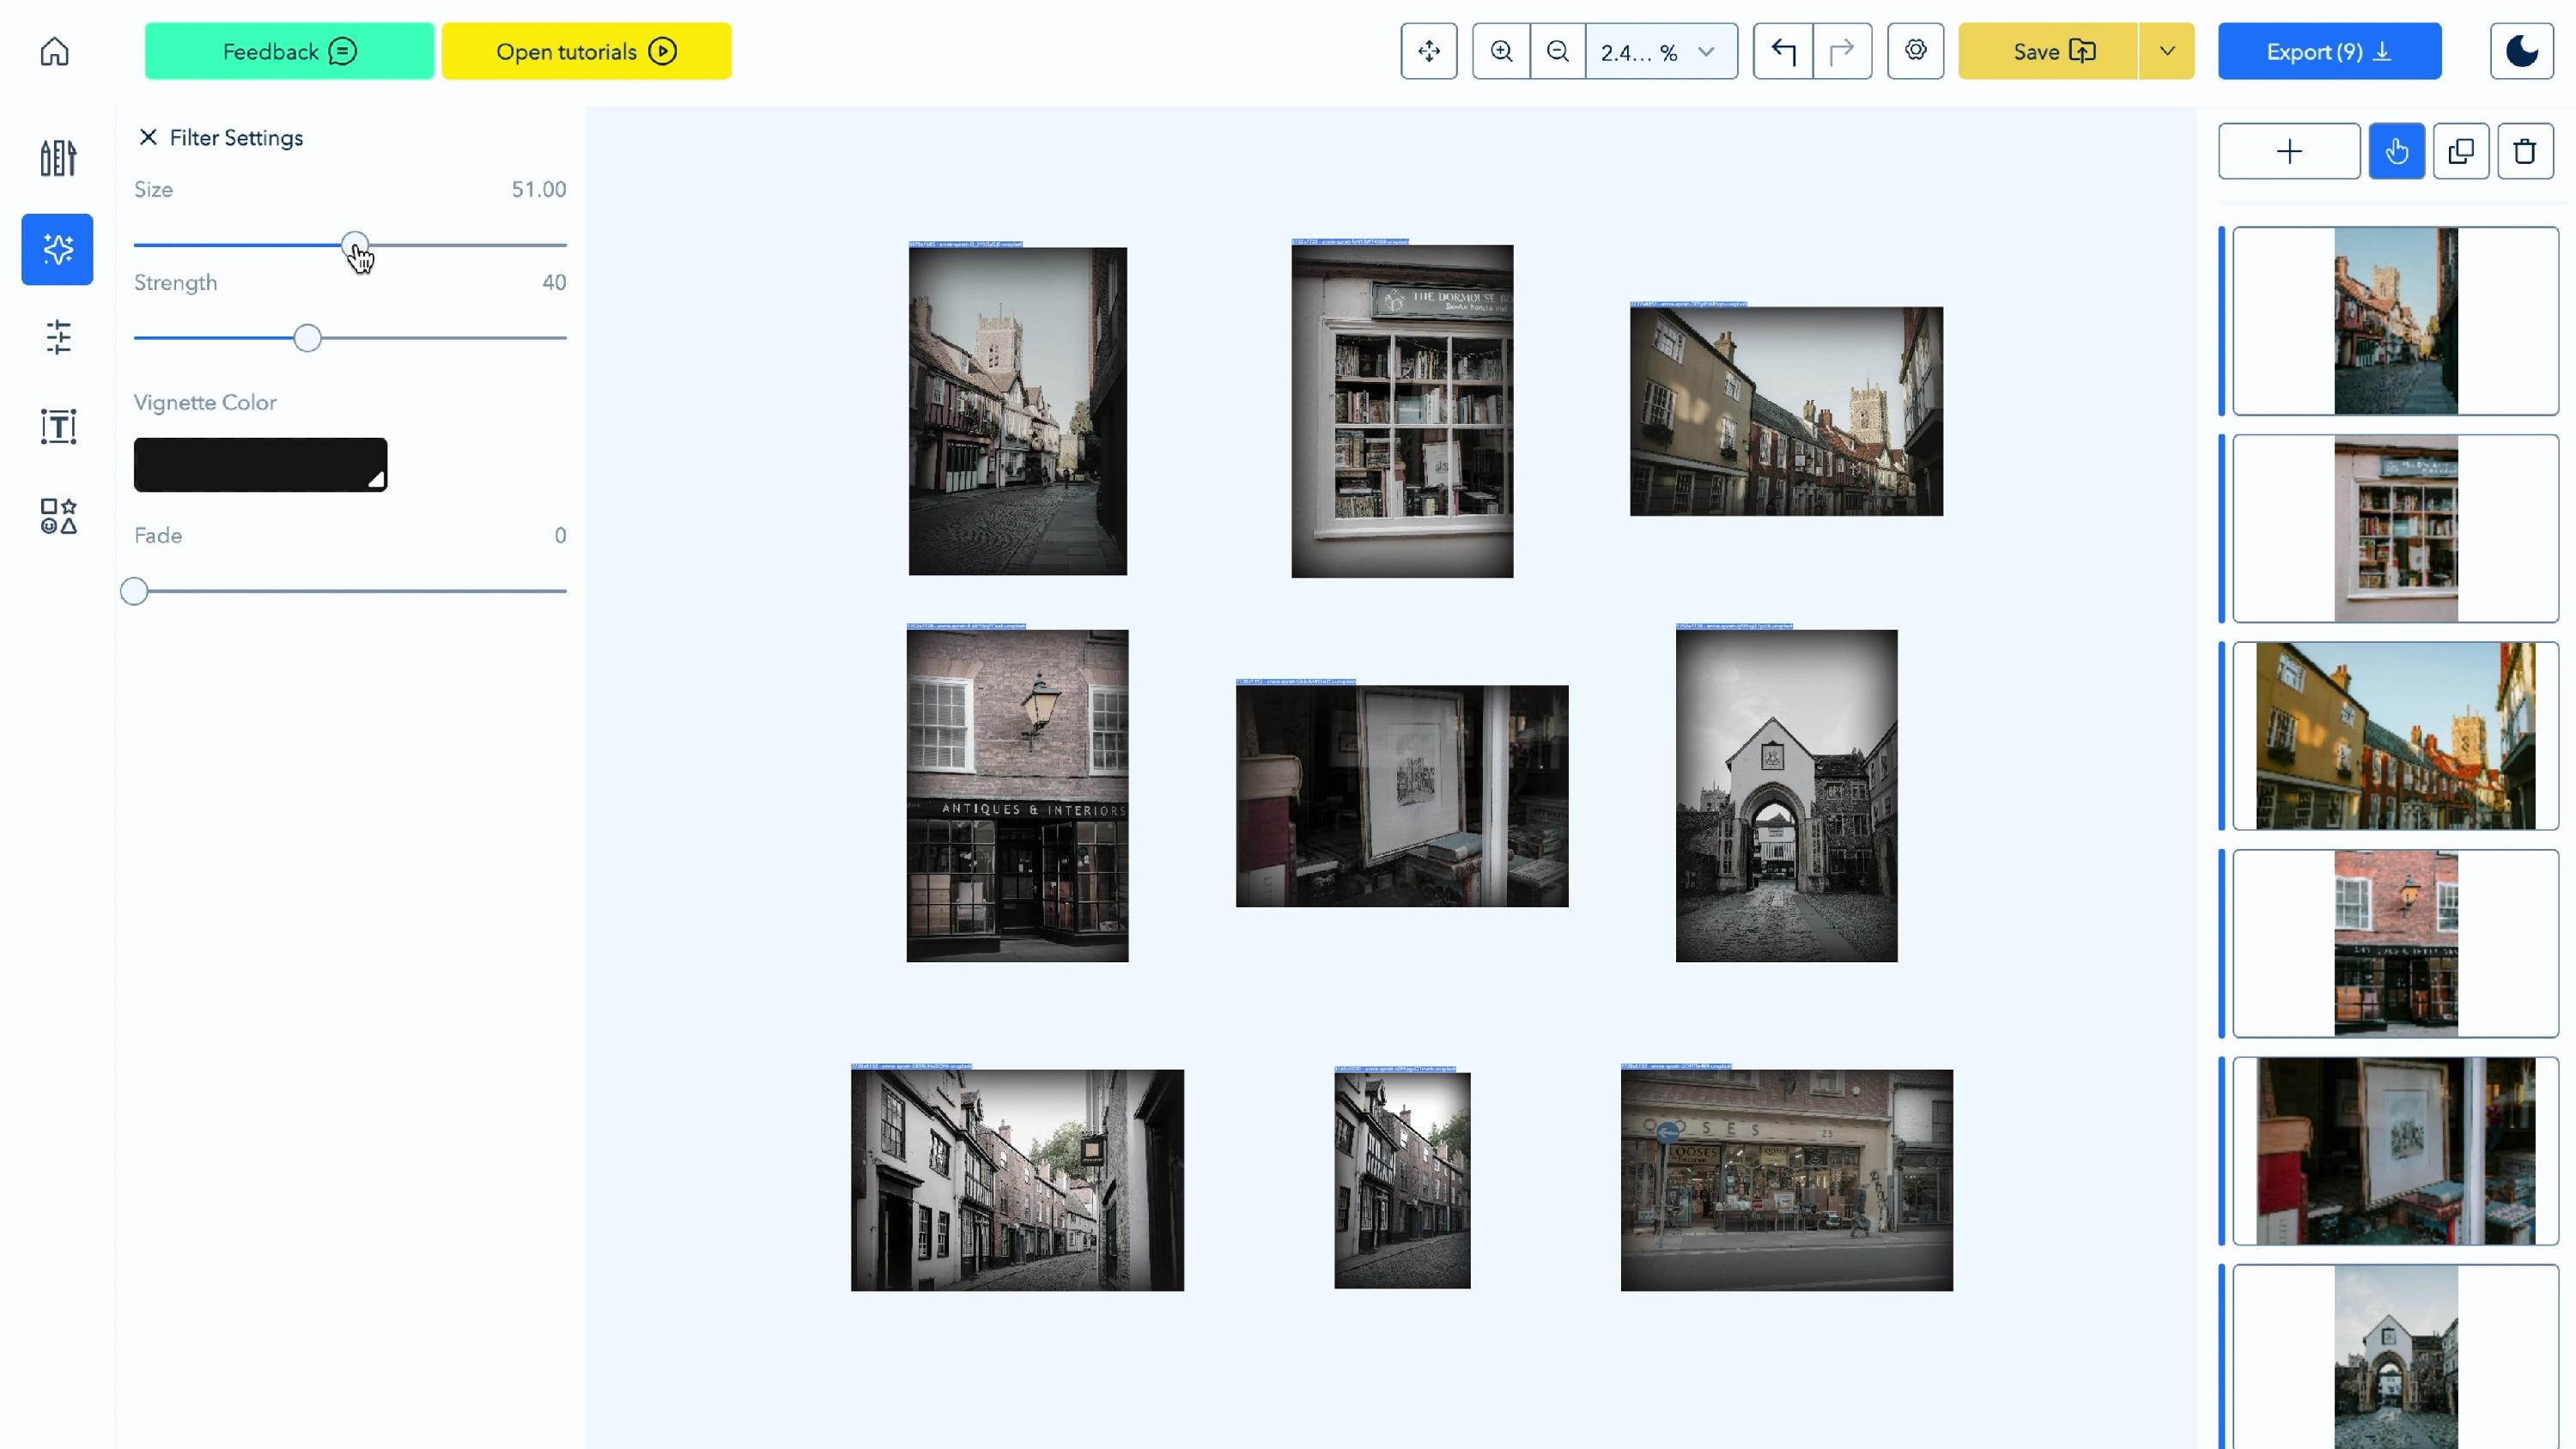
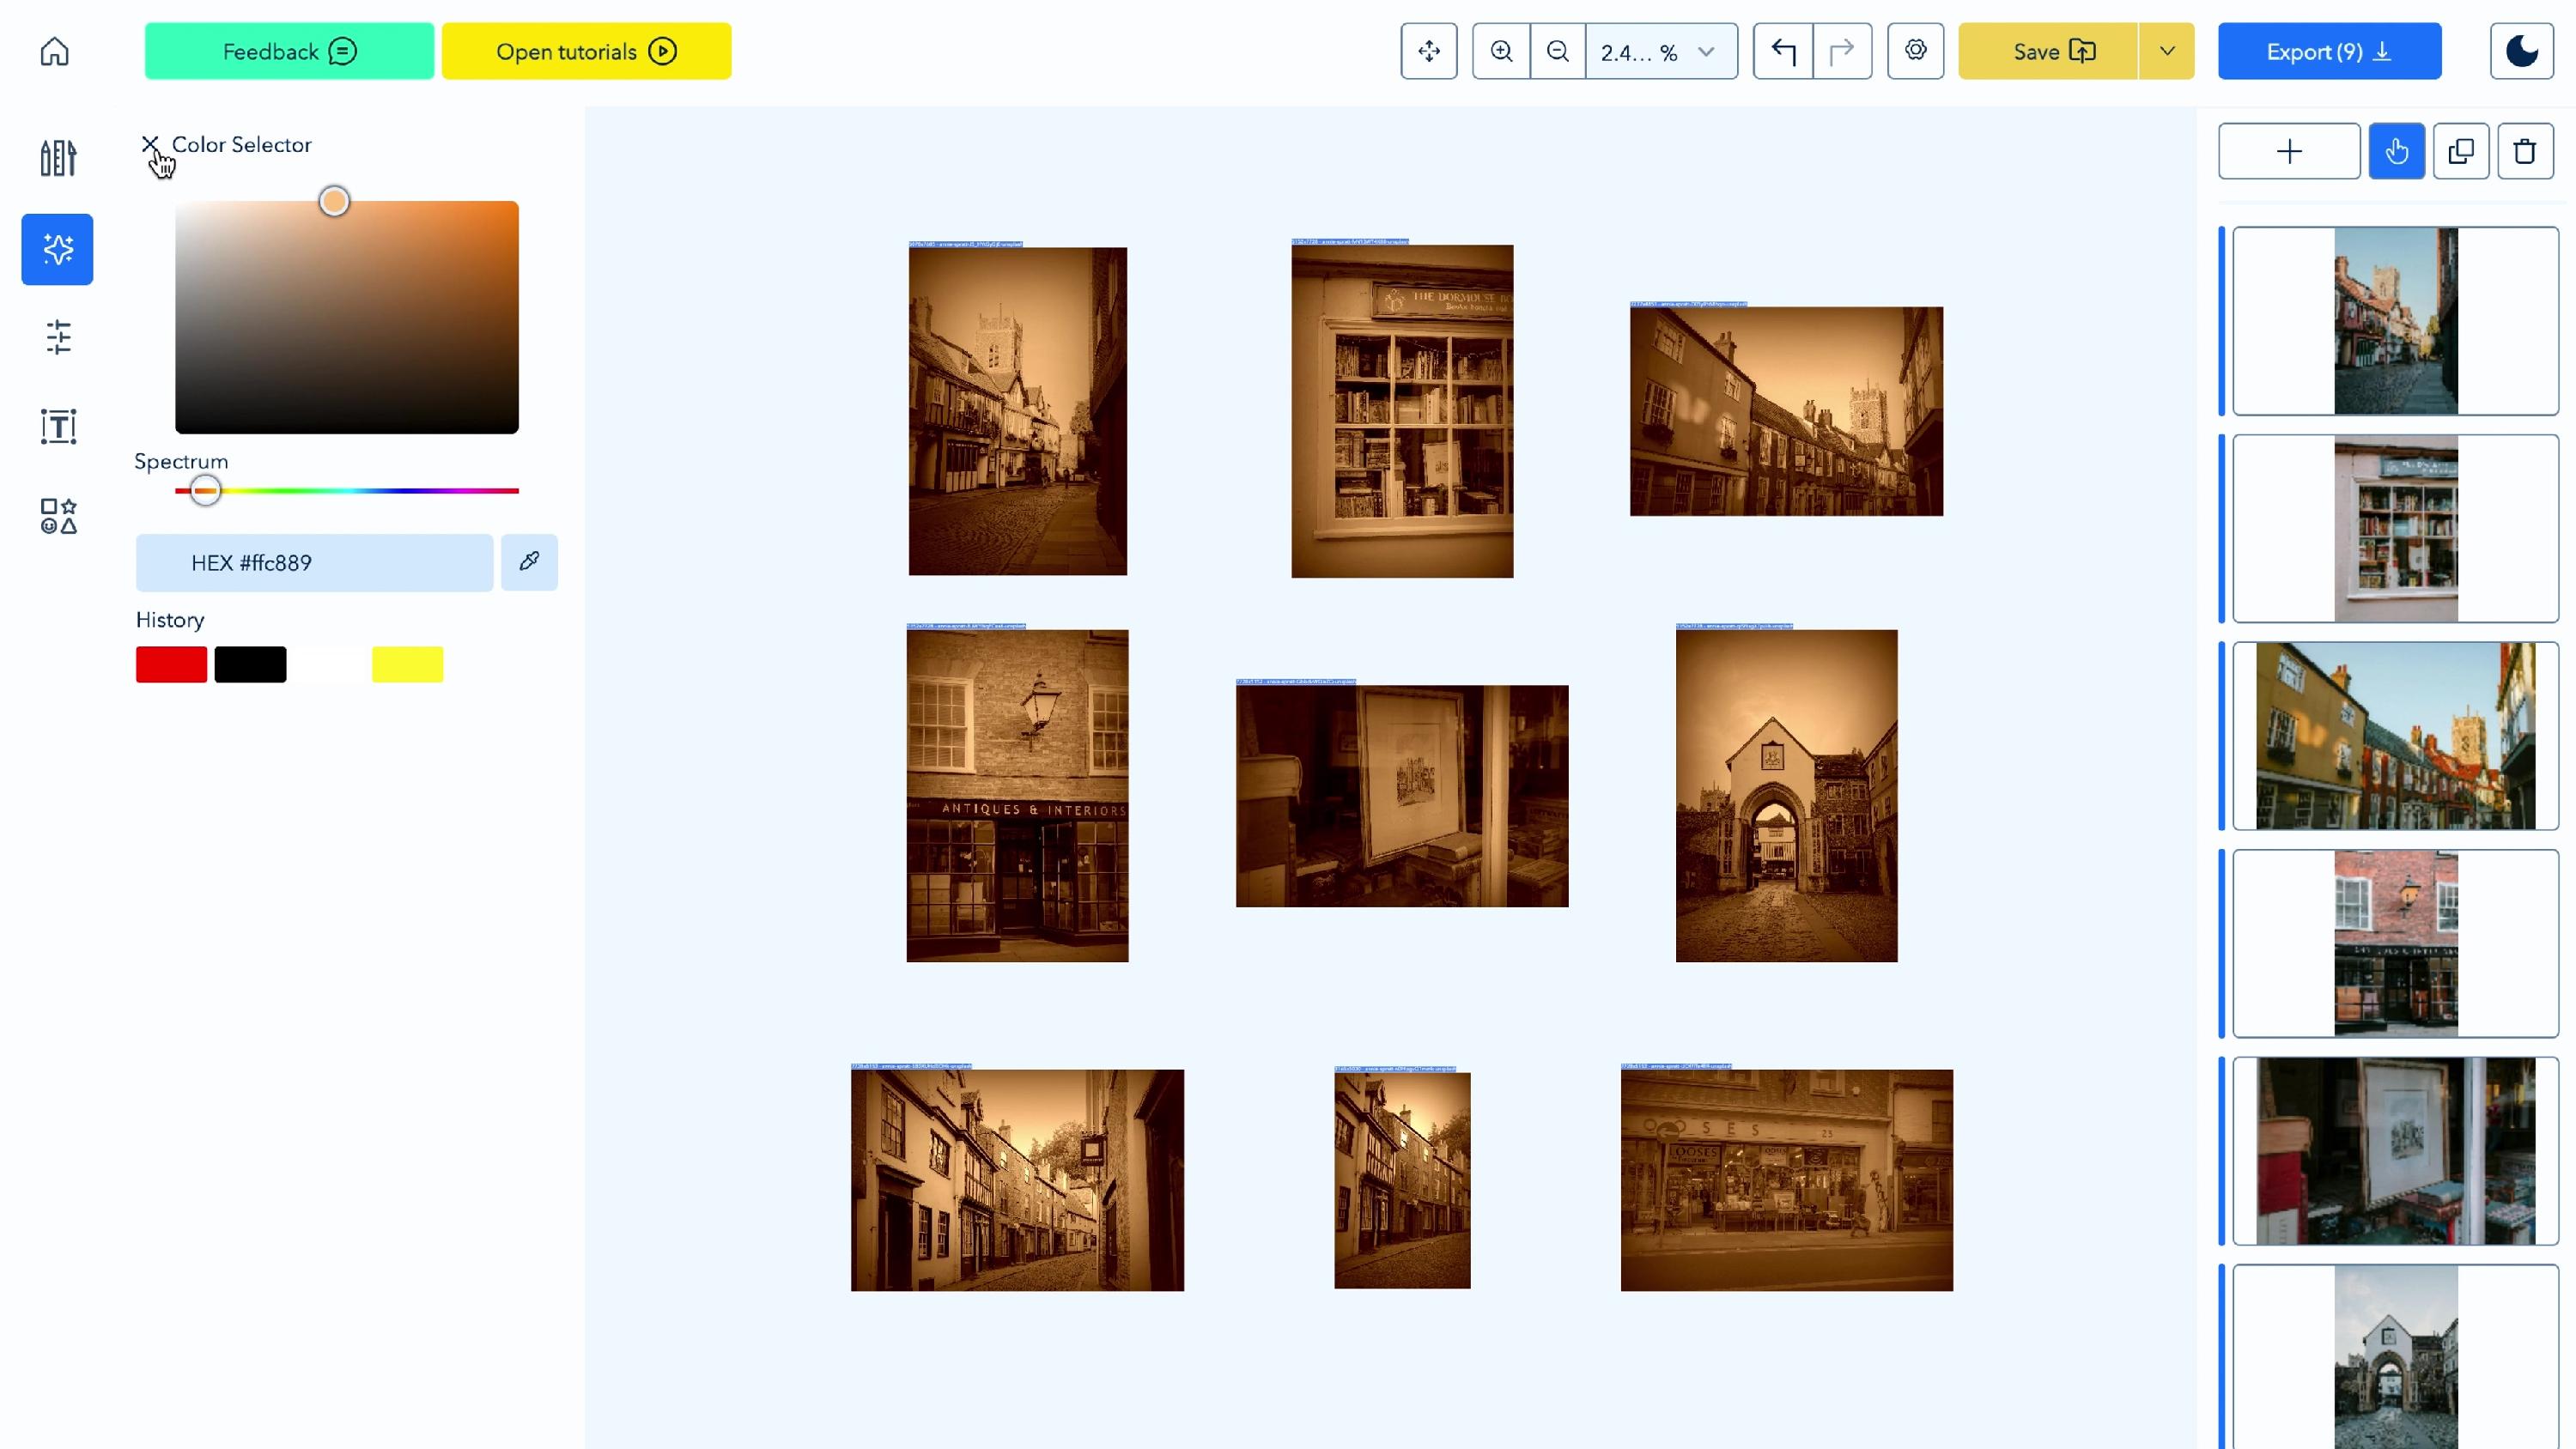
Filters with a color option, such as Sepia, open a Color Selector when you click the color swatch. Pick a color from the spectrum or enter a HEX value.
6. Export or save your work
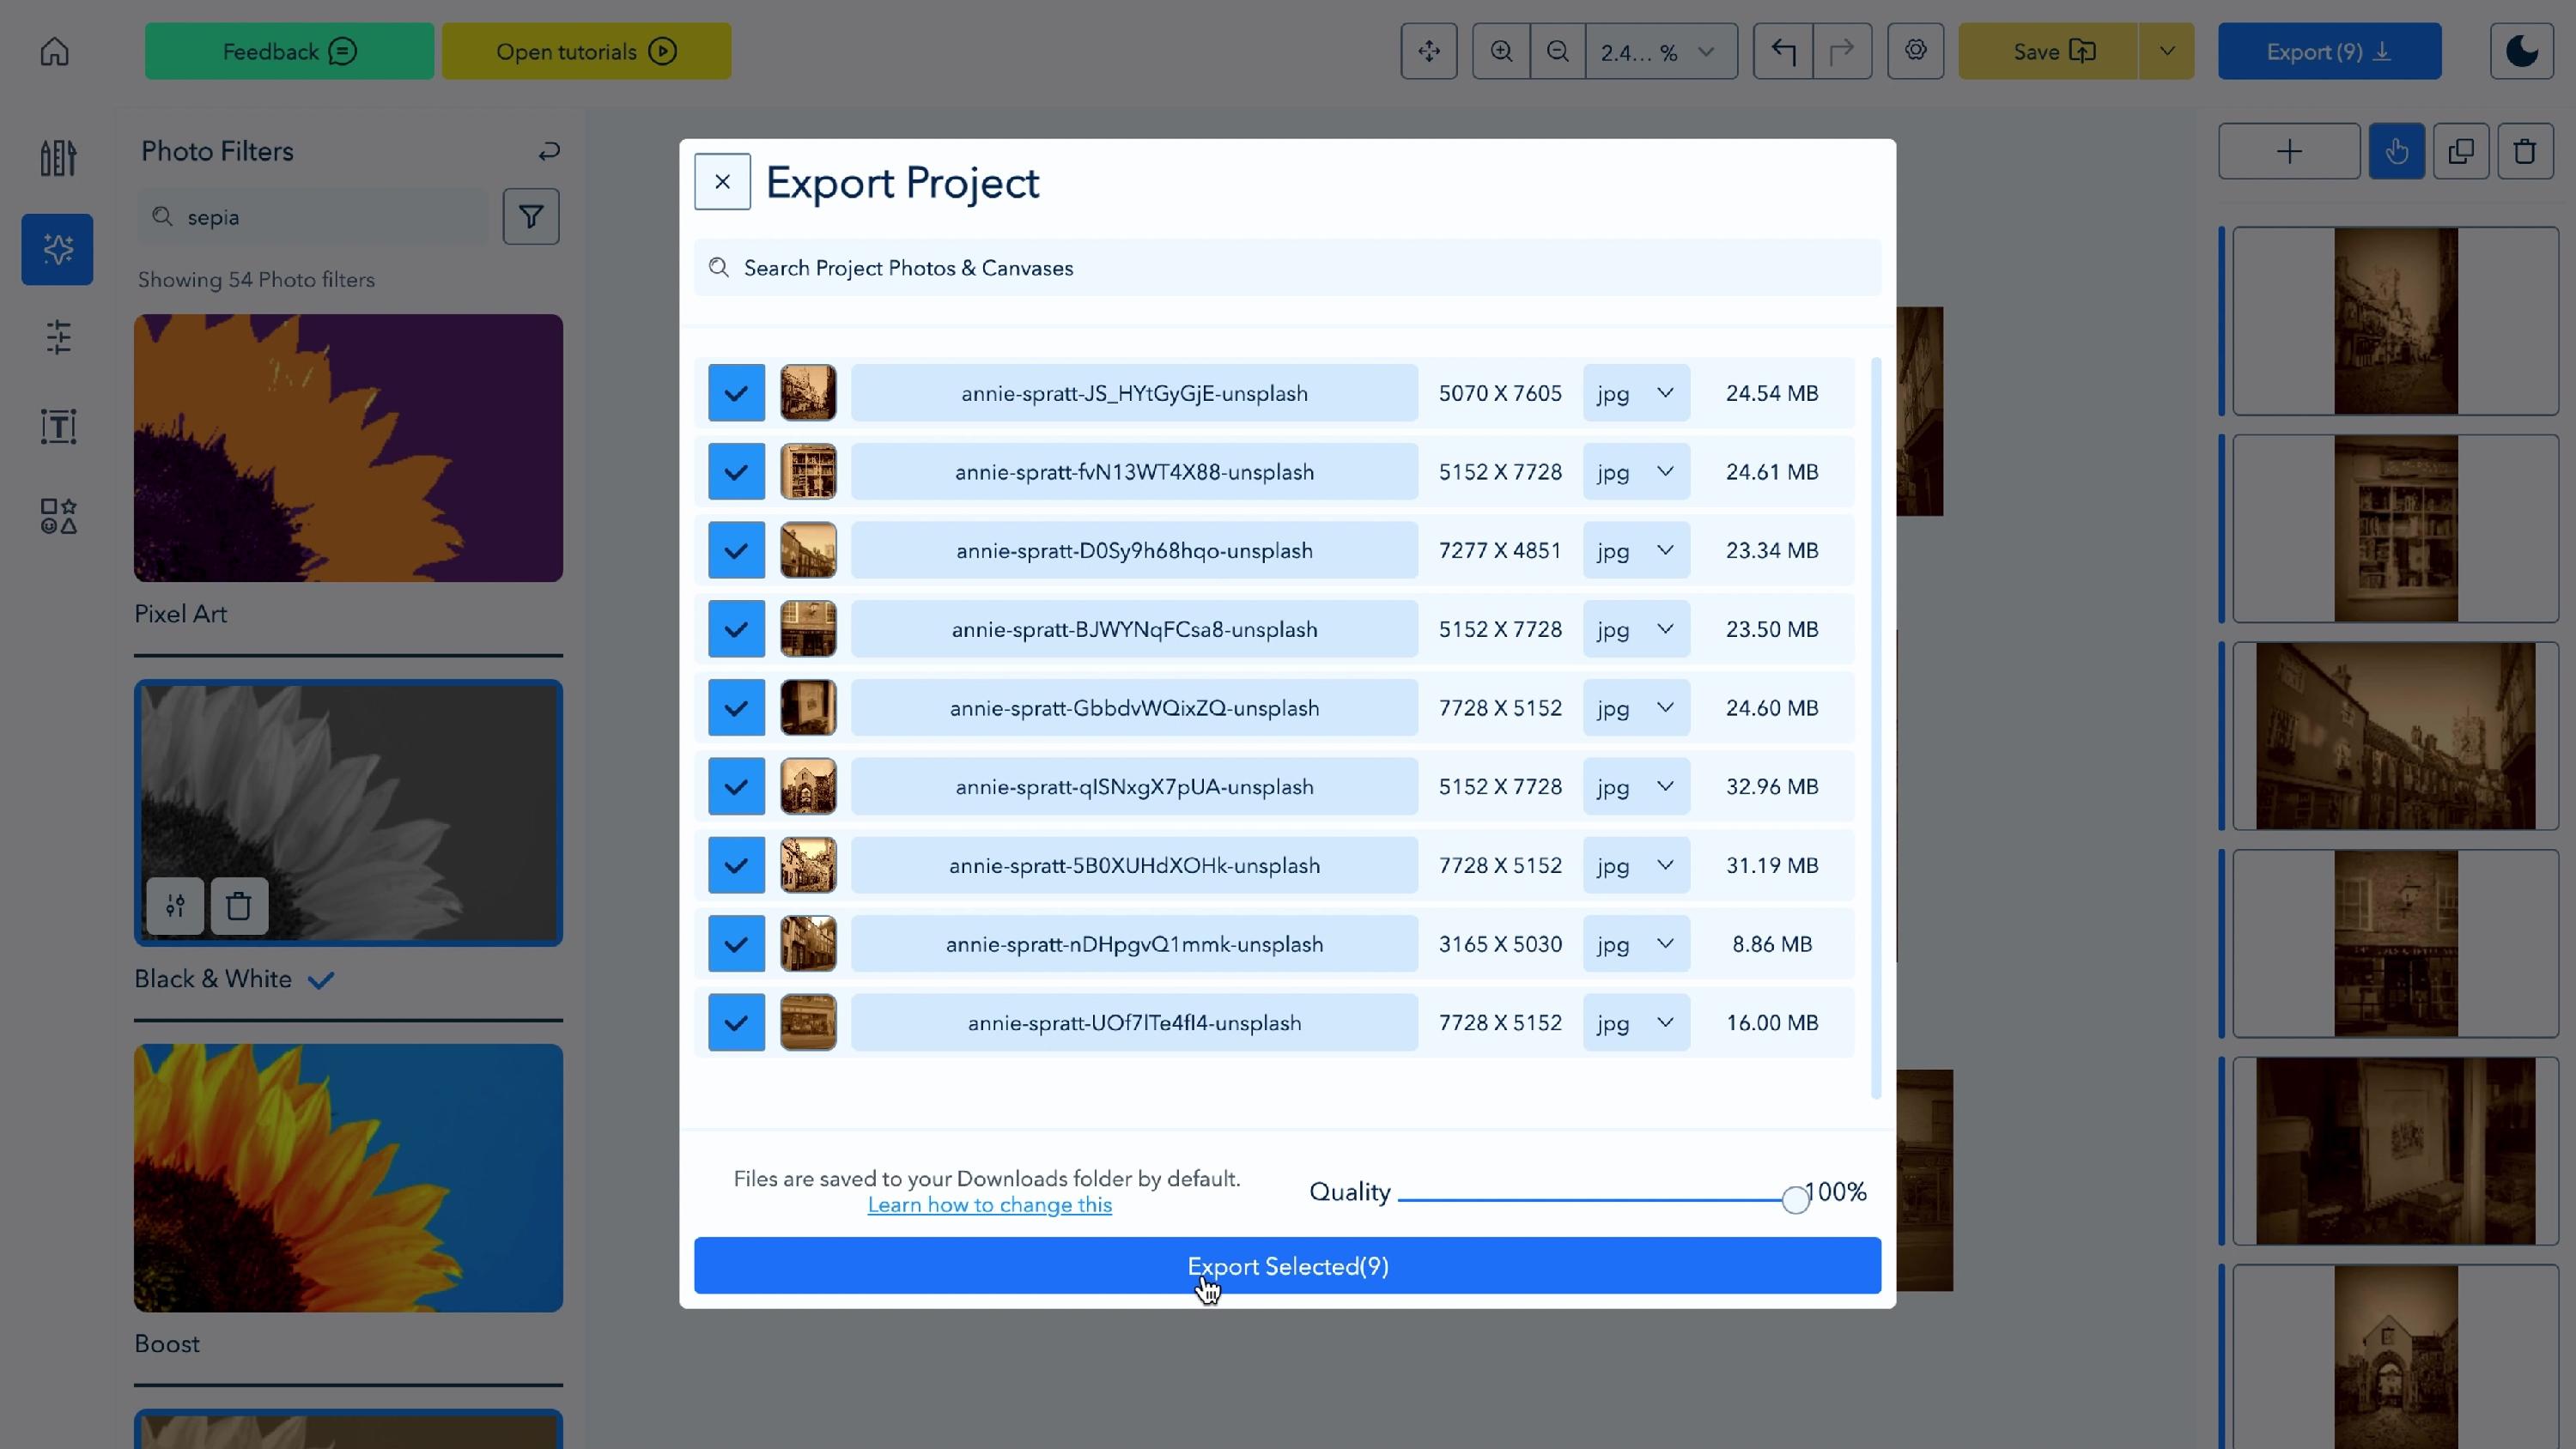
To download your photos, click Export in the top-right corner. In the Export Project window, check the photos you want, confirm the file format you want to use (by default it will list the format of the original file) and quality, and click Export Selected. Files are saved to your Downloads folder by default.
If you want to keep working on this photo editing project or you want to be able to come back to it later, click Save instead. Your project is saved to your Ribbet account with all filters and settings.
Tips
- Filters stack in the order you apply them. A tint such as Sepia, added last, colors everything beneath it.
- To remove a filter, click the delete (trash) icon on its thumbnail. Before you do, make sure the photos you want the filter removed from are selected.
- Changed your mind? Use the Undo and Redo buttons (the arrow icons at the top right) to step back or forward through your edits.
-
Settings changes apply to every photo the filter was applied to, so the whole set stays consistent.
Troubleshooting
| Problem | Solution |
| The filter only changed some photos | Only selected photos are edited. Select all photos (step 2) and apply the filter again. |
| I can't find a filter | Type its name in the Search effects bar at the top of the Photo Filters panel. |
| The effect is too strong | Open Filter Settings and lower the strength or raise the Fade slider. |
| I don't know where my exported photos went | Exports go to your Downloads folder by default. |
| I applied a filter by mistake | Click Undo (the left arrow icon at the top right). To remove a filter you applied earlier, select the affected photos and click the delete icon on the filter's thumbnail. |
Watch the video
See every step in under three minutes: [Ribbet Studio - Photo Filters - Quick Tutorial]([video link])
Related